72
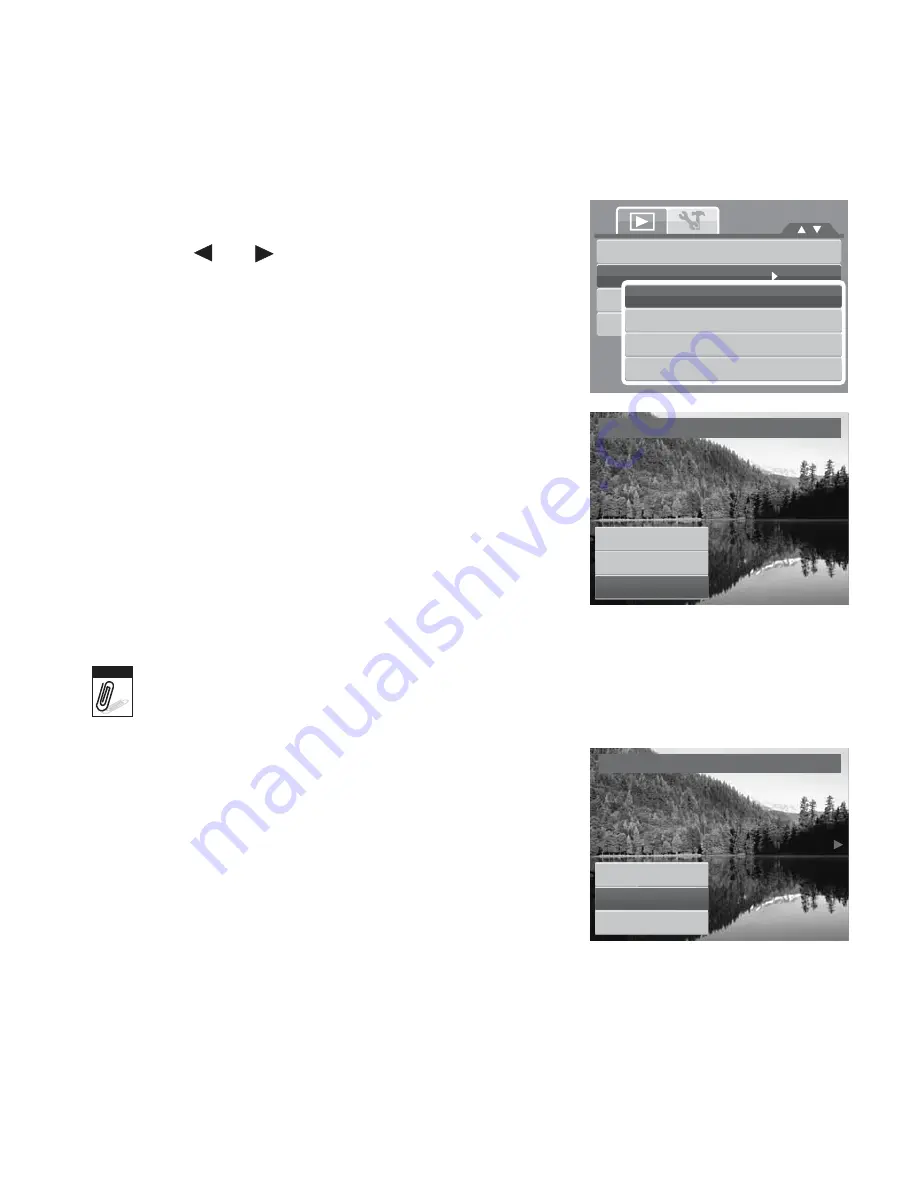
1. Set the camera to Playback mode.
2. Use the
or
keys to scroll and select an image
to resize.
3. Press the
MENU
button to launch the Playback menu.
4. Select
Resize
. The Resize submenu is displayed on
the LCD monitor.
5. Select size among: 8M, 5M, 3M, and VGA. Available
size settings may vary depending on original image
size. Unavailable settings appear as gray icons in
Resize submenu.
6. After selecting size, a menu selection appears. Select
whether to:
•
Overwrite.
Save and replace the old file with
the new one.
•
Save As.
Save the new file as a new one.
•
Cancel.
Cancel resize.
7. Press the
SET
button to save/cancel changes.
Trim
Resize
Startu
8
p
M
Image
DPOF5M
3M
VGA
Resize
Overwrite
Save As
Cancel
Note
Resize function is not available for photos with image size set to “3:2”, “16:9” and VGA.
Startup Image
The Startup Image function allows you to setup a startup
image when you turn on your camera.
1. Press the
MENU
button to launch the Playback menu.
2. Select
Startup Image
. The menu selection appears.
3. Select options:
•
System.
Use camera default image.
Startup Image
System
My Photo
Off
Trim
Resize
Startup Image
DPOF
8M
5M
3M
VGA
Summary of Contents for Compact 100
Page 1: ...Compact 100 User Manual ...


