Assembly Instructions
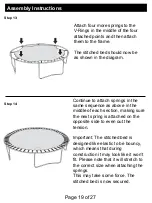
Step 13:
Step 14:
Page 19 of 27
Attach four more springs to the
V-Rings in the middle of the four
attached points and then attach
them to the frame.
The stitched bed should now be
as shown in the diagram.
Continue to attach springs in the
same sequence as above in the
middle of each section, making sure
the next spring is attached on the
opposite side to even out the
tension.
Important: The stitched bed is
designed like elastic to be bouncy,
which means that during
construction it may look like it won’t
fit. Please note that it will stretch to
the correct size when attaching the
springs.
This may take some force. The
stitched bed is now secured.
Summary of Contents for 166826
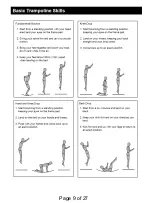
Page 3: ...Page 3 of 27 ...
Page 4: ...Page 4 of 27 ...
Page 5: ...Page 5 of 27 ...
Page 6: ...Page 6 of 27 ...
Page 7: ...Page 7 of 27 ...
Page 8: ...Page 8 of 27 ...
Page 9: ...Page 9 of 27 ...
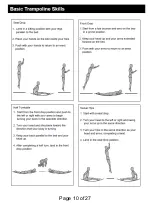
Page 10: ...Page 10 of 27 ...
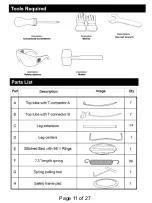
Page 11: ...Page 11 of 27 ...
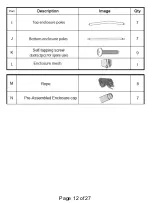
Page 12: ...Page 12 of 27 ...
Page 26: ...Page 26 of 27 ...
Page 27: ...Page 27 of 27 ...


