background image

29

CHAPTER 6: APPENDIX

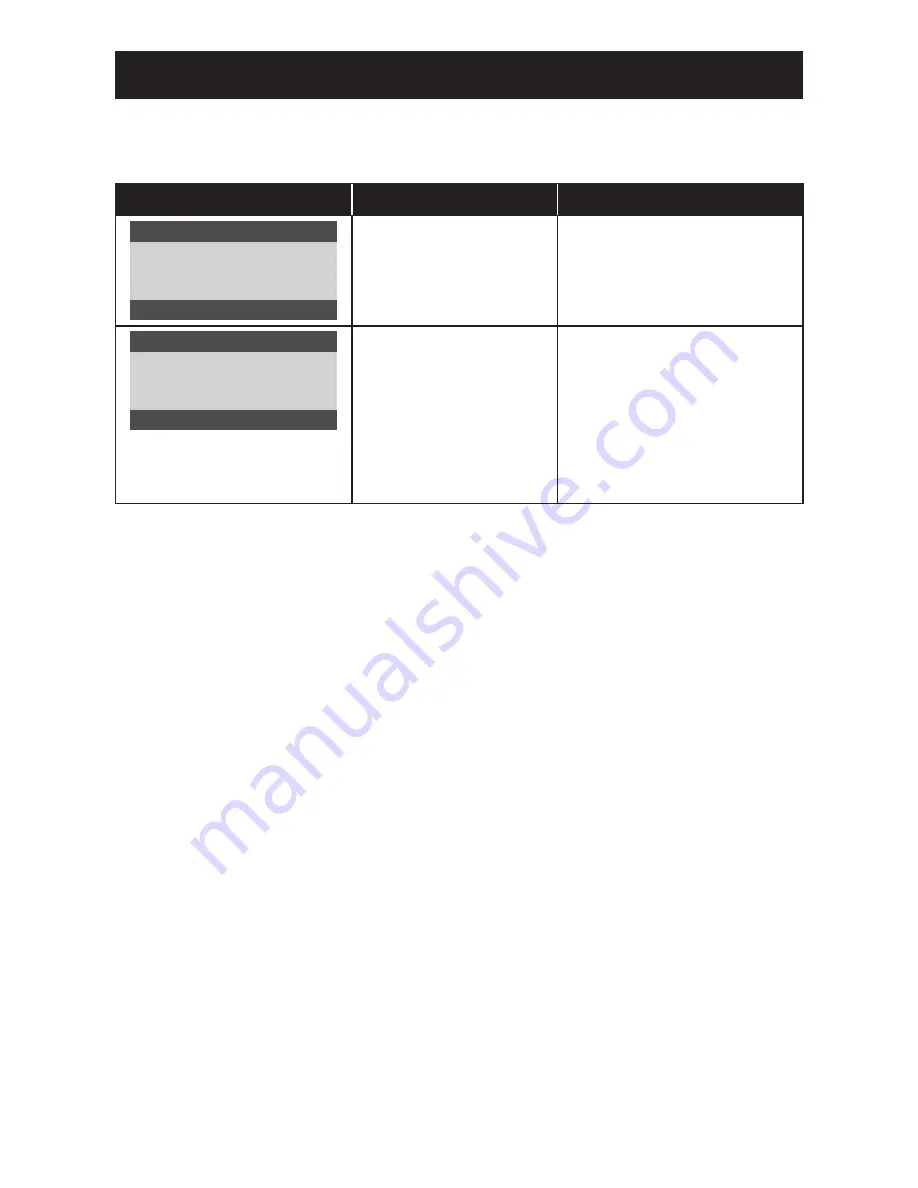
6.1 Warning Messages

When any of these warning messages appear, check the following items.

Warning Message

Cause

Solution

Input Not Support

The resolution or the refresh 
rate of the graphics card of 
the computer is set too high.


Change the resolution or the 
refresh rate of the graphics 
card.

No Signal

The LCD display cannot 
detect the input source 
signal.


Check if the input source is 
turned ON.


Check if the signal cable is 
properly connected.


Check if any pin inside the 
cable connector is twisted or 
broken.

Summary of Contents for FS-24

Page 1: ...FS 24 FS 27 LED Backlit Display User Manual...

Page 2: ...t View 13 1 4 2 Rear View 14 CHAPTER 2 MAKING CONNECTIONS 2 1 Connecting the AC Power 15 2 2 Connecting Input Source Signals 16 2 3 Connecting Audio Devices 17 CHAPTER 3 USING THE LCD DISPLAY 3 1 Turn...

Page 3: ...TABLE OF CONTENTS CHAPTER 6 APPENDIX 6 1 Warning Messages 29 6 2 Troubleshooting 30 6 3 Transporting the LCD Display 31 CHAPTER 7 SPECIFICATIONS 7 1 Display Specifications 33 7 2 Display Dimensions 3...

Page 4: ...y be aware that this is your responsibility to dispose electronic equipment at recycling centers so as to help conserve natural resources Each country in the European Union should have its collection...

Page 5: ...register online go to http www agneovo com To protect your rights as a consumer do not remove any stickers from the LCD display Doing so may affect the determination of the warranty period Cautions W...

Page 6: ...Do not rub or tap the surface of the glass with sharp or abrasive items such as a pen or screwdriver This may result in scratching the surface of the glass Do not attempt to service the LCD display y...

Page 7: ...stem is not in use Things to do when the LCD display shows image retention Turn off the LCD display for extended periods of time It can be several hours or several days Use a screen saver and run it f...

Page 8: ...f them is missing or damaged contact your dealer LCD display Stand Stand screws Power cord HDMI cable FS 24 FS 27 www agneovo com FS 24 FS 27_Quick Guide_V010 Quick Start Guide FS 24 FS 27 LED Backlit...

Page 9: ...LCD display with the screen side down on a cushioned surface 2 Attach the stand to the LCD display a Align and attach the stand to the rear of the LCD display b Use the screws to secure the stand 3 Ro...

Page 10: ...e and height according to your preference Hold the stand so that the screen does not topple when you make the adjustment You are able to adjust the screen angle and height as below Tilt angle Pivot an...

Page 11: ...00mm HDMI D SUB DP Note Take measures to prevent the LCD display from falling down and lessen possible injury and damage to the display in case of earthquakes or other disasters Use only the 100 x 100...

Page 12: ...ou can configure the audio input source Refer to page 24 During OSD menu scroll through the menu options select an option and adjust the settings 3 Down Call out the Eco Mode quick menu Then press the...

Page 13: ...13 PRODUCT DESCRIPTION 1 4 Overview 1 4 1 Front View 1 2 1 Display screen 2 Control buttons Press the button to perform its function For more information about each button refer to page 12...

Page 14: ...Use to connect an HDMI cable for digital input signal 4 D SUB VGA connector Use to connect a D Sub VGA cable for analogue input signal 5 Audio port Use to connect an audio cable for audio input 6 Kens...

Page 15: ...bles while the power is ON may cause possible electric shock or personal injury 2 1 Connecting the AC Power 1 Connect the power cord to the AC power input at the rear of the LED backlit display 2 Conn...

Page 16: ...cable to the DP connector of the LCD display and the other end to the DP connector of the computer VGA Connect one end of a D Sub VGA cable to the D SUB VGA connector of the LCD display and the other...

Page 17: ...G CONNECTIONS 2 3 Connecting Audio Devices 1 Connect one end of an audio cable to the audio port at the rear of the LCD display 2 Connect the other end of an audio cable to the audio out port of the c...

Page 18: ...splay is turned on press the button to turn off the LCD display Note The LCD display still consumes power as long as the power cord is connected to the power outlet Disconnect the power cord to comple...

Page 19: ...g volume or menu setting adjustment press and hold the button to change the values continuously For HDMI input signal the Audio Source option will appear on the screen when you press the button Volume...

Page 20: ...hold the button to perform auto adjustment This function automatically tunes the LCD display to its optimal setting including horizontal position vertical position clock and phase When auto adjustment...

Page 21: ...cted menu icon appears on the left panel and the text of the selected menu option turns orange 3 Press the or button to select an option and press the button to enter its submenu T P V MENU AUTO Lumin...

Page 22: ...er to page 24 Brightness Eco Mode Text Internet Game Movie Sports Standard DCR Off On Over Drive Off On Image Setup Clock Refer to page 25 Phase H Position V Position Image Ratio Wide 4 3 Color Temp C...

Page 23: ...anish French Portuguese Russian Simplified Chinese Traditional Chinese Korean Extra Input Select Auto Refer to page 28 DisplayPort HDMI D SUB DDC CI On Off Reset Yes No Information Note Availability o...

Page 24: ...he button to enter its submenu Item Function Operation Range Contrast Adjusts the difference between the black level and the white level Press the or button to adjust the value 0 to 100 Brightness Adj...

Page 25: ...ange Clock Adjusts the frequency timing to synchronise with the video signal Note This menu option is only available if the input source is VGA Press the or button to adjust the value 0 to 100 Phase A...

Page 26: ...ion Range Color Temp Color Temperature Provides several color adjustment settings Press the t or u button to select the setting Warm Normal Cool sRGB User If the Color Temp setting is set to User you...

Page 27: ...s the button to enter its submenu Item Function Operation Range H Position Horizontal Position Moves the OSD window to the left or right of the screen Press the or button to adjust the value 0 to 100...

Page 28: ...H Frequency V Frequency 1440 H x 900 V 55KHz 60Hz 3 Press the or button to select an option and press the button to enter its submenu Item Function Operation Range Input Select Switches the input sour...

Page 29: ...resolution or the refresh rate of the graphics card of the computer is set too high Change the resolution or the refresh rate of the graphics card No Signal The LCD display cannot detect the input so...

Page 30: ...the display refer to page 25 Adjust the Clock and Phase settings in Image Setup menu refer to page 30 Red blue green white dots appear on the screen There are millions of micro transistors inside the...

Page 31: ...lay with the screen side down on a cushioned surface b Rotate the stand 90 counter clockwise Then remove the screws securing the stand to the LCD display c Remove the stand 2 Put the LCD display insid...

Page 32: ...32 APPENDIX Note It is recommended to use the original packaging box When repacking carefully place the LCD display in its box and protect the glass panel from touching any object...

Page 33: ...aker 2W x 2 Power Power Supply Internal Power Requirements 100 240V AC 50 60 Hz Consumption 35W On 0 5W Standby Off 55W On 0 5W Standby Off Physical Characteristics Operating Conditions Temperature 0...

Page 34: ...00mm 100mm 322 60mm 249 00mm 175 5mm 86 80mm FS 27 100mm 611 89mm 49 00mm 86 80mm 249 00mm 100mm 366 57mm 249 00mm 152 17mm HDMI D SUB DP AG Neovo Company Address 5F 1 No 3 1 Park Street Nangang Distr...

Reviews: