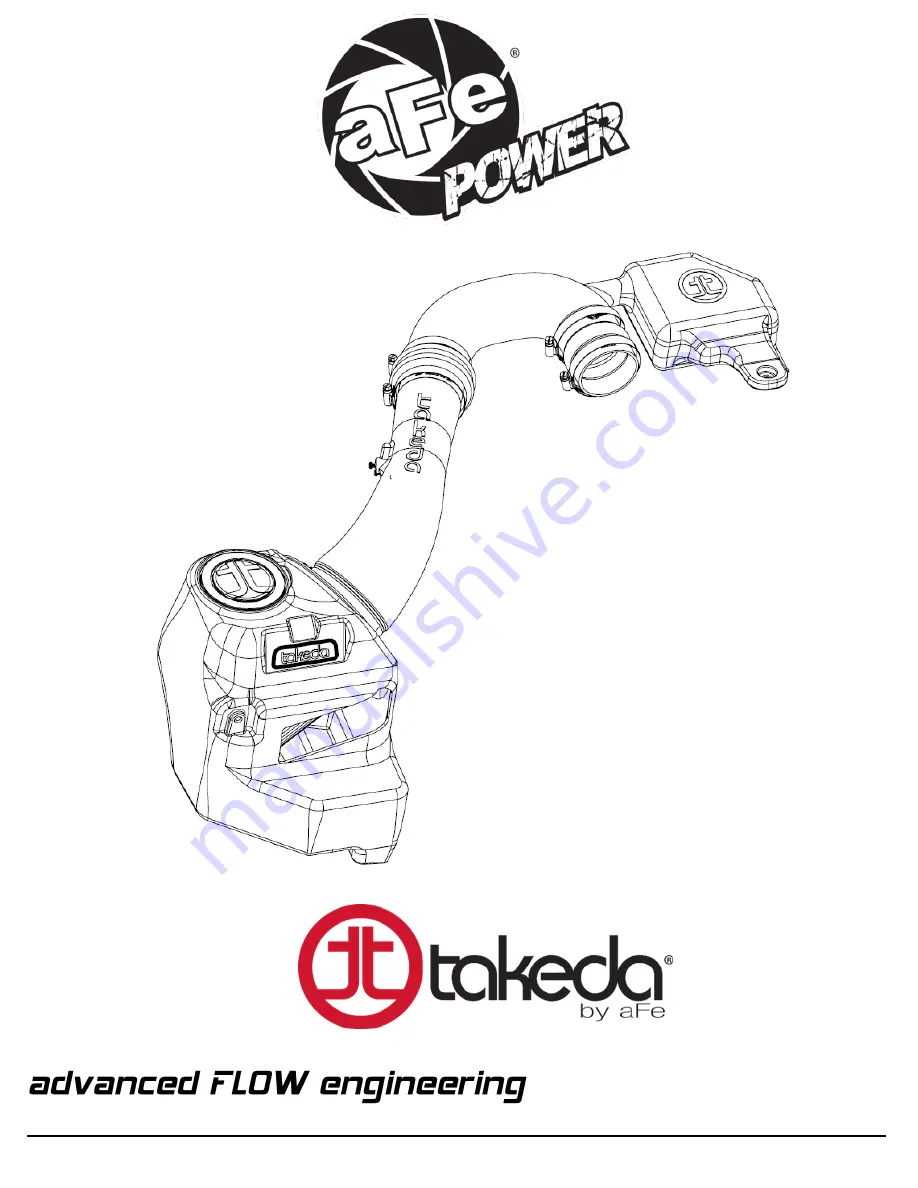
Takeda Momentum Cold Air Intake System
Instruction Manual
P/N: 56-70043D / 56-70043R
______________________________
Make:
Subaru
Model:
Impreza
Year:
2012-2016
Engine:
H4-2.0L
Page 1: ...Takeda Momentum Cold Air Intake System Instruction Manual P N 56 70043D 56 70043R______________________________ Make Subaru Model Impreza Year 2012 2016 Engine H4 2 0L ...
Page 2: ...Tube 2 of 2 05 5670039B2 D 1 Housing 05 5670043B3 E 1 Coupling Silicone Bellows 2 3 4 ID x 3 L 05 01656 F 1 Coupling Silicone Hump 2 3 4 ID x 3 L 05 01501 G 4 Clamp 044 03 50019 H 2 Screw Torx M4 03 50491 J 1 Takeda Plug 05 01527 Installation will require the following tools Flat head screwdriver or panel clip removal tool 2 Philips screwdriver T20 Torx driver pliers 10mm wrench 7mm 8mm and 10mm n...
Page 3: ...Page 3 J H A1 A2 G E F D C B ...
Page 4: ...Figure A for Steps 1 2 Step 1 Using a flat head screwdriver or panel clip removal tool remove the two panel clips 1 holding on the air scoop Step 2 Remove the air scoop from the vehicle and set aside REMOVAL Figure A 1 ...
Page 5: ...e tube mount Step 4 Using a pair of pliers squeeze the spring clamp 3 and remove the crankcase vent hose from the intake tube Step 5 Disconnect the Mass Air Flow MAF sensor harness 4 Step 6 Using a 7mm nut driver loosen the clamps at the throttle body 5 and at the airbox 6 Remove the intake tube from the vehicle 2 REMOVAL Figure B 3 5 6 4 2 ...
Page 6: ... Using a 10mm nut driver remove the screw 7 from the airbox mount Set aside screw for later use Step 8 Using a 10mm wrench remove the nut 8 from the airbox bushing mount Step 9 Lift up on the airbox and remove from the vehicle REMOVAL Figure C 7 8 ...
Page 7: ...ert and bushing for later use Step 11 From the inside of the airbox using a 10mm nut driver remove the nut 10 holding on the mounting bushing to the airbox Set aside the mounting bushing and bolts for later use NOTE Make sure to pay attention to the orientation of the tabs on the mounting bushing This will be needed for step 13 Tab facing you should be at the 3 o clock position 9 REMOVAL Figure D ...
Page 8: ...ousing in the location shown above Step 13 Install the mounting bushing 12 removed in step 11 onto the Takeda housing in the location shown above NOTE Make sure to match the orientation of the tabs on the mounting bushing as it was removed from the airbox in step 11 Tab facing you should be at the 3 o clock position INSTALL Figure E 11 12 ...
Page 9: ...g a 10mm nut driver install the screw 13 through the bushing on the bottom of the housing and into the threaded mount on the vehicle s frame Step 16 Using a 10mm wrench install the nut 14 removed in step 8 Step 17 Install the aFe POWER Air Filter and hose clamp into the Takeda airbox INSTALL Figure F 14 13 ...
Page 10: ... tube as shown in the image above Step 19 Install the silicone hump coupler 05 01501 and clamp 044 16 onto the B2 tube as shown in the image above Step 20 Slip a clamp 044 over the exposed end of the bellows coupler and another clamp 044 over the exposed end of the silicone hump coupler 17 INSTALL Figure G 15 16 17 ...
Page 11: ... for Steps 21 23 Step 21 Install the B2 tube onto the throttle body and tighten the clamp Step 22 Install the panel clip 18 removed in step 3 Step 23 Install the crank case vent hose 19 removed in step 4 INSTALL Figure H 18 19 ...
Page 12: ...Steps 24 25 Step 24 Using a 2 Phillips screw driver remove the MAF sensor from the airbox 20 Step 25 Using a T20 torx driver install the MAF sensor onto the Takeda B1 intake tube with the provided M4 screws 21 INSTALL Figure I 20 21 ...
Page 13: ...Step 26 Install the B1 intake tube into the bellow coupler 22 but do not tighten clamp yet Step 27 Install the other end of the B1 intake tube into the air filter Align the tube and tighten the clamps using an 8mm nut driver INSTALL Figure J 22 ...
Page 14: ...nsor 23 removed in step 5 Step 29 Install the factory air scoop and panel clips 24 removed in steps 1 and 2 Your installation is now complete Thank you for choosing Takeda USA NOTE Check all screws clamps and connectors are secure after 100 200 miles INSTALL Figure K 23 24 ...
Page 15: ...Page 15 Page Left Blank Intentionally ...
Page 16: ...252 Granite Street Corona CA 92879 TEL 951 493 7100 TECH 951 493 7185 E Mail Tech aFepower com ...