P a g e
|
1
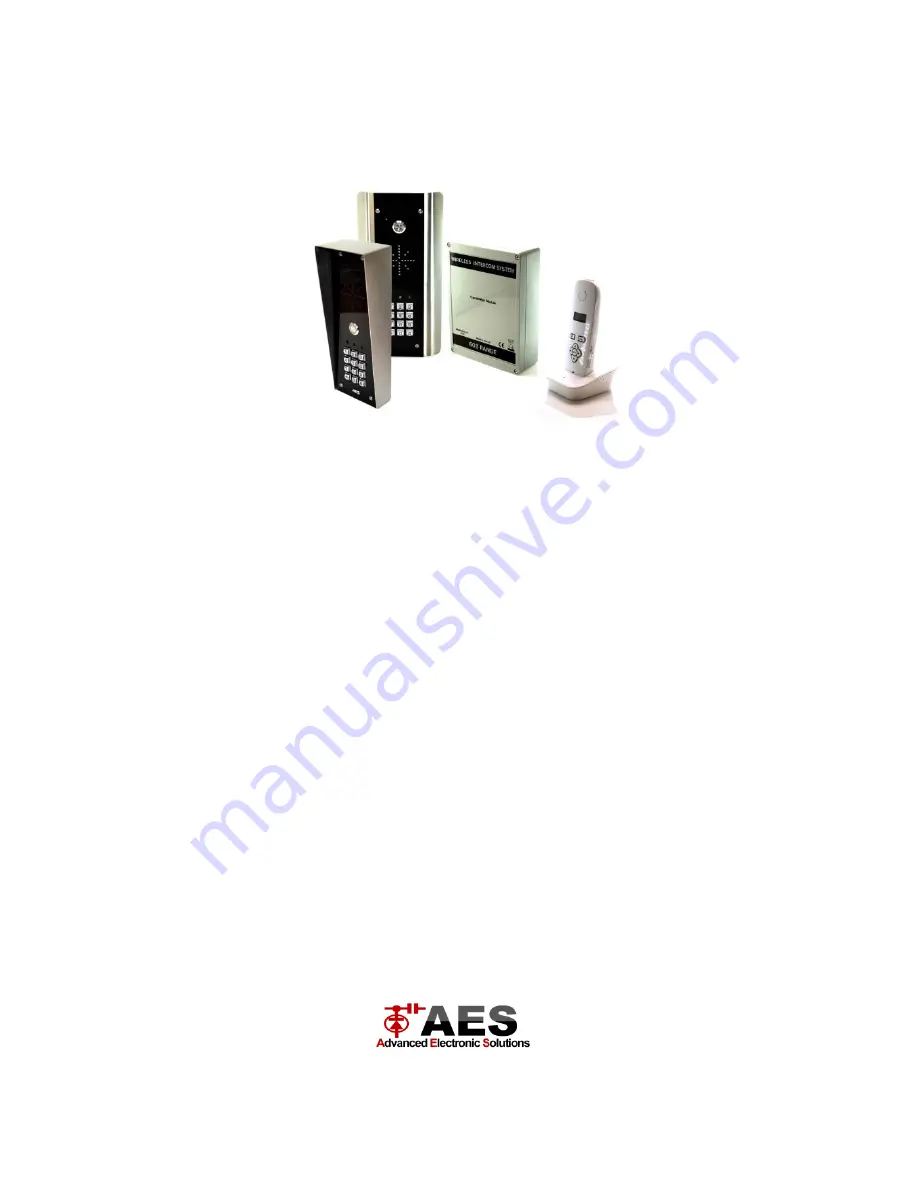
Installation & User Manual
For
6 0 3
D E C T I n t e r c o m
W ireless Intercom System
Models AB, ABK, HB, HBK, FB, FBK
Version 3
Page 1: ...P a g e 1 Installation User Manual For 6 0 3 D E C T I n t e r c o m Wireless Intercom System Models AB ABK HB HBK FB FBK Version 3...
Page 2: ...d Panels Pg 4 Mounting Flush Panels Pg 4 Wiring Pg 5 Code Lock Keypad Connections Pg 5 Wiring Tips Pg 6 Keypad Overview Pg 6 Basic Keypad Programming Pg 7 Full Keypad programming Pg 7 Using the Keypad...
Page 3: ...reduce the open air range of 350 metres by 30 50 per wall Mounting the Transmitter Power Supply TIP Most technical calls received are due to installers using CAT5 or alarm cable to power the unit Nei...
Page 4: ...transmitter as possible Mounting Architectural Panels Loosen top 2 screws only Hinge front door Side View Mounting Hooded Panels Call Button Optional keypad module Loosen top 2 screws only Hinge front...
Page 5: ...d relay normally open in parallel with the transmitter module relay For magnetic locks connect in series with normally closed contact Egress This is for an optional exit button input connected across...
Page 6: ...mitter Relay Optional keypad output Lock Separate PSU Connecting automatic gates Start Com Gate controller Transmitter Relay Optional keypad output Keypad overview This keypad has 3 outputs The diagra...
Page 7: ...e is shown below Memory locations 000 999 for relay 1 001 100 for relay 2 001 100 for relay 3 1 0 2 0 0 10 relay 1 codes 1000 available 20 relay 2 codes 100 available 30 relay 3 codes 100 available 0...
Page 8: ...group Super delete code Validate Programming super user codes A super user code can activate any of the 3 relays Location 0 2 4 8 digit code Validate Restoring defaults When in programming mode you ca...
Page 9: ...ure for doing this is the same as for adding an additional handset as follows Once the melody is heard the handset should then be working The system should now be ready for testing Change Ring Volume...
Page 10: ...n use up and down arrow keys to set hour Press MENU again to cycle to minutes and adjust Press MENU once more to end the process Maintenance of the Intercom The stainless steel can dull or discolour o...
Page 11: ...de press the code button for 3 seconds and release Then press it 7 times after which a tone should be heard Then press another 7 times Now try re coding the handset again as per the procedure Q Range...
Page 12: ...P a g e 12...