background image

6

Just like the 

gain

 control, the 

high/low

 switch (attenua-

tor de-/activation) also serves to adjust the signal. Start 
at 

high

 with the switch not pressed down. If the in-

put signal is too strong and you cannot avoid clipping 
even when you adjust with the 

gain

 control, then se-

lect the 

low setting

.

When you have adjusted the sound level, then you 
can set the desired final volume with the 

master

 con-

trol.

4. Starting up

4.1 Cabling and Switching on

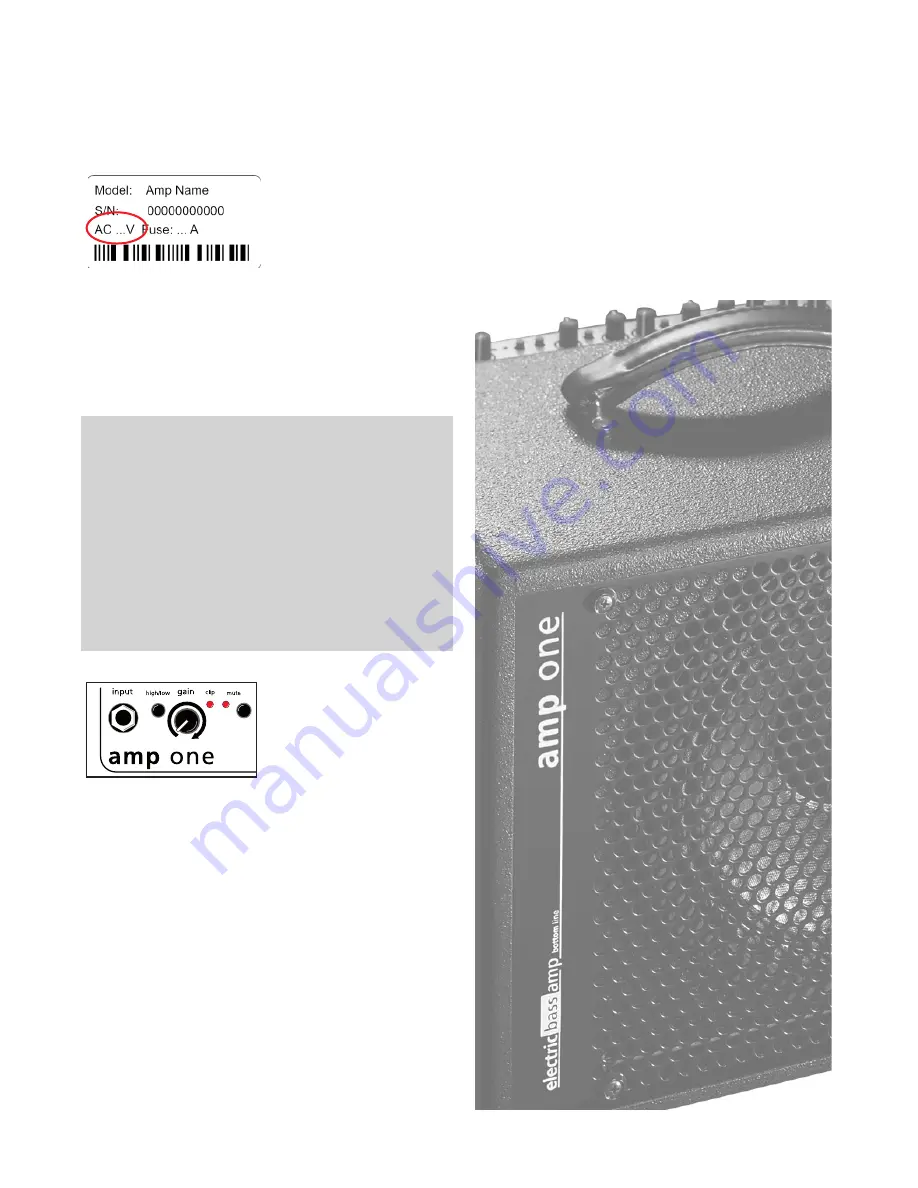
Before connecting to the mains, please ensure that 
your local mains voltage is suitable for the voltage of 

the  device  (e.g.  120V  in 
the USA, 230V in Europe). 
The relevant specs and sa-
fety symbols are printed 
on the rear side of the 
unit.
Connect all cables as desi-

red  and  switch  the  amplifier  on.  The  green 

power


control LED indicates operational readiness.

4.2 Level Adjustment

Note: Level adjustment

By setting the level correctly we mean the signal level 
in one or several devices in a signal chain is neither 
too high nor too low. This applies equally to all com-
ponents of a unit (e.g. 

equalizer

tone balance

com-

pressor

).

Consequently, care must be taken that no part of the 
circuit is overloaded or that distortion is unintentio-
nally added to the signal. We have carefully designed 
the circuit to achieve this objective whilst also provi-
ding controls (

gain

master

level

) for manual interven-

tion.

First ensure, that the 

mute 

switch is deactivated and 
the 

master

 level control is 

zeroed (over to far left), 
so that the signal passes 
through the electronics 

but does not reach the loudspeaker, while you are ad-
justing the level.

Turn the 

gain

 control clockwise until the red 

clip

 indi-

cator flashes momentarily when playing with a strong 
attack. Thus you make sure that your signal source 
(e.g. instrument) provides the input-stage of the amp-
lifier with the necessary input level.

An illuminated 

clip

-LED indicates an overload. A short 

flicker is no danger to AER devices. During operation 
a short flicker can be accepted, to be on the safe side 
you should reduce the 

gain

 slightly to achieve an opti-

mal and distortion-free performance.

Summary of Contents for amp one

Page 1: ...1 amp one user manual Register your amp one www aer amps com Customer Service ...

Page 2: ...ear Side 5 4 Starting up 6 4 1 Cabling and Switching on 6 4 2 Level Adjustment 6 5 Functional Characteristics 7 5 1 Mute 7 5 2 Tone Control Networks 7 5 2 1 colour 7 5 2 2 bass boost 7 5 2 3 parametric equalizer 7 5 2 4 tone balance 7 8 5 3 Compressor 8 5 4 Rear Side Features 9 6 Technical Specifications 10 7 Circuit Diagram 11 ...

Page 3: ...s and easy operation The 10 inch high perfor mance bass loudspeaker supports this versatility whilst simultaneous ly adding some tube like compression The design of the power amp especially supports the impulse response and provides impressive po wer at short term exceeding significantly the specified 200 W on 8 ohm which you can clearly hear Amp one is professionally and richly equipped and of co...

Page 4: ...o user serviceable components inside your device To avoid the hazard of an electric shock the unit must not be opened All maintenance adjust ment and repair work must be performed by qualified technicians only Any unauthorized tampering will void the 2 year warranty 9 To comply with the EMV requirements shielded cables with correctly fitted connectors must be used for all signal connections 10 Ple...

Page 5: ...t power on power on off switch with fuse holder ref to technical data mains fuse 1 2 3 4 5 6 7 8 9 10 11 12 13 14 15 16 3 2 Rear Side 16 17 18 19 20 21 threshold treshold control input signal ratio compression ratio control active compressor active mode indicator on off compressor activation switch deactivated acitve master master level control power on off status indicator IB_AmpOne_1201 CAUTION ...

Page 6: ...al chain is neither too high nor too low This applies equally to all com ponents of a unit e g equalizer tone balance com pressor Consequently care must be taken that no part of the circuit is overloaded or that distortion is unintentio nally added to the signal We have carefully designed the circuit to achieve this objective whilst also provi ding controls gain master level for manual interven ti...

Page 7: ...ER products the amp three is fitted with an excellent basic tone thanks to the selection of com ponents circuits and pre equalizations In addition va rious equalizer networks enable you to adjust the ba sic tone to suit your personal requirements With amp three you can activate fixed filters colour bass boost and two adjustable filter networks equalizer and tone balance Note Basically instruments ...

Page 8: ...axis OUT are shown in dB Along the 45 line the input and output levels are the same that means a compression ratio of 1 1 there fore no compression A compression of e g ratio 4 1 means that further in crease in level above the threshold will be maintained at a constant ratio of 4 1 In other words if the input level increases by a factor 4 then the output level only increases by a factor 1 This mea...

Page 9: ...part of the effect loop path return represents the input for an external effect device from the out put of the effect device Return on it s own may also be used as quasi auxiliary signal input 10 dbV 8 and 9 insert pre eq insert post eq Insert pre post eq are two more effect loop paths to loop additional external effects filter compressor etc inzo the signal path either pre or post equali zation 1...

Page 10: ...wise balance left 12 dB at 50 Hz balance center 9 dB at 50 Hz and 10 dB at 10 kHz balance right 2 dB at 50 Hz and 11 dB at 10 kHz shelf type frequency response Compressor note 5 Characteristics Soft knee RMS responding gain reduction Threshold adjustment range 0 25 mV 78 mV 72 dBV 22 dBV at instrument input Ratio adjustment range 1 1 5 1 RMS Time constant 40 ms Indicator LED Lights up at ca 1 dB g...

Page 11: ... OFF ON BASS MIDDLE TREBLE FREQ OFF ON BASS BOOST BANDWIDTH TONE BALANCE COMPRESSOR OFF ON THRESH RATIO TUNER SEND RETURN LINE OUT SUB OUT HEADPHONES HEADPHONES AMP POWER AMP SUBSONIC RMS LIMITER AUX MASTER DI OUT DI OUT PRE POST EQ MUTE INPUT DI OUT LEVEL CLIP DETECTION CLIP DETECTION CLIP DETECTION COLOUR FOOT SWITCH INSERT PRE EQ INSERT POST EQ AUX IN 1 2 3 T R T R T R T R ...

Page 12: ...www aer amps com amp one 2012_01_GB ...

Reviews: