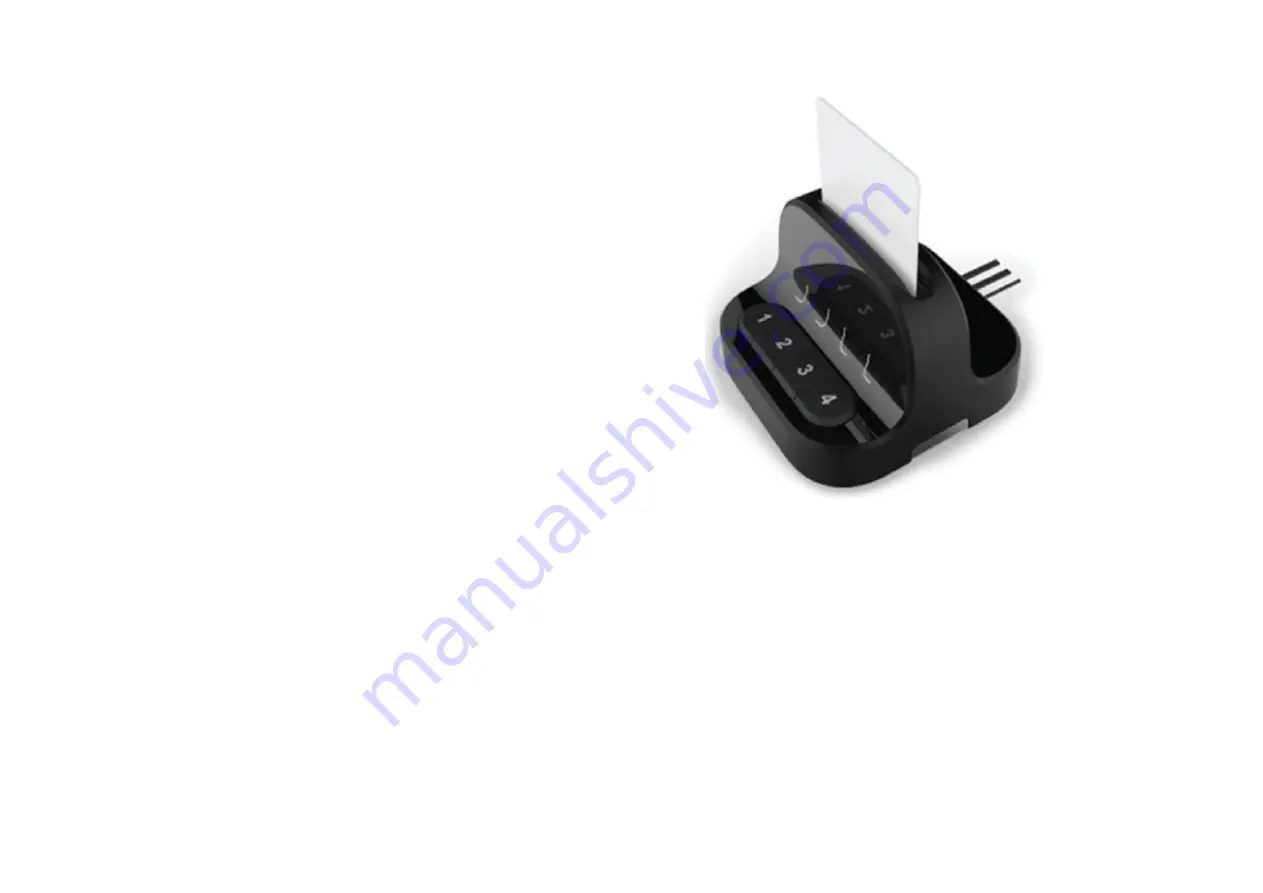
Operation
Pre-requisites
1
Install the applications, drivers and files of the cryptographic software (CSP) which corresponds to
your selected smart card vendor.
2 A smartcard.
3
Verify that your smart card setup works correctly on each PC using a standard smart card reader
prior to connecting the Card Reader.
4
Connect the Card Reader to each PC and power on. The PC Number LEDs will blink constantly.
Inserting the Smartcard
Insert your smart card into the Card Reader socket, ensuring that the smart card chip is facing
towards you.
Initial Association
Press first PC Number Button to initialize the Card Reader with the corresponding PC. The PC
Number LED blinks for 5 seconds and when the association is complete, the LED is ON constantly.
The Card Reader appears as a smartcard reader under PC’s device manager.
Further Associations
Press a PC Number Button to initialize the Card Reader with the corresponding PC. The current PC
Number Button LED turns OFF and disassociates with the PC. The new PC Number LED blinks for 5
seconds and then LED turns ON constantly when the association is complete.
Looking at the device manager; the previous PC card will disappear and will appear under device
manager of the new PC.
Smartcard Removal
Removing the smartcard from the Reader immediately de-associates the card and Reader from all
associated PCs. As a result, smartcard-aware applications will notice the smartcard absence and
respond accordingly.
For example, a Windows PC that is configured to require smartcards for user logon may be set to lock
the user’s desktop once the smartcard is removed.
Re-associating the Card Reader
In order to use the smartcard after it’s been previously removed from the Reader, the user has to
insert the smartcard into the Reader and complete the Initial Association procedure.


