


Icons
Meanings
Full battery life.
Adequate battery life.
Low battery life.
Empty battery life.
*Please replace batteries immediately when the icon indicates that the battery
power is depleted.
3. Conserving battery power
If the camera stays idle over 60 seconds, the LCD display will be
turned off automatically to conserve power. In addition, you can
manually set the
LCD on/off switch
to off to conserve battery
power.
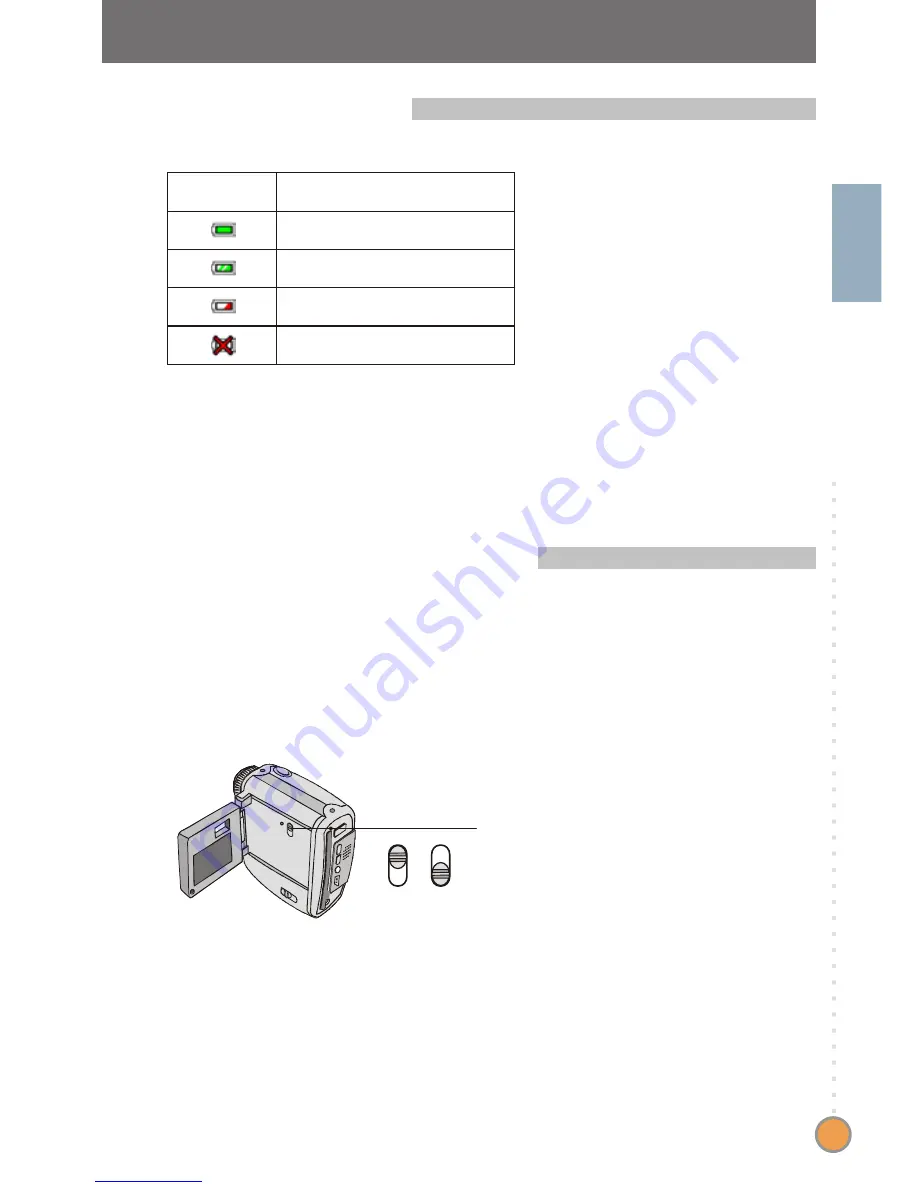
LCD on/off switch
On
Off
O
th
e
r I
n
fo
rm
a
tio
n
43
2. Battery indicator
Get user manuals:


