Accessories such as screws and lugs to fasten the Access Point to a wall
are provided in the Accessories bag.
Connecting the Access Point to a network
Now that your
Action
tec 54 Mbps Wireless Access Point has been installed, it is
ready to be connected to the power outlet and to your wired network.
1.
Attach the power adapter output connector to
the
Action
tec 54 Mbps Wireless Access Point
and check the power LED to see if you are
connected properly.
2.
Identify the Ethernet port; this is located next to the power connector on
the
Action
tec 802.11.Access Point.
3.
Attach the Ethernet cable to the
Action
tec 54 Mbps Wireless Access Point
and connect the cable on the other end to either a hub in the network, or a
computer. Please see note below for proper connection.
lV
lV
8
9
Installing the
Action
tec 54 Mbps Wireless Access Point
Installing the
Action
tec 54 Mbps Wireless Access Point
The
Action
tec 54 Mbps Wireless Access Point can be installed in 2 different ways:
On a desktop.
Determine a clear area within your desktop where the
Action
tec 54 Mbps
Wireless Access Point can be placed in a horizontal position clear of
obstructions.
Mounted on a wall.
Prior to drilling holes into a wall, make sure the wall area of interest is clear of
electrical wiring or water pipes.
Determine the position of the screws and mark with a pencil.
Drill holes in the wall at the location of the marks.
Insert plastic lugs into the holes
Fasten the screws into the plastic lugs and make sure to leave a 3mm distance
as clearance between the wall and screw heads.
Mount the
Action
tec54 Mbps Wireless Access Point onto the screws.
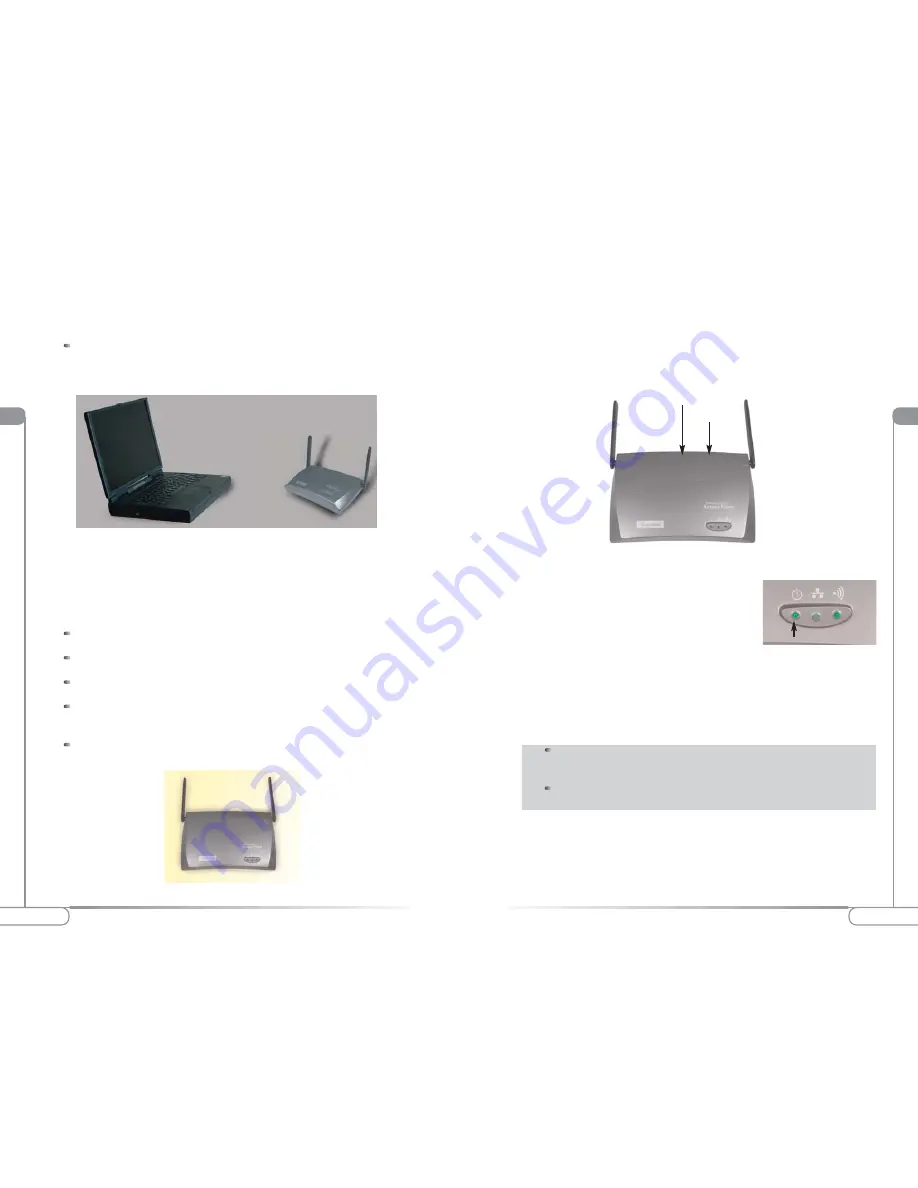
Figure 5.
Action
tec 54 Mbps Wireless Access Point on a desktop
Figure 6.
Action
tec 54 Mbps Wireless Access Point on a wall
Figure 7
Action
tec 54 Mbps Wireless Access Point connectors
If the
Action
tec 54 Mbps Wireless Access Point is connected to a hub
or switch, a 'cross-over' Ethernet cable must be used.
If the
Action
tec 54 Mbps Wireless Access Point is connected directly to
a computer, a 'straight' Ethernet cable must be used.
Power Port
Ethernet Port
Power LED


