Step 1. Installing the Libero IDE and CoreConsole -
SoftConsole tools
Follow the instructions provided with the Libero v8.0 CD for installing Libero
IDE, CoreConsole, and SoftConsole tools.
For futher information on how to use the Libero, CoreConsole and
SoftConsole tools, please refer to the documentation supplied in the Libero
IDE DVD case and on the CDs or go to the Actel website.
Step 2. Installing the IGLOO Development Kit using the
Install CD
Simply place the Install CD in the CD Drive on your PC (PC refers to either
your Personal Computer or Laptop). The CD should automatically start an
auto-run session. At this point, follow the instructions (prompts) on the
“Install” dialog box.
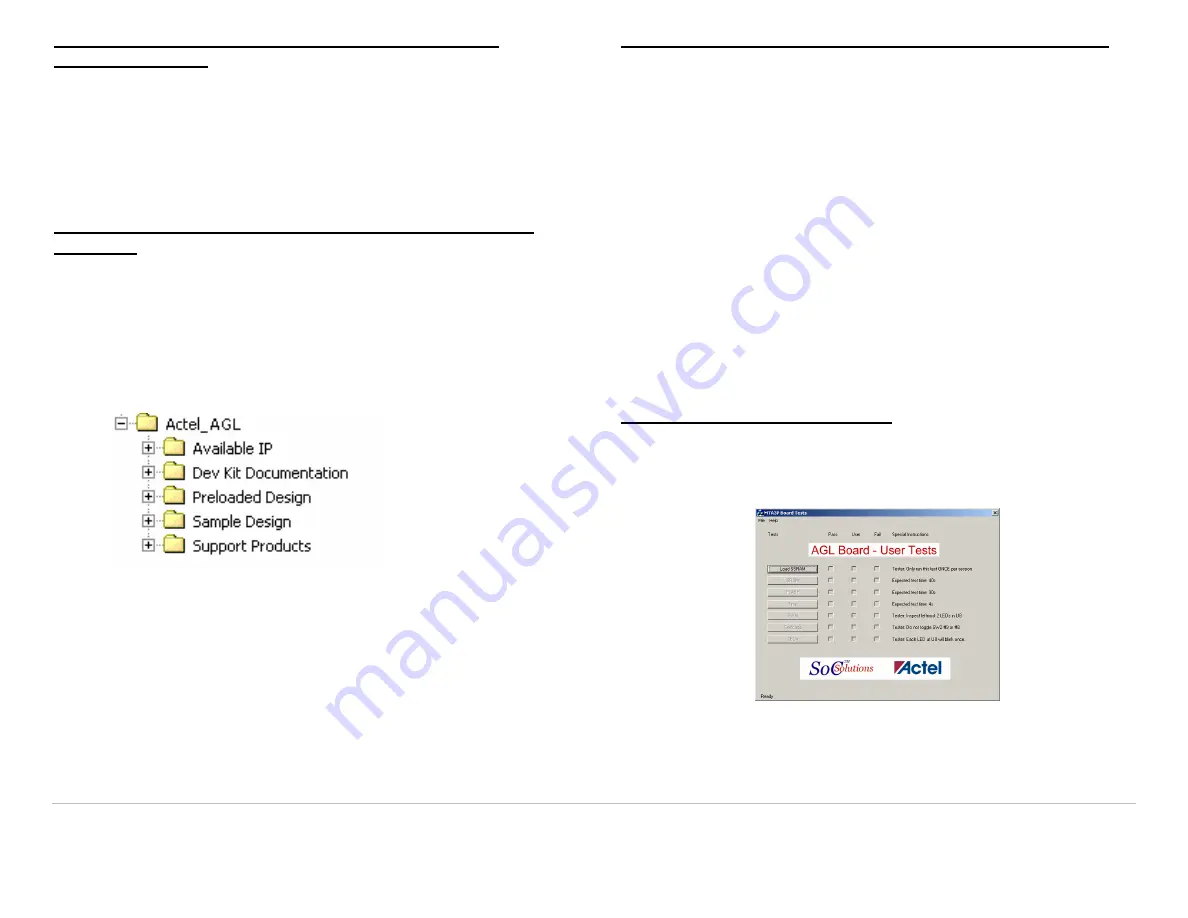
The “Install” application will properly place all the documentation and sample
project files in the C:\Actel_AGL folder (default) or the user selected folder.
The “Install” application will also set up the USB drivers on your PC, both the
embedded FlashPro3 Programmer circuitry and the USB Serial port.
The Install CD contains the following documention:
AGL Board Schematics
AGL User Guide
Sample Reference Design Project
Available IP
Support Products such as
Swif
Trax
embedded monitor.
Step 3. Powering up the board and running “User Tests”
Before powering up the AGL board for the first time, please make sure the
switches and jumpers are in the following, factory set, positions:
SW2:
All switches (0-9) are in the ON position.
Jumpers:
JP1, JP2, JP3(2-3), JP4, JP5(1-2), JP6, JP7, JP9(2-3), JP10,
JP11, JP12, JP13(2-3), JP14, JP15, JP16(2-3), JP17(2-3),
JP18(2-3), JP19(2-3), JP20(2-3), JP21(2-3), JP22(3-4),
JP23,JP24
are installed.
All
others
are not installed.
Plug in one end of the USB cable to the PC and the other to the USB
(PROG) connector on the AGL board. Power is applied to the board from the
PC or Laptop through the USB (PROG) cable.
Note: If prompted for Flash Pro USB drivers, see the Libero 8.0
documentation for instructions on installing the drivers.
Now plug in the second USB cable to the PC and the AGL board. You should
see several LEDs (including Power LED) light.
Step 4. Running the User Tests
On the PC start the AGL test GUI by going to the
C:\Actel_AGL\Preloaded Design\Software\AGL_User_Tests
folder and double clicking on the
AGL_Tests.exe
file. Choose connected
COM port. For example “COM4”.
Now test each function on the board by clicking each test button in sequence
from top to bottom. Please check to make sure all tests pass.
When finished, be sure to close the GUI, thus shutting down the application.


