


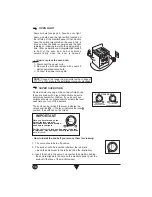


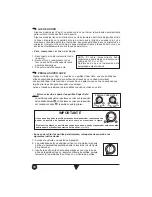

To program the timer:
1.- Push the button (a point at right side will glow).
2.- Push the and buttons to fix the desired time, (the maximum timer
time is 1 hour 59 minutes).
IMPORTANT: Do not change the clock mode. When the timer finishes, a bell will
ring. Pushing the button while the timer is running will stop and clear the
timer.
NOTE: The clock is adjusted at the factory to work with a frecuency of 60 Hz, if in your comunity
the electrical supply is at 50 Hz, move the small lever located on the back of the clock to the
left position.
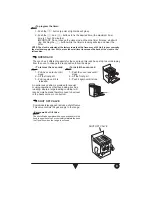
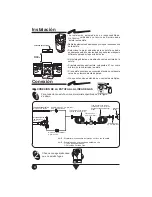
OVEN RACK
The oven has 4 different supports for the oven rack, this rack has a stop to avoid droping
from the oven, to change the rack position follow the steps:
To remove the oven rack:
1.- Pull the oven rack until it
stops.
2.- Lift the front part.
3.- Pull it again until it is
released.
To install the oven rack:
1.- Push the oven rack until it
stops.
2.- Lift the front part.
3.- Push it again until it stops.
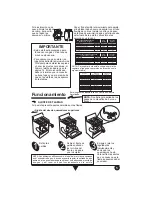
An extra rack position is provided for special
cooking operations other than baking, such as
roasting, where a large roasting container will
require more heat and therefore need to be closer
to the heat source or oven bottom.
EXTRA RACK
POSITION
9
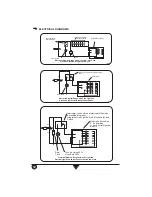
SHUT OFF VALVE
Some models (see page 2) include a shut off valve.
This valve controls the gas supply to the range.
Backguard Shut Off Valve:
The shut off valve operates with a knob, push and turn the
knob to open the valve. For your safety maintain the knob
in off position when the range is not used.
SHUT OFF VALVE