


English
- 35 -
Use / button to change menu timeout to
15 sec
,
30 sec
or
60 sec
.
Teletext Language
Press
or
button to select
Teletext
Language
. Use
/
button to change
Teletext Language
to
West
,
East
,
Turk/Gre
,
Cyrillic
or
Arabic
.
Default Zoom
While zoom mode is set as
AUTO
, the TV will
set the zoom mode in accordance with the
signal of the broadcast. If there is no WSS or
aspect ratio information, the TV will then use
this setting to adopt.
Press or button to select
Default Zoom
.
You can set
Default Zoom
to
Panoramic, 16:9,
4:3
or
14:9 Zoom
by pressing
/
button.
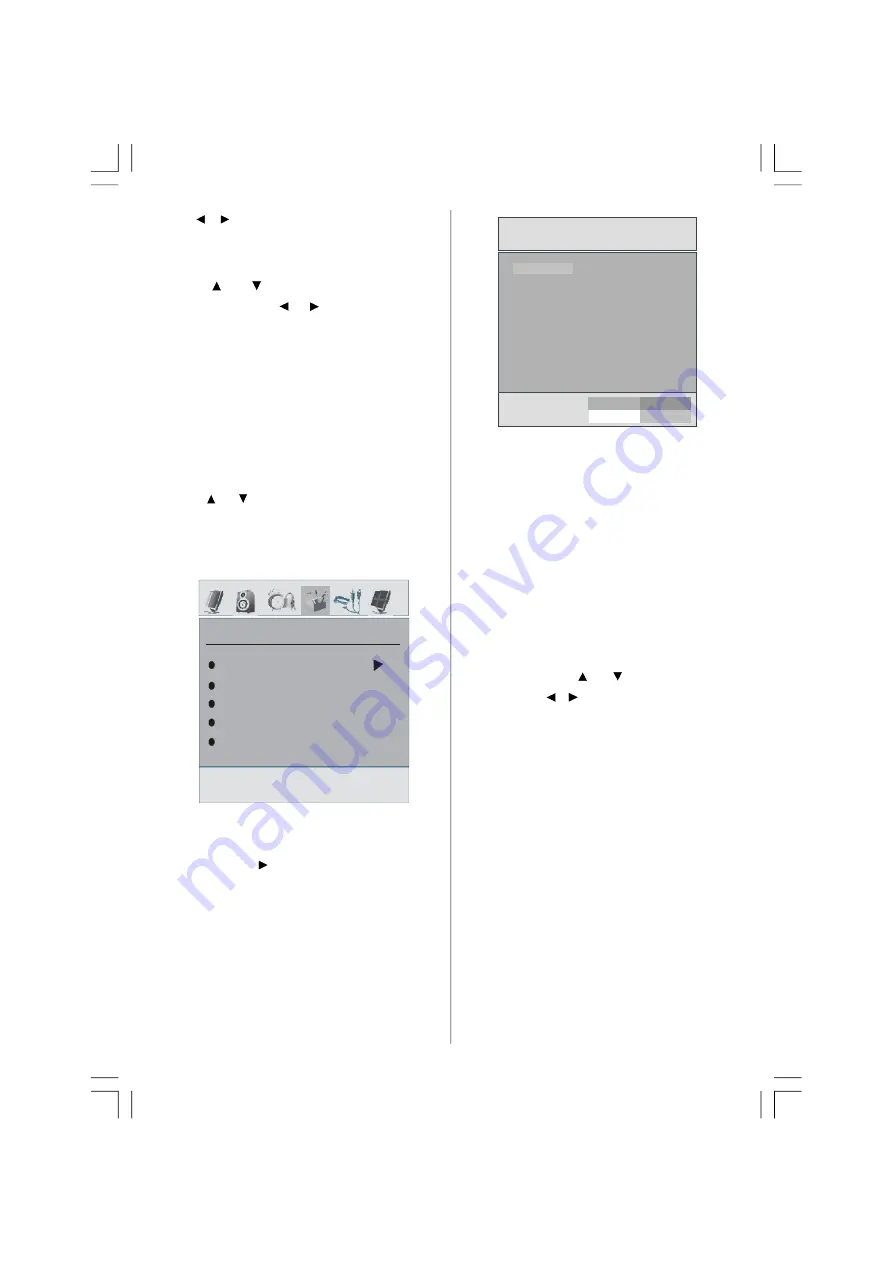
Install Menu
INSTALL
Program Table
Program
Band
Channel
Colour System
Program Table
Select Program Table by pressing
/
button. Press “ ” to display Program Table:
P02 C 04
P03 C 05
P04 BBC 1
P05 CH 4
P06 BBC 2
P07 C 04
P08 C 07
P09 C 12
P10 C 15
P11 S 18
P12 S 29
P13 S 31
P14 S 33
P15 S 34
P16 S 35
P17 S 36
P18 S 37
P19 S 40
P20 C 21
Name
Delete
Insert
APS
P01 BBC 1
Program Table
By moving the cursor in four directions you
can reach 20 programmes in the same page.
You can scroll the pages up or down by
pressing the navigation buttons to see all the
programmes in TV mode (except for the AV
modes). By cursor action, programme
selection is done automatically.
Name
To change the name of a programme, select
the programme and press the
RED
button.
The first letter of the selected name will be
highlighted. Press or button to change
that letter and / button to select the other
letters. By pressing the
RED
button, you can
store the name.
Insert
Select the programme which you want to insert
by navigation buttons. Press the
GREEN
button. By navigation buttons move the
selected programme to the decided
programme space and press the
GREEN
button again.
Delete
To delete a programme, press the
YELLOW
button. Pressing the
YELLOW
button again
erases the selected programme from the
programme list, and the following
programmes shift one line up.
ENG-42762W-1055 UK-42INCH-17MB12 UK IDTV-(1 HDMI-3D PAN-WO SVHS-BASIC PIP-WO VGA)-C2-50120455.p65
03.12.2007, 16:41
35
PDF compression, OCR, web optimization using a watermarked evaluation copy of CVISION PDFCompressor


