


Chapter 5
Touch Screen Installation
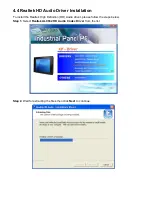
This chapter describes how to install drivers and other software that will allow your PenMount 6000
Controller Board to work with different operating systems.
NOTE:
PenMount USB drivers support up to 15 USB controllers.
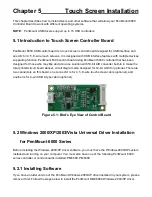
5.1 Introduction to Touch Screen Controller Board
PenMount 6300 USB control board is a touch screen control board designed for USB interface and
specific for 4, 5, 8-wire touch screens. It is designed with USB interface features with multiple devices
supporting function. PenMount 6300 control board using PenMount 6000 controller that has been
designed for those who may like and all-in-one solution with 10-bit A/D converter built-in to make the
total printed circuit board denser, circuit diagram also designed for 12-bit ADC for optional. There are
two connectors on this board, one connector is for 4, 5, 8-wire touch screen cable (optional), and
another is for 4-pin USB A type cable (optional).
Figure 5.1: Bird
’s Eye View of Control Board
5.2 Windows 2000/XP/2003/Vista Universal Driver Installation
for PenMount 6000 Series
Before installing the Windows 2000/XP driver software, you must have the Windows 2000/XP system
installed and running on your computer. You must also have one of the following PenMount 6000
series controller or control boards installed: PM6500, PM6300.
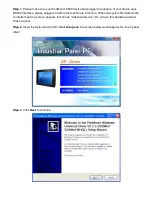
5.2.1 Installing Software
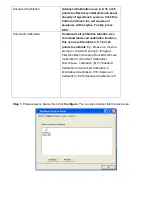
If you have an older version of the PenMount Windows 2000/XP driver installed in your system, please
remove it first. Follow the steps below to install the PenMount DMC6000 Windows 2000/XP driver.
Summary of Contents for PC8719
Page 8: ...1 2 Dimensions Figure 1 1 Dimensions of PC 8719...
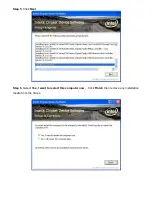
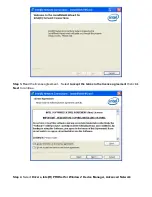
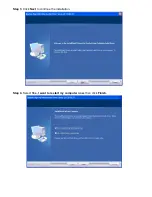
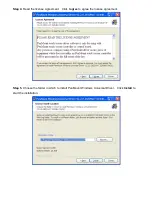
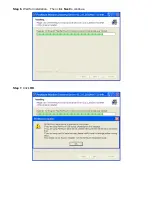
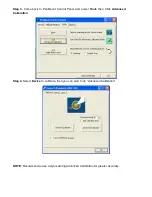
Page 58: ...Step 5 Click Next Step 6 Click Continue Anyway...
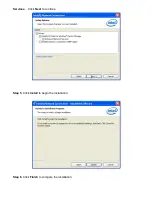
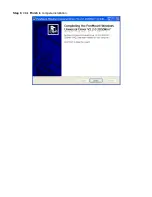
Page 59: ...Step 7 Click Continue Anyway Step 8 Click Next...
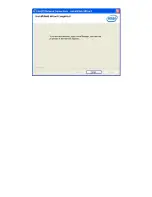
Page 60: ...Step 9 Select Yes I want to restart this computer now Click Finish...
Page 64: ......
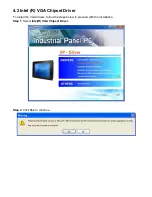
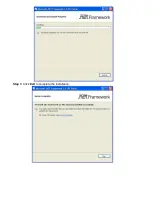
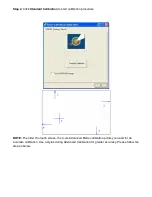
Page 68: ...Step 3 Click Exit to complete the installation...
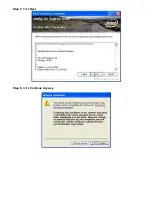
Page 72: ...Step 6 Wait for installation Then click Next to continue Step 7 Click OK...
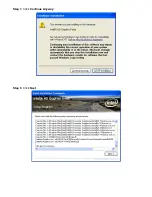
Page 73: ...Step 8 Click Finish to compete installation...
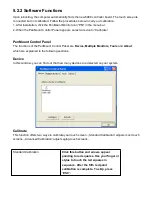
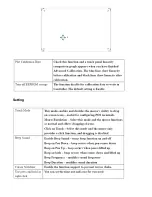
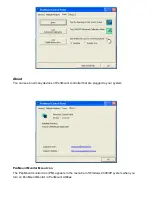
Page 78: ...Setting...
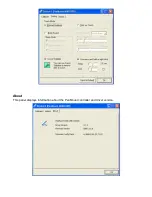
Page 79: ...About This panel displays information about the PenMount controller and driver version...
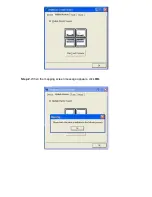
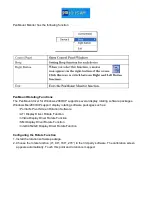
Page 81: ...Step 2 When the mapping screen message appears click OK...
Page 85: ...NOTE The Rotate function is disabled if you use Monitor Mapping...