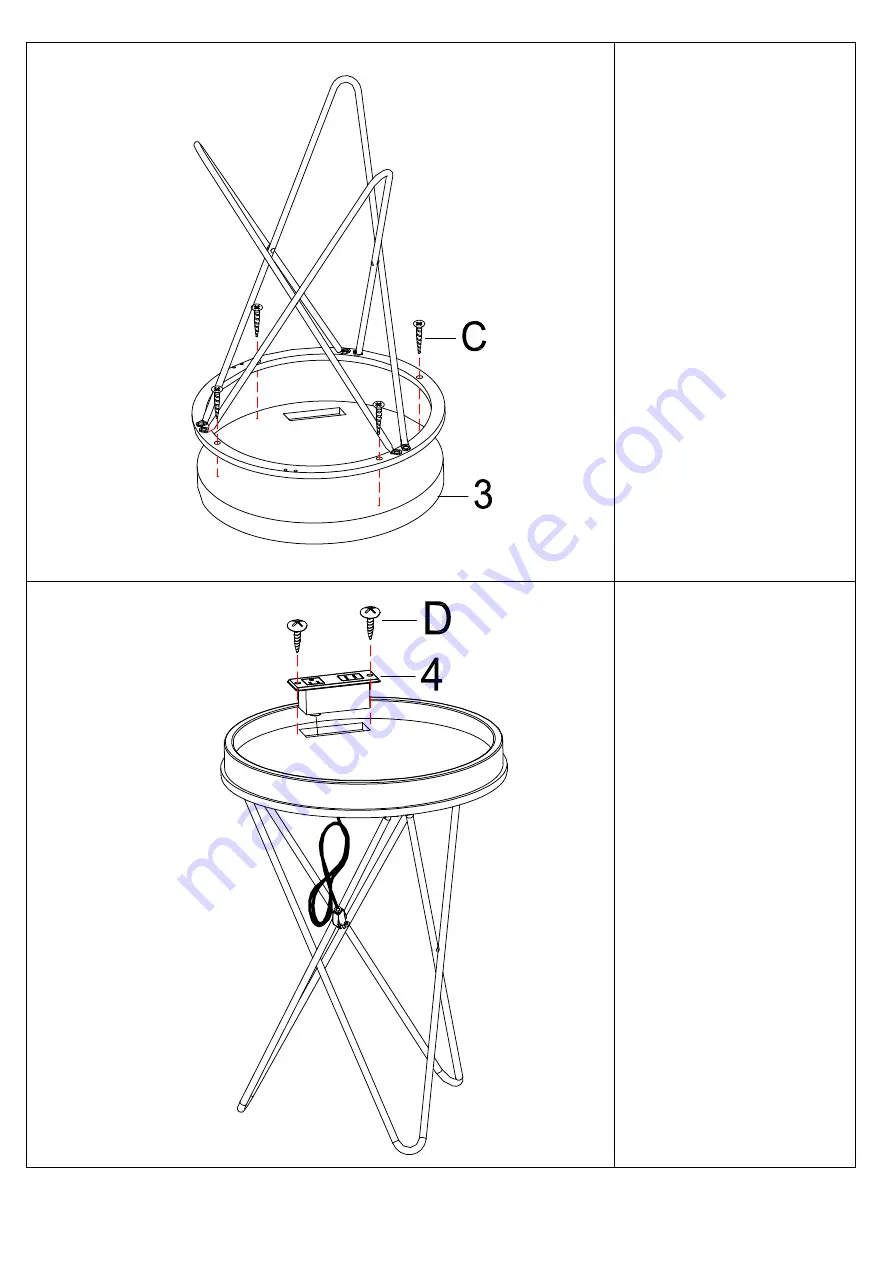
STEP 4
Attach the assembled unit to tray (3) by using screws (C) as shown. Tighten all bolts and carefully turn the assembled unit upright.
STEP 5
Attach USB device (4) to tray (3) by using screws (D) as shown.
Your charging station is now complete.
Page 1: ...X 3 8 6PCS BOLT 3 16 X 3 4 3PCS SCREW M8 X 7 8 4PCS SCREW 2PCS Do not tighten screws bolts until the entire unit is completely assembled STEP 1 Please put all parts on a soft surface to prevent scratc...
Page 2: ...ach another leg 2 to metal frame 1 by using bolts A and use bolt B to fix the two legs together as shown STEP 3 Repeat the step as step 2 that attach last leg 2 to metal frame 1 by using bolts A and u...
Page 3: ...assembled unit to tray 3 by using screws C as shown Tighten all bolts and carefully turn the assembled unit upright STEP 5 Attach USB device 4 to tray 3 by using screws D as shown Your charging statio...