


If A Menu Is Shown On The TV Screen
When inserting a DVD or VCD disc, a menu may be
displayed before playback. From the menu, you may select
a desired item to be played back.
For DVD Video
1. Use the arrow keys to select the track desired
2. Press
ENTER
and the player will playback the
selected track.
For Video CD
1. Press the numeric buttons to select a desired item.
The player starts playback of the selected item.
NOTE
To End Playback
Press STOP to end playback.
To Resume Playback
On DVDs and VCDs, you can resume playback by
pressing the
PLAY
button.
To Stop Playback Completely
Press the
STOP
button twice. Now when you press the
PLAY
button,it will begin from the beginning of the disc.
Also, if you eject the disc, playback completely
stops and ejects the disc.
To Pause Playback
Press the
PAUSE
button to pause playback. To
resume, press either the
PLAY
or
PAUSE
button.
Basic Operation
*Do NOT insert a damaged disc
If a disc takes more than usual to read or the DISPLAY
WINDOW shows LOAD for an extended period of time,
press EJECT on the remote or from the front of the unit and
check disc for any dirt/fingerprints or defects.
To Advance Or Reverse Playback While Viewing
During playback on DVDs and VCDs, press
FAST
FORWARD
>> or
FAST BACKWARD
<< on the remote
unit. You can select from 2X, 4X, 8X, 20X
the normal playback speed.
NOTE
9
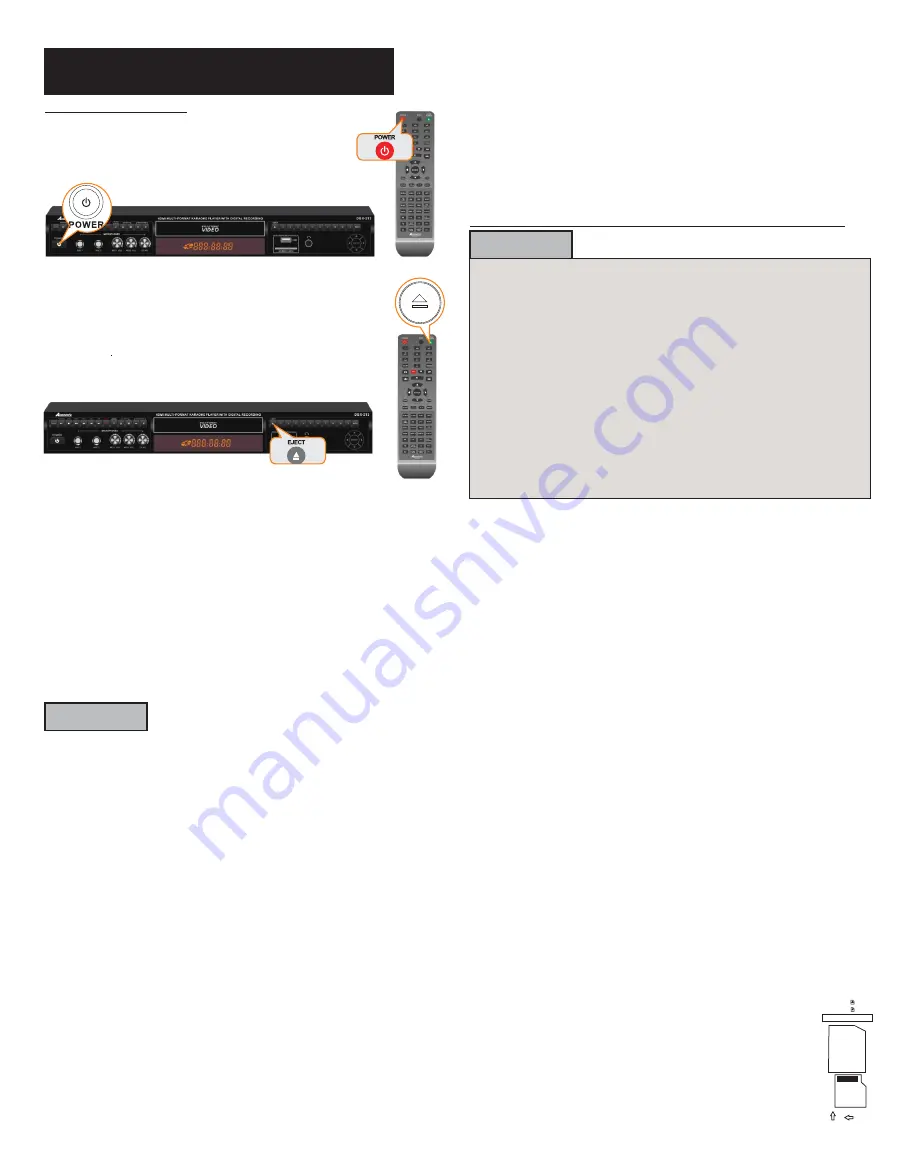
Loading A Disc
1. Press
EJECT
to open the disc tray.
2. Place a disc in the disc tray.
3. Press
EJECT
to close the disc tray.
4. The Disc will play automatically
Basic Playback
Turn on the machine
*During forward or reverse, the sound will be muted.
Play back from USB and SD card devices
Please note, this player is not a computer system
and so it cannot support large external hard drives and
any storage device containing more than
10,000 files
.
For example, 2,000 MP3s files or 2,000 MP3G songs
(each MP3G contains 2 files adding up to 4,000 files;
.cdg +.mp3 = MP3G).
The DGX-213 may support 2.5” external hard drives
that do not require an external power source but we
cannot guarantee it will support all models. Acesonic
recommends using a USB flash drive formatted to
FAT32
but due to the many different brands available,
we cannot guarantee every USB flash drive will work.
Please try another brand if you are experiencing
compatibility issues.
USB port and operation
SD card slots
SD
SD
MINI SD
Insert card as below
MINISD
You can play your own video and audio files as the DGX-
213 supports MP3, CD+G, MP3+G, DVD, AVI and DivX
formats that are stored in external memory devices
(flash drives, card readers). Note: These devices must
be in FAT32 format to play content. See bottom of page 3
for compatible file formats
If no disc is being played, audio and video files from a
connected external memory device (USB device or SD
card) will automatically be selected and played.
Otherwise, switch to USB playback:
1. Press the STOP button.
2. Press USB PORT button to make the USB menu appear on
the screen.
3. Select a song from the song list.
4. Press ENTER to play.
5. Press DVD DISC button to switch back to DVD playback.
You can play video and audio files (MP3, CD+G,
MP3+G, DVD, AVI and DivX formats) stored on SD cards
by inserting any one of such devices into the slots.
If no disc is being played, the unit will automatically
select audio and video files from the external memory
devices connected. Note: These devices have to be in
FAT32 format to play content.
If you need to switch to memory card playback:
1. Press STOP.
2. Press SD CARD button to make
the SD CARD menu appear on the screen.
3. Select a song from the window.
4. Press ENTER to play your selection.


