8.
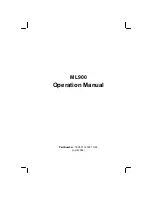
Align the hard drive door latches in the slots on the lower case and press the hard drive
door firmly until it is fully seated.
9.
Secure the hard drive door with the screw you removed in step one.
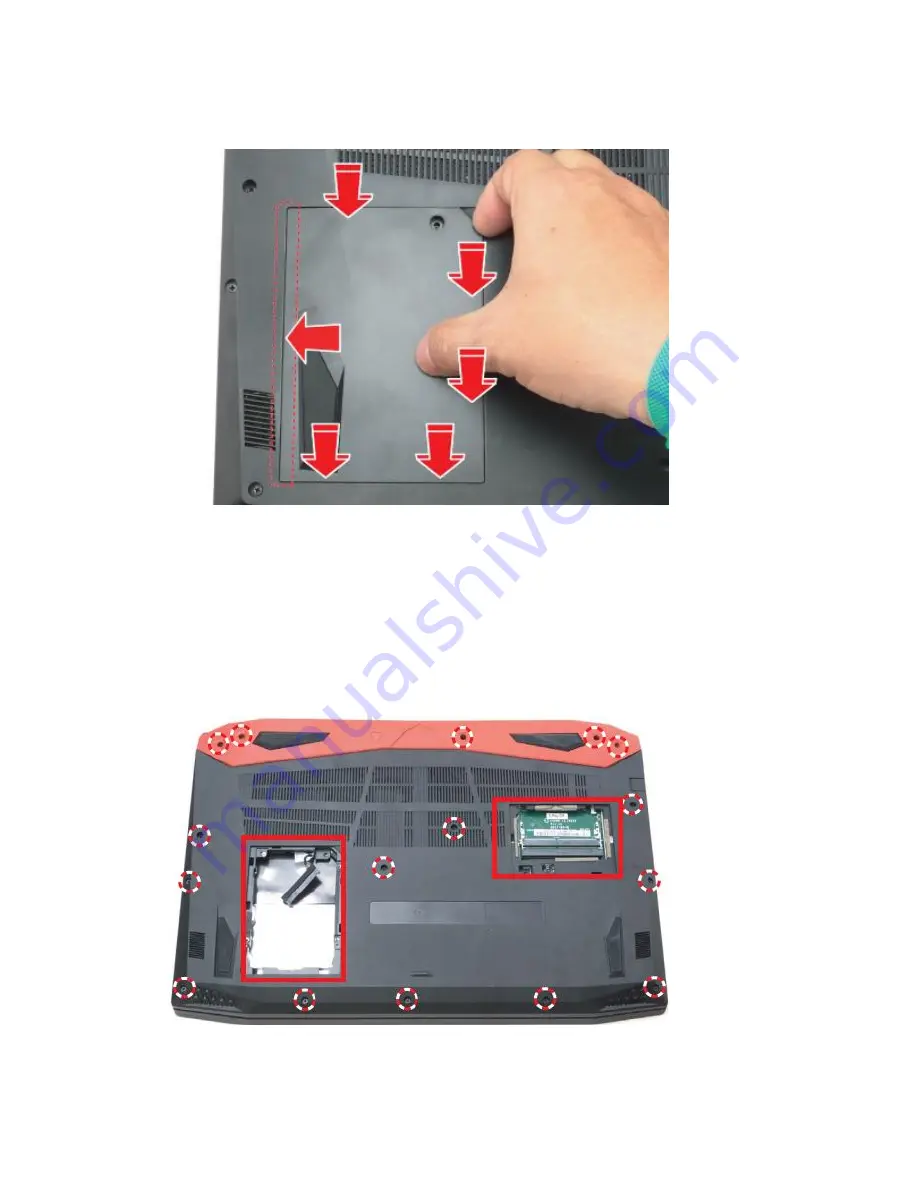
Extended installation instructions - For models that require installation of a hard
drive cable to connect a second drive.
1.
Remove the hard drive and memory access panels (shown in the red rectangles below),
then remove the15 screws that secure the lower case.
Summary of Contents for Predator Helios 300 G3-571
Page 6: ......