Chapter 2
47
BIOS Setup Utility
The BIOS Setup Utility is a hardware configuration program built into your computer’s BIOS (Basic Input/
Output System).
Your computer is already properly configured and optimized, and you do not need to run this utility. However,
if you encounter configuration problems, you may need to run Setup. Please also refer to Chapter 4
Troubleshooting when problem arises.
To activate the BIOS Utility, press
m
during POST (when “Press <F2> to enter Setup” message is prompted
on the bottom of screen).
The setup screen displays BIOS as follows:Navigating the BIOS Utility
During setup,all Fn function keys and power saving functions are disabled.
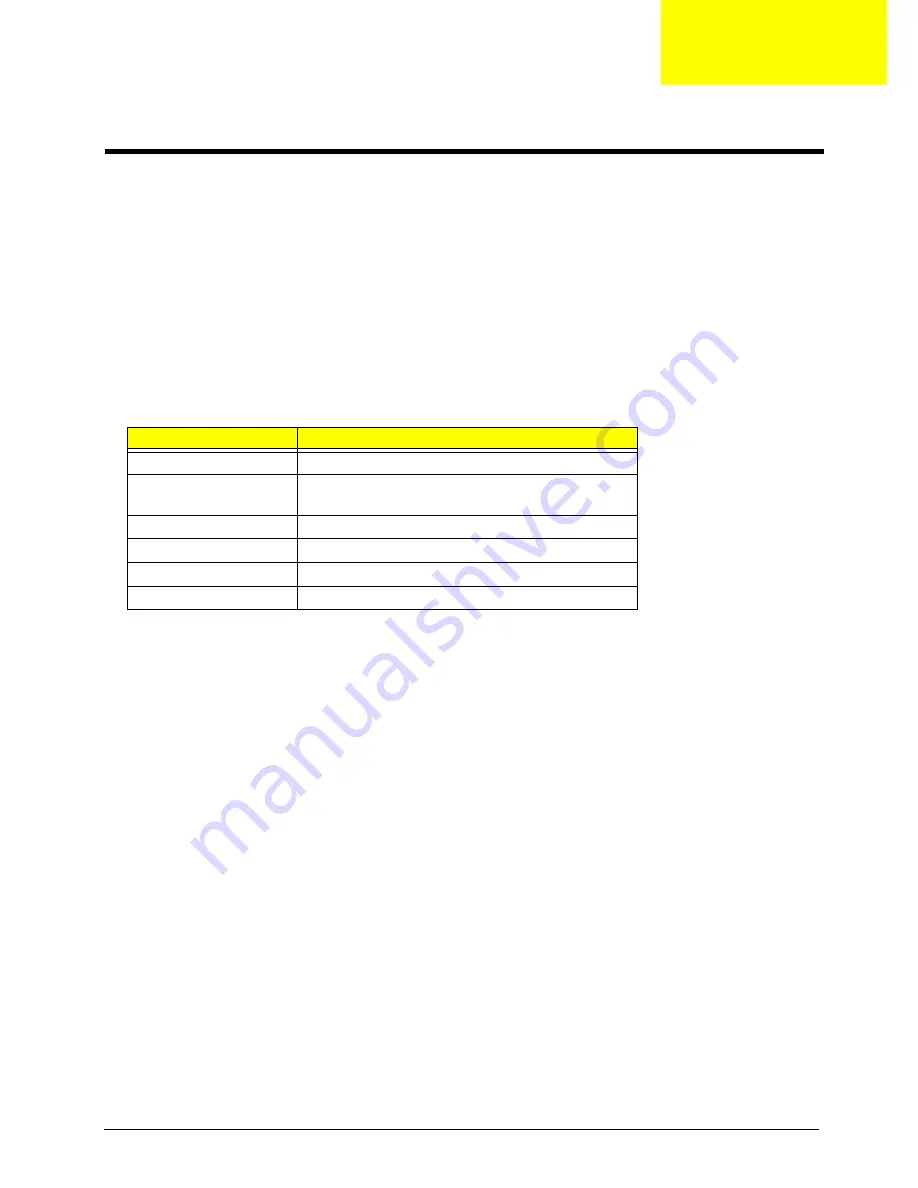
There are five menu options: Main, Advanced, Security, Boot and Exit.
Follow these instructions:
!
To choose a menu, use the cursor left/right keys (
zx
).
!
To choose a parameter, use the cursor up/down keys (
wy
).
!
To change the value of a parameter, press
p
or
q
.
!
Press
^
while you are in any of the menu options to go to the Exit menu.
!
In any menu, you can load default settings by pressing
t
. You can also press
u
to save any
changes made and exit the BIOS Setup Utility.
NOTE:
You can change the value of a parameter if it is enclosed in square brackets. Navigation keys for a
particular menu are shown on the bottom of the screen. Help for parameters are found in the Item
Specific Help part of the screen. Read this carefully when making changes to parameter values.
Function
Item
Information
Display the system informations
Main
Allows the user to specify standard IBM PC AT
system parameters
Advanced
Provides advanced settings of the system
Security
Provides security settings of the system
Boot
Allows the user to specify the boot options
Exit
Allows the user to save CMOS setting and exit Setup
System Utilities
Chapter 2
Summary of Contents for Aspire 1690 Series
Page 10: ...Chapter 1 3 Mainboard Placement Top View ...
Page 11: ...4 Chapter 1 Rear View ...
Page 82: ...75 Chapter 3 ...
Page 105: ...Chapter 5 97 Top View Jumper and Connector Locations Chapter 5 ...
Page 106: ...98 Chapter 5 Rear View ...
Page 108: ...100 Chapter 5 RTC Jumper ...
Page 110: ...102 Chapter 6 Exploded Diagram ...


