


46
English
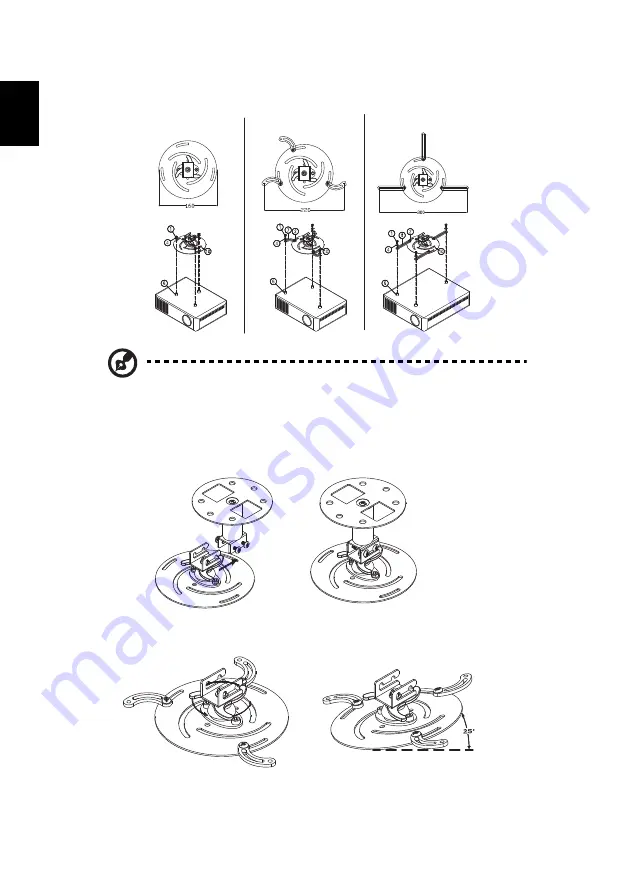
Type 2 and Type 3: Alternatively, for the larger size, use the sliding
extensions for more supports.
Note: It is recommended that you keep a reasonable space
between the bracket and the projector to allow for proper heat
distribution.
4
Connect the main body connector to the projector bracket (illustration 1),
and then screw up four screws (illustration 2).
5
Adjust the angle and positioning as necessary.
Type 1
Type 2
Type 3
Illustration 1
Illustration 2
360°


