3 System upgrade
40
3
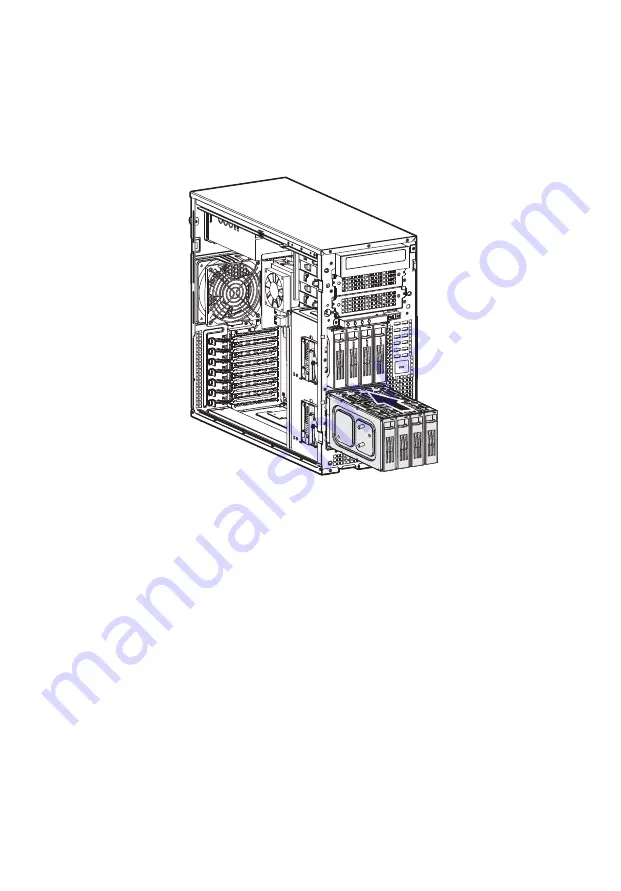
Install the HDD cage.
(1) Slide the cage into the lower bay with the HDD carriers facing
front.
The cage locked to the chassis with an audible click.
If you have installed a hot-plug HDD cage, proceed to next
step for related drive cable connections.
Drive cable connections for an easy-swap HDD can be found
on page page 45.
(2) Connect the following cables to the hot-plug HDD cage
backplane board.
(1) Connect the hard drive power cables to the CN1 and CN2
connectors of the backplane board.
(2) Connect the SAS/SATA2 cable to the SAS/CON connector
of the backplane board.
Summary of Contents for Altos G5450 Series
Page 1: ...Acer Altos G5450 Series User s Guide ...
Page 18: ...xviii ...
Page 19: ...1 System tour ...
Page 32: ...1 System tour 14 System boards Mainboard ...
Page 41: ...2 System setup ...
Page 50: ...2 System setup 32 ...
Page 51: ...3 System upgrade ...
Page 85: ...4 System BIOS ...
Page 86: ...4 System BIOS 68 ...
Page 113: ...5 System troubleshooting ...
Page 124: ...5 System troubleshooting 106 ...
Page 125: ...Appendix A Server management tools ...
Page 133: ...Appendix B Rack mount configuration ...
Page 134: ...This appendix shows you how to set up the Altos G5450 server in a rack mount configuration ...


