2-5
IDU Installation
2
3.
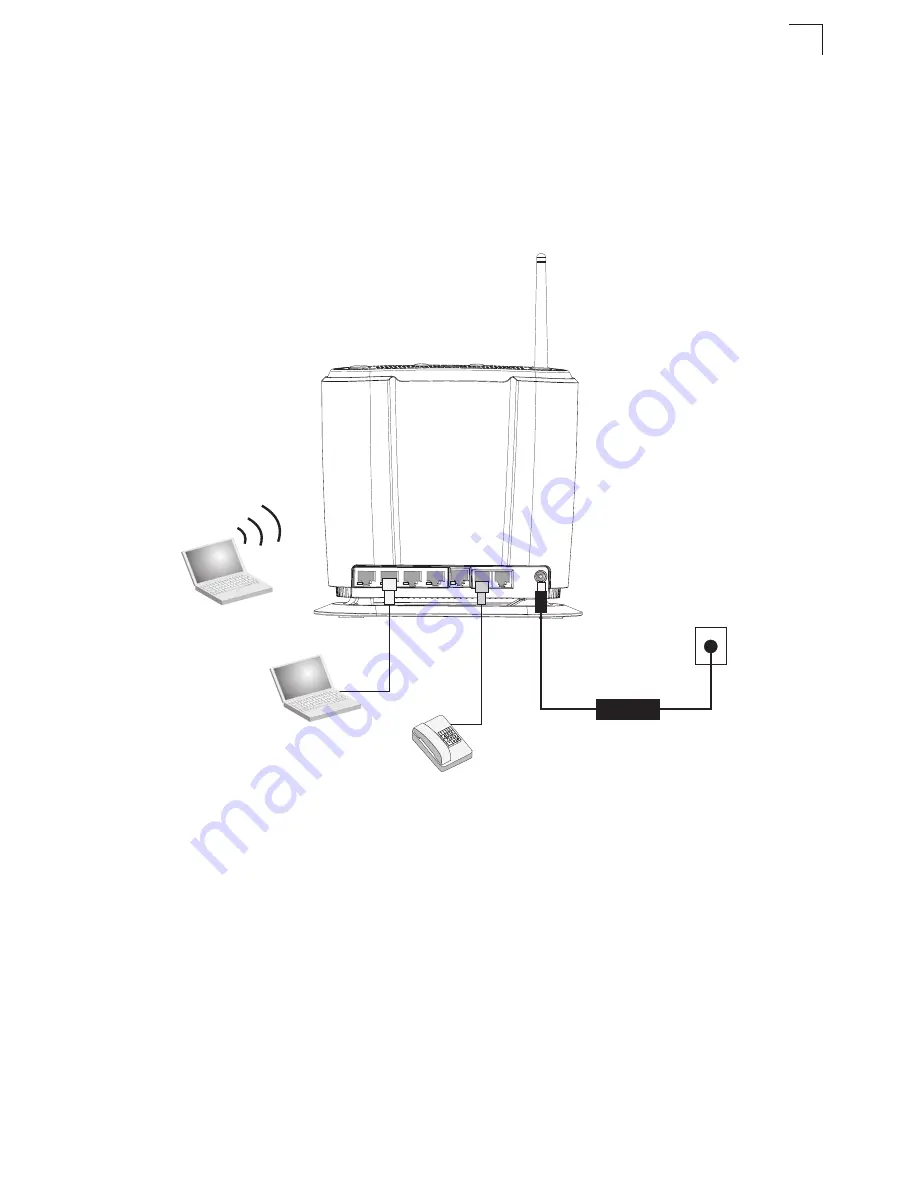
Connect Category 5 or better Ethernet cables from the IDU’s LAN ports to the
network ports of your PCs. Alternatively, you can connect the LAN ports to an
Ethernet switch or other devices. Make sure the length of each cable does not
exceed 100 meters (328 ft).
If your PCs are powered on, the RJ-45 LAN port LEDs on the IDU should turn
on to indicate valid links.
Figure 2-3 IDU Connections
4.
Connect one or two standard (analog) telephone sets to the IDU’s VoIP ports
using standard telephone cable with RJ-11 plugs.
The IDU enables VoIP calls to be made through the unit using a standard
(analog) telephone set connected to a VoIP port, or from PCs or other network
devices connected to the LAN ports. Standard Session Initiation Protocol (SIP)
technology is used to make VoIP calls. You must access the web interface and
configure settings for your SIP service provider before being able to make VoIP
calls.
5.
Use your PC’s web browser to access the unit’s management interface and run
the Setup Wizard to make any configuration changes. For more information,
see Chapter 3, “Initial Configuration.”
PHONE 1
PHONE 2
LAN 1
LAN 2
LAN 3
LAN 4
DC IN
2A
10-19V
ODU
Notebook PC
AC Power Adapter
AC Power Outlet
Regular Phone
Wi-Fi Client PC
Summary of Contents for Edge-Core OD200
Page 1: ...Powered by Accton www edge core com User Guide OD200 Outdoor WiMAX Residential Gateway...
Page 2: ......
Page 4: ...OD200 E032008 CS R01 1...
Page 8: ...iv...
Page 12: ...viii Table of Contents Glossary Index...
Page 16: ...Figures xii...
Page 26: ...Introduction 1 10 1...
Page 36: ...2 10 Installing the OD200 2...
Page 58: ...System Settings 4 10 4...
Page 98: ...Wi Fi Settings 8 10 8...
Page 108: ...Cables and Pinouts C 4 C...
Page 118: ...Glossary Glossary 4...
Page 122: ...Index 4 Index...
Page 123: ......
Page 124: ...OD200 E032008 CS R01 1...


