91
English
12. Camera control
There are two different options to control PTZ network cameras:
•
Mechanical: Connect the Network Camera to a PTZ driver or scanner via RS485 interface.
•
Digital: Digital PTZ (e-PTZ) within a certain image area.
RS485 Settings
„Disabled“: Function is deactivated.
„PTZ camera“: This setting is required when connecting a motorized pan/tilt driver via RS485. Choose the
corresponding protocol: Pelco-D, DynaDome/SmartDOME, Lilin PIH-7x00.
„Transparent HTTP Tunnel“: If your PTZ device accepts RS485 commands via network you can use this
option. The necessary parameters you will find in the manual of the PTZ device.
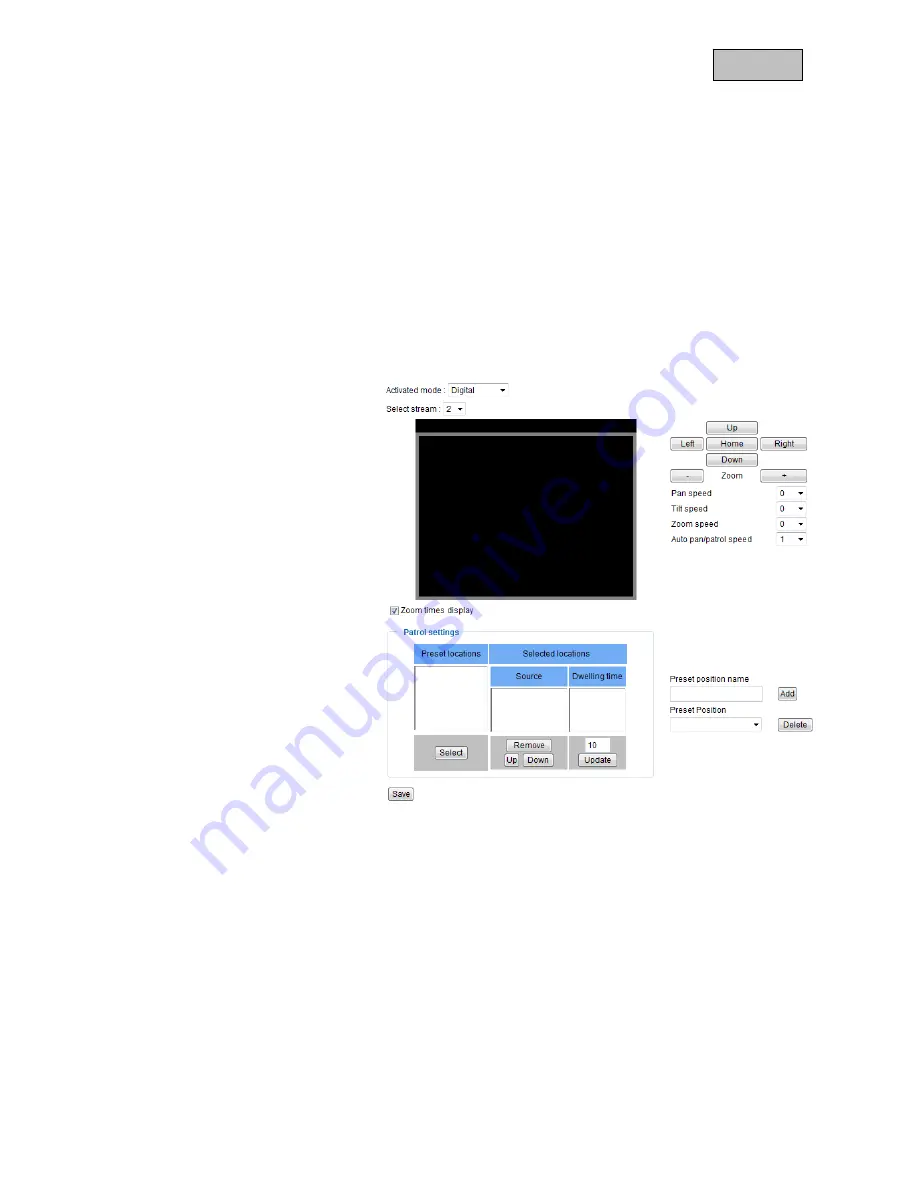
Preset positions and tours
You can set up a maximum of 20
preset positions. Proceed as
following:
7.
By using the direction buttons
position the camera tot he
desired image area.
8.
Enter a name for this preset.
The name will be displayed in
the preset list.
9.
Repeat steps 1 to 3 to add
further preset positions
10. To add presets to a tour mark
these in the preset list and
press „Select“.
11. Adjust the dwell time if
necessary.
12. Save the settings.
If you are using the digital control
there are further settings available:
„Select stream“: Adjust settings for
the selected video stream.
„Zoom times display“: Here you can choose if to display the zoom ratio into the live view image.
<URL>http://< network camera >/setup/cameracontrol.html
< network camera > is the IP-address or hostname of the network camera.
13. Application
Here you can set up automatisms within the camera. The configuration is built-up of three different types:
Event, Server and Medium. A typical scenario could be following: Motion detection is triggered (=Event) and
an email (=Server) is sent to a user with an attached picture (=Medium).
Creating an Event
Create a new event by clicking „add“. You can create up to 3 events.
„Event name“: Enter a name for the event.
c
d
f
g


