Installing the Motherboard
2-3
User’s Manual
Note
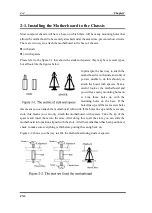
If the motherboard has mounting holes, but they don’t line up with the holes on the base
and there are no slots to attach the spacers, don’t worry, you can still attach the spacers
to the mounting holes. Just cut the bottom portion of spacers (the spacer may be a little
hard to cut off, so be careful of your hands). In this way you can still attach the
motherboard to the base without worrying about short circuits. Sometimes you may
need to use the plastic springs to isolate the screw from the motherboard PCB surface,
because the circuit wire may be near by the hole. Be careful, don’t let the screw contact
any printed circuit wire or parts on the PCB that are near the fixing hole, otherwise it
may damage the board or cause board malfunctioning.
2-2. Installation of the Pentium
II/III CPU
The installation method for the CPU is printed on the package of the retention mechanism
that comes with the motherboard. You can refer to it while you install the CPU.
Note:
#
Installing a heat sink and cooling fan is necessary for proper heat dissipation from
your CPU. Failing to install these items may result in overheating and damage of
your CPU.
#
Please refer to your boxed
processor installation or other documentation attached
with your CPU for detailed installing instructions.
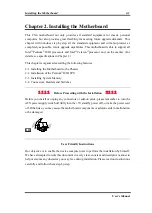
Important Notice
If you want to change your CPU, be sure to first cut off the AC power of your computer,
don’t attempt while computer is in “Shutdown” only mode. Furthermore, you also need
to use the CCMOS1 jumper to clear the CMOS after you change your CPU (refer to
section 2-4).
Summary of Contents for AB-CX6
Page 2: ......
Page 78: ...3 44 Chapter3 CX6 ...
Page 84: ...B 4 Appendix B CX6 ...
Page 90: ...D 4 Appendix D CX6 ...
Page 96: ...E 6 Appendix E CX6 ...
Page 104: ...G 4 Appendix G CX6 ...
Page 110: ...H 6 Appendix H CX6 ...

