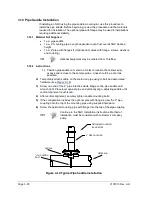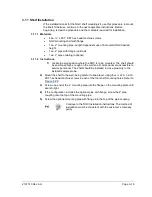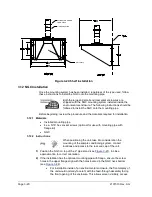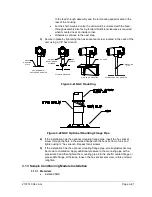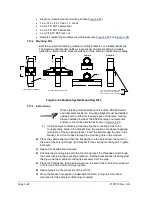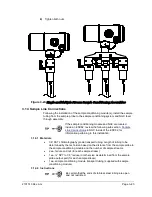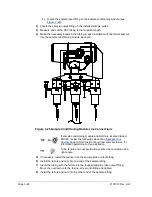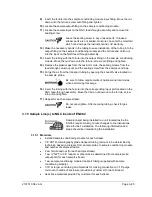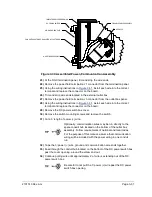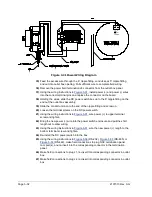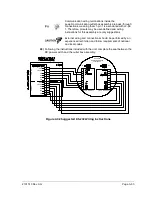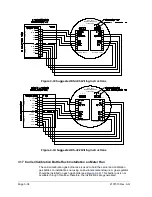
Page 3–28
2101510 Rev. AG
15)
Insert the tubing with the ferrule into the corresponding input port located on the
NGC feed-through assembly. Move the Valco nut down onto the ferrule, screw
into the port and tighten.
16)
Repeat for each additional sample stream.
Do not over-tighten. After securing the tubing, check for gas
leaks.
17)
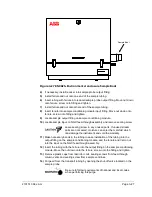
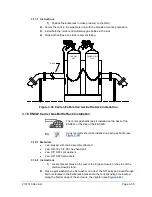
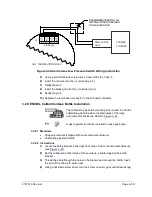
Measure and cut vent tubing to sufficient length to guarantee that purge coils
vent outside of enclosure. Feed vent tubing through the sample boot.
18)
Make necessary bends in the tubing to ease installation of the tubing into the
required fittings on the end of the sample conditioning module purge coil.
19)
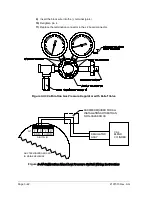
Follow Heat Trace manufacturer’s suggested installation instructions for applying
Heat Trace equipment to additional sample streams.
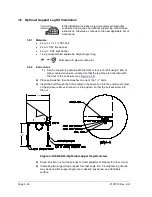
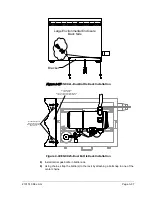
3.16 ENC82L Optional Pwr/Comm Outlet Box Assembly
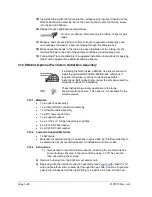
If installing the NGC inside a ENC82, use this procedure to
install the optional RS-232/RS-485/RS-422 outlet box if
required; otherwise, continue to the next applicable
instructions. Before beginning, review the procedure and the
materials required for installation.
These instructions are only applicable to the large
environmental enclosure. This option is not available for the
small enclosure.
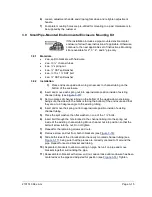
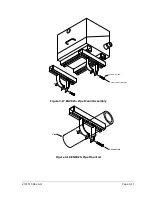
3.16.1 Materials
•
1 ea. outlet box assembly
•
1 ea. internal NGC connection assembly
•
1 ea. flexible cable assembly
•
1 ea. DC power switch box
•
1 ea. support bracket
•
2 ea. 10-32 x ¾” SS pan head screw, phillips
•
2 ea. #10 SST flat washer
•
2 ea. #20 SST split washer
3.16.2 Customer-Supplied Materials
•
14 AWG wire
•
Materials for external wiring (to outlet box) not provided by Totalflow. Quantity to
be determined by the technician based on installation and local codes.
3.16.3 Instructions
1)
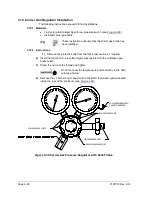
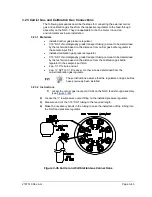
Gain access to rear termination panel by loosening the countersunk hex
socket locking set screw in the rear end cap using a 1/16” hex wrench,
then unscrewing the end cap.
2)
Remove hub plug from the bottom most access hub.
3)
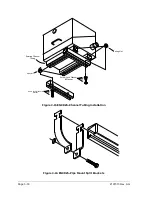
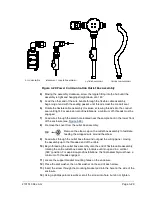
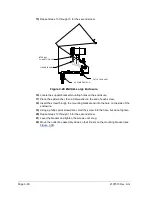
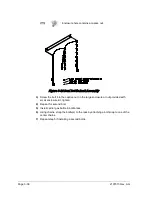
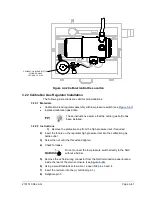
Beginning with the internal connection assembly (see
), feed the 13”
wire bundle (elbow end of assembly) through the open hub. Continue to pull wire
past the terminations until the nipple fitting is in position to screw into the hub.

