2TMD041800D0042
│
10.02.2023
Product manual
ABB-Welcome IP
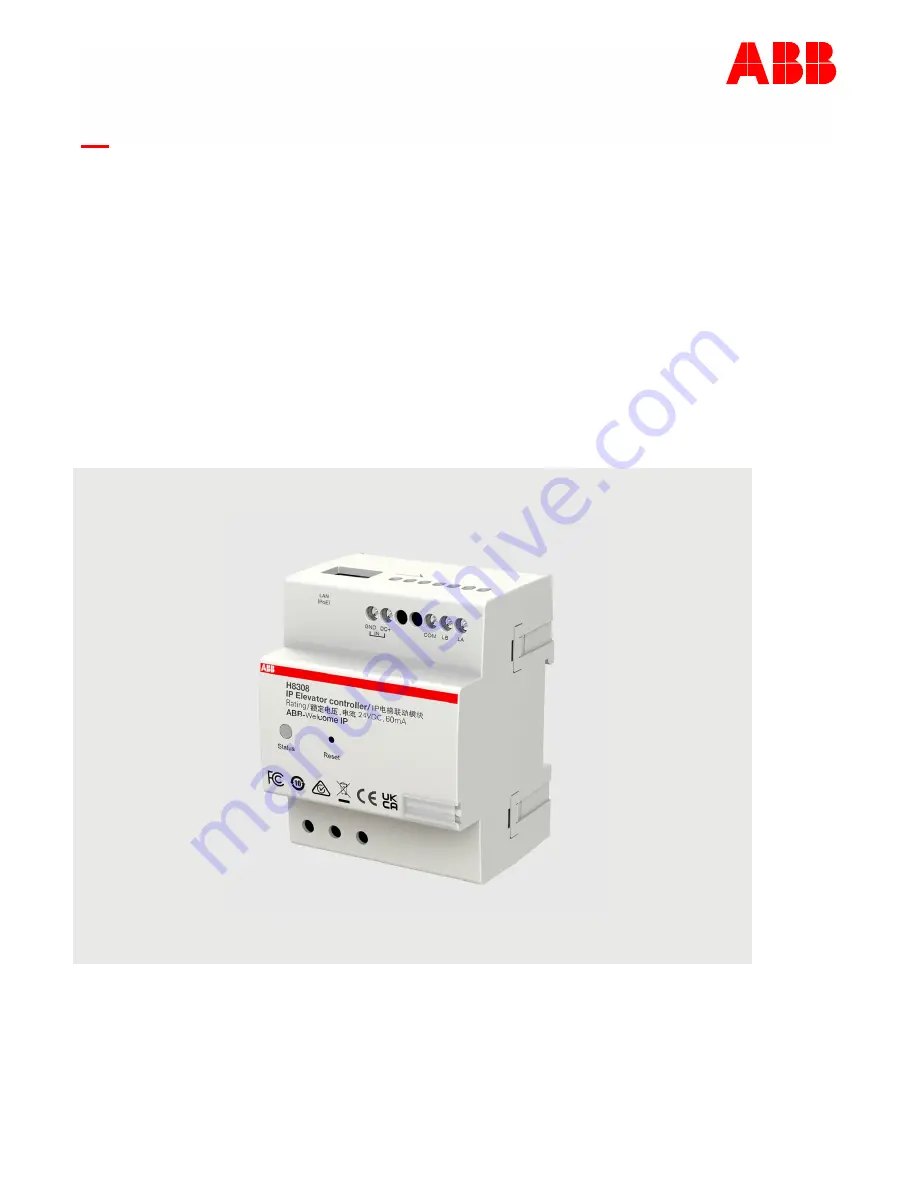
H8308 IP Elevator Controller
Page 1: ...2TMD041800D0042 10 02 2023 Product manual ABB Welcome IP H8308 IP Elevator Controller ...
Page 2: ...igure mode 17 8 5 1 Pre configuration mode 18 8 5 2 Semi automatic configuration mode 22 8 5 3 Manual mode 27 8 5 4 Editing the existing configuration 31 8 6 Parameter settings 32 8 6 1 Relay status for authorization 32 8 6 2 Authorization time out 33 8 6 3 Relay hold time for calling elevator 34 8 7 Updating the firmware 35 8 7 1 Updating the firmware via local PC 35 8 7 2 Updating the firmware v...
Page 3: ...Table of contents Product manual 2TMD041800D0042 3 ...
Page 4: ...lso pass on this manual along with it ABB accepts no liability for any failure to observe the instructions in this manual 2 Safety Warning Electric voltage Dangerous currents flow through the body when coming into direct or indirect contact with live components This can result in electric shock burns or even death Disconnect the mains power supply prior to installation and or disassembly Permit wo...
Page 5: ...y 4 1 ABB devices All packaging materials and devices from ABB bear the markings and test seals for proper disposal Always dispose of the packing materials and electric devices and their components via an authorized collection facility or disposal company ABB products meet the legal requirements in particular the laws governing electronic and electrical devices and the REACH ordinance EU Directive...
Page 6: ...description Product manual 2TMD041800D0042 6 5 Product description 5 1 Device type Article number Product ID Product name Colour Size DxHxW Unit mm H8308 2TMA130160H0051 IP Elevator controller Grey 90 x 72 x 65 ...
Page 7: ...utton for 10 seconds at any time to restore the device to the factory defaults The status indicator will go off for 3 seconds then start to flash slowly 5 Status indicator On the device is working normally Off the device is not powered on Flashing quickly the device is working abnormally e g IP conflict no MAC address Flashing slowly the device has not obtained the signature 1 2 3 4 5 ...
Page 8: ...manual 2TMD041800D0042 8 6 Technical data Designation Value Rating voltage 24 V Operating voltage range 20 27 V Rating current 24 V 60 mA Operating temperature 20 C 55 C Storage temperature 20 C 70 C PoE standard IEEE802 3 af ...
Page 9: ...dge and experience Incorrect installation endangers your life and that of the user of the electrical system Incorrect installation can cause serious damage to property e g due to fire The minimum necessary expert knowledge and requirements for the installation are as follows Apply the five safety rules DIN VDE 0105 EN 50110 1 Disconnect 2 Secure against being re connected 3 Ensure there is no volt...
Page 10: ...Mounting Installation Product manual 2TMD041800D0042 10 7 2 Mounting ...
Page 11: ...V1 32 or higher IP pushbutton outdoor station Yes but its firmware version should be V1 32 or higher Mini outdoor station No Indoor station Indoor station type Support Elevator control or not IP touch 7 Yes but its firmware version should be V2 34 or higher IP touch 10 Yes but its firmware version should be V2 27 or higher Audio IP No Smart Access Control Smart Access Control type Support Elevator...
Page 12: ...roduct manual 2TMD041800D0042 12 Capacity One block supports a maximum of 4 IP elevator controllers One IP elevator controller supports a maximum of 16 relay modules One relay module supports a maximum of 16 channels ...
Page 13: ...to be added manually should be signed by another Smart Access Point If the devices have been signed by another Smart Access Point you need to clear the signature e g resetting the device to the factory defaults Adding the devices manually Please follow the steps below 1 On the configuration screen click Door entry system to access the corresponding screen ...
Page 14: ... System screen click Add device 3 Select Elevator Controller from the drop down list 4 Enter the block number 5 Enter the device number 6 Enter the serial number 7 Click Save Note If the device has already been signed by another Smart Access Point it will not be signed ...
Page 15: ...eps below 1 On the Door Entry System screen click Elevator Controller 2 Click the designated elevator controller to access the corresponding screen 3 Click Settings to access the settings screen 4 If you have already saved a configuration click Saved Configuration to edit the existing settings directly ...
Page 16: ...41800D0042 16 8 4 Basic information On the Settings screen No Description 1 Display the physical address of the device block no device no 2 Display the serial no of the device 3 Display the firmware version and MCU version of the device ...
Page 17: ...mi automatic configuration mode Manual mode Lowest floor level below ground 3 3 7 Highest floor level above ground 18 32 63 Maximum number of elevators supported 1 according to actual requirement according to actual requirement Maximum number of outdoor stations supported 64 64 64 Call elevator according to the room number No No Yes ...
Page 18: ...ep by step User case 1 Question Answer Which floors need to support the elevator control 1 1 2 3 4 5 6 Where are the outdoor stations installed Outdoor station 1 is installed on floor 1 Outdoor station 2 is installed on floor 1 Is the call elevator from indoor station function needed Yes The following steps below are based on the user case 1 please adjust the settings according to the actual case ...
Page 19: ...ort the elevator control function When a floor is pressed the selection will be visual Click Select all to select all floors Click Inverse to invert the selection of existing floors Note Please note that the first floor above the ground will be indicated with the number 1 and the one right below with the number 1 Click Next ...
Page 20: ...tation then set the device no and the floor no for the outdoor station installed Click to remove the existing outdoor station Click Next 4 On the IS Setup screen Select Enable to allow the Indoor Station to call the elevator from the apartment This will allow the resident to request the elevator even when no external calls have been triggered Click Next ...
Page 21: ... relay configurations will be displayed automatically 6 Click Save The data can be viewed on the Save Configuration screen 7 Click Print to print out the relay configurations for installation reference 8 On the Installation Guidelines screen more details on the installation can be viewed ...
Page 22: ... when configuring the settings User case 2 Question Answer Which floors need to support the elevator control 1 1 2 3 4 5 6 Where are the outdoor stations installed Outdoor station 1 is installed on floor 1 Outdoor station 2 is installed on floor 1 Is the call elevator from indoor station function needed Yes The following steps below are based on the user case 2 please adjust the settings according...
Page 23: ...e elevator control function When a floor is pressed the selection will be displayed visually Click Select all to select all floors Click Inverse to invert the selection of the existing floors Note Please note that the first floor above the ground will be indicated with the number 1 and the one right below with the number 1 Click Next ...
Page 24: ...tation then set the device no and the floor no for the outdoor station installed Click to remove the existing outdoor station Click Next 4 On the IS Setup screen Select Enable to allow the Indoor Station to call the elevator from the apartment This will allow the resident to request the elevator even when no external calls have been triggered Click Next ...
Page 25: ...will be displayed Click Next 6 On the Selection of Relay screen Select the designated relay modules by ticking the checkbox indicates the selected relay modules have been configured before indicates the selected relay modules have not been configured before indicates the relay modules that are detected online Click Next ...
Page 26: ...ng up Calling down Authorization Click Clear to clear all the inputs in the table for the current relay module 8 Click Save The data can be viewed on the Saved Configuration screen 9 Click Print to print out the relay configurations for installation reference 10 The Installation Guidelines screen shows more details about the installation ...
Page 27: ...d of time This event contains 4 scenarios The resident releases the lock via the indoor station or App in standby status The resident releases the lock via the indoor station during an incoming call The resident releases the lock via the indoor station during surveillance The resident releases the lock via the outdoor station when swiping the card or entering the unlock password 2 Calling the elev...
Page 28: ...is installed on floor 1 Is the call elevator from indoor station function needed Yes The following steps below are based on the user case 3 please adjust the settings according to the actual case 1 On the Settings screen select Manual Configuration from the drop down list 2 On the Unlock Event screen set the data as below Click Add a row to add a record Click Delete selected row to delete the sele...
Page 29: ...data as below Click Add a row to add a record Click Delete selected row to delete the selected row 5 Click Save The data can be viewed on the Save Configuration screen 6 Click Print to print out the relay configuration tables for installation reference 7 Click Export to export a CSV file 8 Click Import to import a CSV file 9 The Operate Guidelines screen shows more details about the operation 10 T...
Page 30: ...Commissioning Product manual 2TMD041800D0042 30 Exporting CSV file 1 Don t change the event title marked in red 2 Don t change the column title or the column order marked in blue ...
Page 31: ...t manual 2TMD041800D0042 31 8 5 4 Editing the existing configuration Please follow the steps below 1 On the designated IP elevator controller screen click Saved Configuration 2 Click Edit to edit the existing configuration ...
Page 32: ...nual 2TMD041800D0042 32 8 6 Parameter settings 8 6 1 Relay status for authorization Please follow the steps below 1 On the Settings screen click Relay status NC NO for authorization 2 Select the relay status NC NO 3 Click Save ...
Page 33: ...800D0042 33 8 6 2 Authorization time out Please follow the steps below 1 On the Settings screen click Authorization time out 2 Select an authorization time 2 minutes 4 minutes 6 minutes 8 minutes default 10 minutes 12 minutes 3 Click Save ...
Page 34: ...ay hold time for calling elevator Please follow the steps below 1 On the Settings screen click Relay hold time for calling elevator 2 Select the hold time for calling the elevator 1 second 2 seconds 3 seconds default 4 seconds 5 seconds 6 seconds 3 Click Save ...
Page 35: ...the firmware 8 7 1 Updating the firmware via local PC Please follow the steps below 1 On the Settings screen click Local firmware update 2 Click Browse to search the firmware update file 3 Click Browse to search the firmware signature file 4 Click Firmware update ...
Page 36: ...Commissioning Product manual 2TMD041800D0042 36 5 Click I agree to agree the End user license agreement 6 Click Close when the update is complete ...
Page 37: ...teps below 1 On the Settings screen click Online firmware update 2 Current firmware version is displayed on the screen 3 New firmware version will be displayed on the screen If there is no new version Current version is up to date will be displayed If there is a new version click Save to update the firmware ...
Page 38: ...Commissioning multiple devices in batches Please follow the steps below 1 On the Elevator controller screen 2 Click 3 Select the designated devices When a device is pressed the selection will be visual Click Select all to select all devices 4 Click Next ...
Page 39: ...vices will be displayed on the title to indicate multiple devices are set at the same time 6 There are multiple functions can be select on the List view menu bar Select a function to continue the setting The operation is the same as that of a single device ...
Page 40: ...or information ABB Ltd and its affiliates are not liable for damages and or losses related to such security breaches unauthorized access interference intrusion leakage and or theft of data or information Although ABB provides functionality testing on the products and updates that we release you should institute your own testing program for any product updates or other major system updates to inclu...
Page 41: ... system must ensure that the enclosure box is protected against physical access by unauthorized personal 9 4 Upgrading The device supports firmware updates via the management software where a signature file is used to verify the authentication and integrity of the firmware 9 5 Backup restore When using the Preconfigured or Semi automatic Configuration please print the configuration result and save...
Page 42: ...ed specifications agreed to at the time of ordering apply to all orders ABB accepts no responsibility for possible errors or incompleteness in this document We reserve all rights to this document and the topics and illustrations contained therein The document and its contents or excerpts thereof must not be reproduced transmitted or reused by third parties without prior written consent by ABB ...
Page 43: ...nt We reserve all rights to this document and the topics and illustrations contained therein The document and its contents or extracts thereof must not be reproduced transmitted or reused by third parties without prior written consent by ABB ABB Xiamen Smart Technology Co Ltd No 881 FangShanXiEr Road Xiang An Industrial Area Torch Hi Tech Industrial Development Zone Xiamen Tel 86 592 295 9000 Fax ...