


Quick Installation Guide of WNAP 3G Mobile Router
5
of
10
Installation
Step One – Power On WNAP 3G Mobile Router
Connect DC Power Adapter to WLAN Broadband Router and the wall power socket.
Notice:
It will take about 50 seconds to complete the boot up sequence after powered on
the WNAP 3G Mobile Router; Power LED will be active, and after that the
WLAN Activity LED will be flashing to show the WLAN interface is enabled
and working now.
Step Two – Configure WNAP 3G Mobile Router
1.
Connect your PC to LAN port for configuration setting. WNAP 3G Mobile Router is delivered with
the following factory default parameters on the Ethernet LAN interfaces.
Default IP Address
: 192.168.1.254
Default IP subnet mask
: 255.255.255.0
WEB login User Name
: admin
WEB login Password
: admin
Configure your PC with IP address
between 192.168.1.1 to 192.168.1.253
and subnet mask to be 255.255.255.0,
then open an Internet browser (i.e.
Microsoft IE6.1 SP1 or above) to
connect WNAP 3G Mobile Router by
entering http://192.168.1.254 to URL
field.
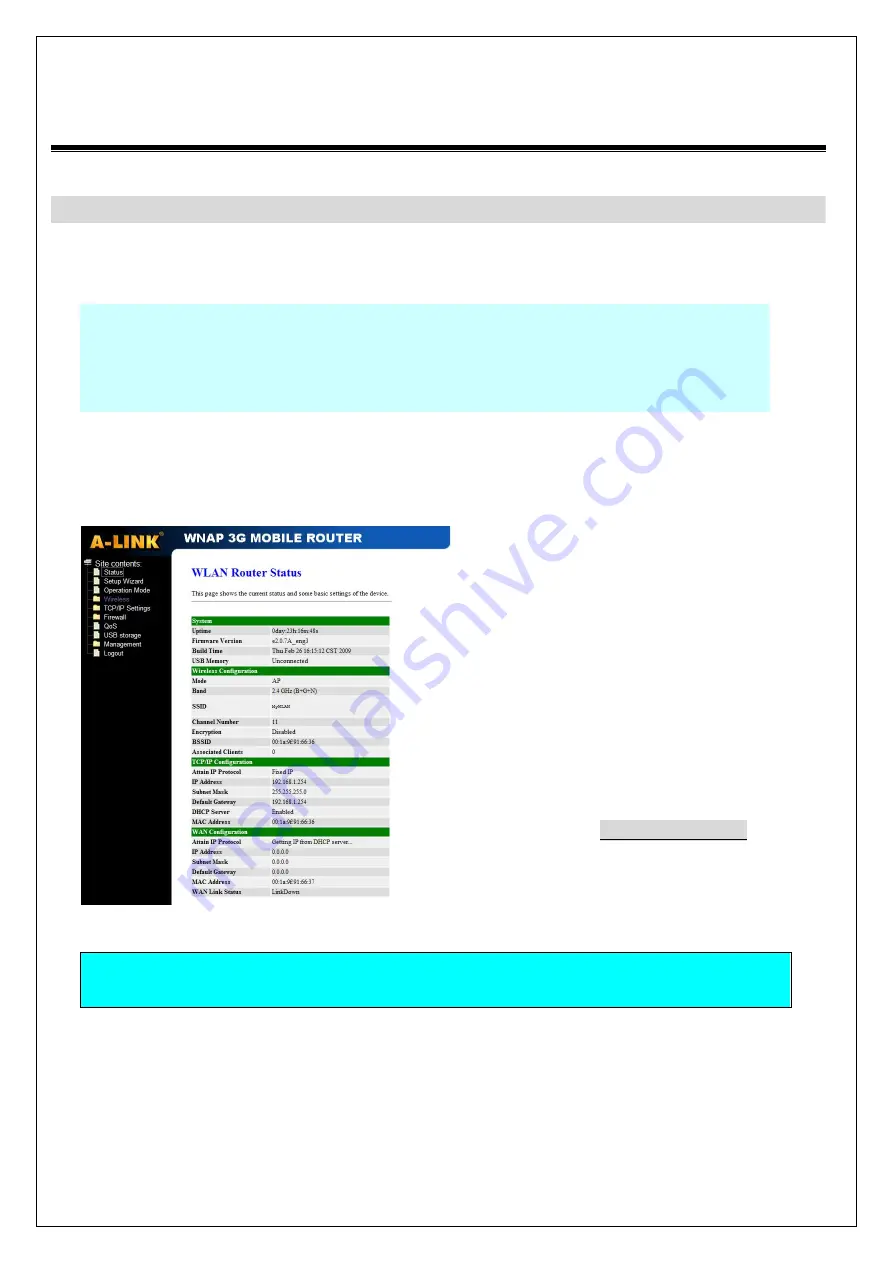
The following example is to configure router as “Gateway” mode that use factory default value.
You may change those values if you think that is necessary.


