139cc 4 Stroke Petrol Lawn Mower
AFTER SALES SUPPORT
e-mail: [email protected]
1800 909 909
MODEL: №. 50620
(toll free)
AFTER SALES SUPPORT
(toll free)
139cc 4 Stroke Petrol Lawn Mower
e-mail: [email protected]
1800 909 909
MODEL: №. 50620
24
25
Oil change
WARNING: Ensure the motor is switched off before undertaking
this task.
IMPORTANT: Drain the oil while the engine in still warm to ensure
rapid and complete draining.
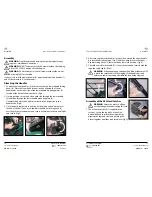
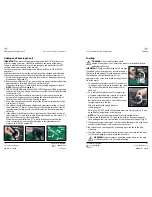
1. Raise the height of the mower to the FULL height position. Tilt the mower
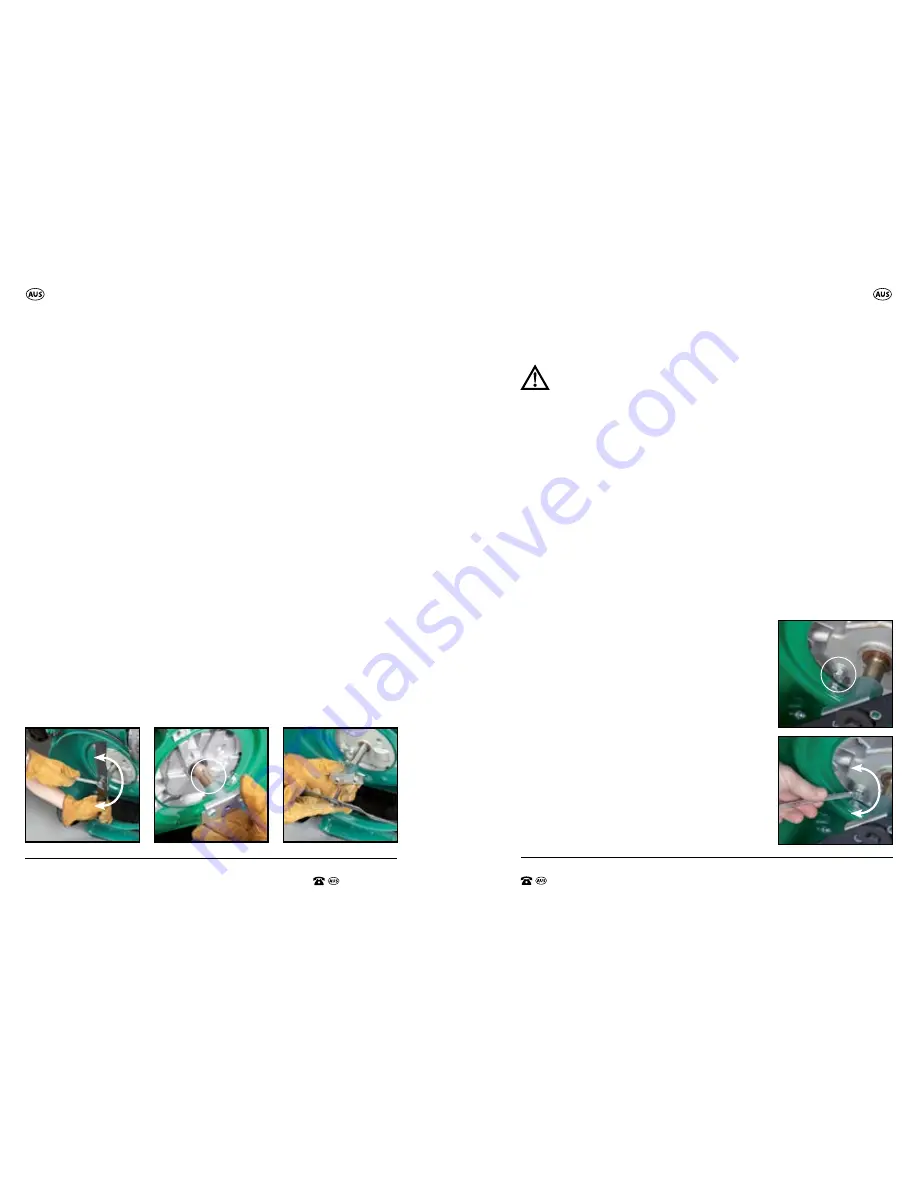
back (Fig U), so that the oil drain plug (18) can be accessed, then remove
the oil drain plug (18) using a 12mm spanner (not supplied) and rotating
in an anti clock wise direction. (Fig X/Y)
2. With a bowl or tray under the mower, place the mower back onto the 4
wheels. The oil will drain freely in this position. NOTE: Check the bowl or
tray is collecting the draining oil.
3. When the oil has drained, replace the oil drain plug (18) screw by a couple
of turns. (Fig Y)
4. Add a small quantity of oil to the motor by removing the oil filler cap (17)
and adding oil down the oil filler tube, and then drain this oil through the
drain port by removing the oil drain plug (18) screw, as above, and tilting
the mower as per above.
5. When fully drained, tilt the mower back and replace the oil drain plug
(18) screw (ensure the screw is fitted with the
aluminium washer), and tighten firmly with a
12mm spanner (not supplied). Remove the tray
of container of drained oil and mower can then
be placed back on a flat and level surface.
6. Wipe up any spilt oil.
7. Add 600ml of SAE 10W/30 oil through the top oil
filler cap / dipstick (17). Clean up any spilt oil.
NOTE: Always check the oil drain plug (18) is not
leaking after oil has been added, and then again
after the mower has been used the next time.
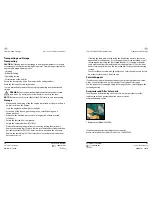
8. Check the dipstick (17) level and ensure the oil
level is correct. (Fig N)
NOTE: Please dispose of used motor oil in a
manner that is compatible with the environment.
We suggest you take it in a sealed container to your
local service station for reclamation.
Do not throw it in the trash or pour it into the earth.
Maintenance
Replacing the Blades
Note. Before making any adjustment or maintenance procedures to the
mower ensure it is turned off and the spark plug lead is removed.
Note. Wear heavy gloves to protect your hands.
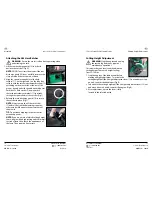
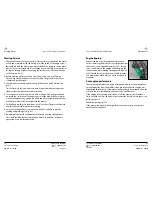
1. Tilt the mower back (Fig T) so the spark plug (24) is facing up, and
disconnect the spark, by pulling spark plug cover (24) off.
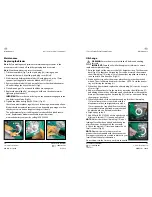
2. Whilst securely holding the bar blade (26) with gloves on, use a 17mm
spanner (not supplied) to undo the blade bolt (27). (Fig U)
3. Remove the bar blade (26), and be careful not to slide the blade adaptor
off and dislodge the key on the shaft. (Fig V)
4. Clean dirt and grass from around the blade mounting area.
5. Replace the bar blade (26), ensuring you hold onto the adaptor whilst
tightening the blade bolt.
IMPORTANT: Ensure the two drive lugs on the adaptor are engaged in the
two holes in the blade. (Fig W)
6. Tighten the blade bolt tightly (50-59Nm). (Fig U)
Check lawn mower blades regularly. Look for damage, bends and dullness.
Blades should be replaced every year or two depending on usage, or when
they become worn and no longer cut the grass cleanly.
The performance of grass catching can also reduce if the blade become
worn. Replacement blades are available for purchase from
www.extrabattery.com.au or by calling 1800 909 909.
W.
V.
X.
U.
Y.
TIGHTEN
LOOSEN
TIGHTEN
LOOSEN
Maintenance
Maintenance


