For more information, please visit 3-form.com or call 800.726.0126
OCTOBER 2019 | MAN-RTG-200-51 | REV 005 © 2019 3form, Inc. All rights reserved.
Installation Manual
Ready To Go
SimpleSpec 200.51-Divy
tm
Page 1: ...For more information please visit 3 form com or call 800 726 0126 OCTOBER 2019 MAN RTG 200 51 REV 005 2019 3form Inc All rights reserved Installation Manual Ready To Go SimpleSpec 200 51 Divytm ...
Page 2: ... 25mm 3 15 1754 2 Cable Tensioner KIT Stainless Steel 3 15 1636 K Black Oxide 3 15 2005 K 1 36 72 Divy Felt Baffle 2 3mm Cable Stainless Steel 3 15 723 Black Oxide 3 15 2006 4 Single Panel Side Bracket For Felt KIT Stainless Steel 3 15 2012 K Black Oxide 3 15 2013 K Single Panel Side Bracket for Felt SS 3 15 2012 BO 3 15 2013 4 Hex Drive Flanged Rounded Head Screw M6 50mm SS 3 15 2017 BO 3 15 2016...
Page 3: ...t Stainless Steel 3 15 2014 Black Oxide 3 15 2015 Hex Drive Flanged Rounded Head Screw M6 50mm Stainless Steel 3 15 2017 Black Oxide 3 15 2016 4 2 2 Suspend Anchoring KIT 3 15 7000 K M8 Threaded Wood Insert 3 15 0791 2 M8 Concrete Anchor 3 15 3011A 2 M8 Threaded Rod 50mm 3 15 3032A 2 M8 Thread Rod 25mm 3 15 1754 2 M8 Toggle Bolt Anchor 3 15 0734 2 Required Tools Drill Metric Allen Wrenches Concret...
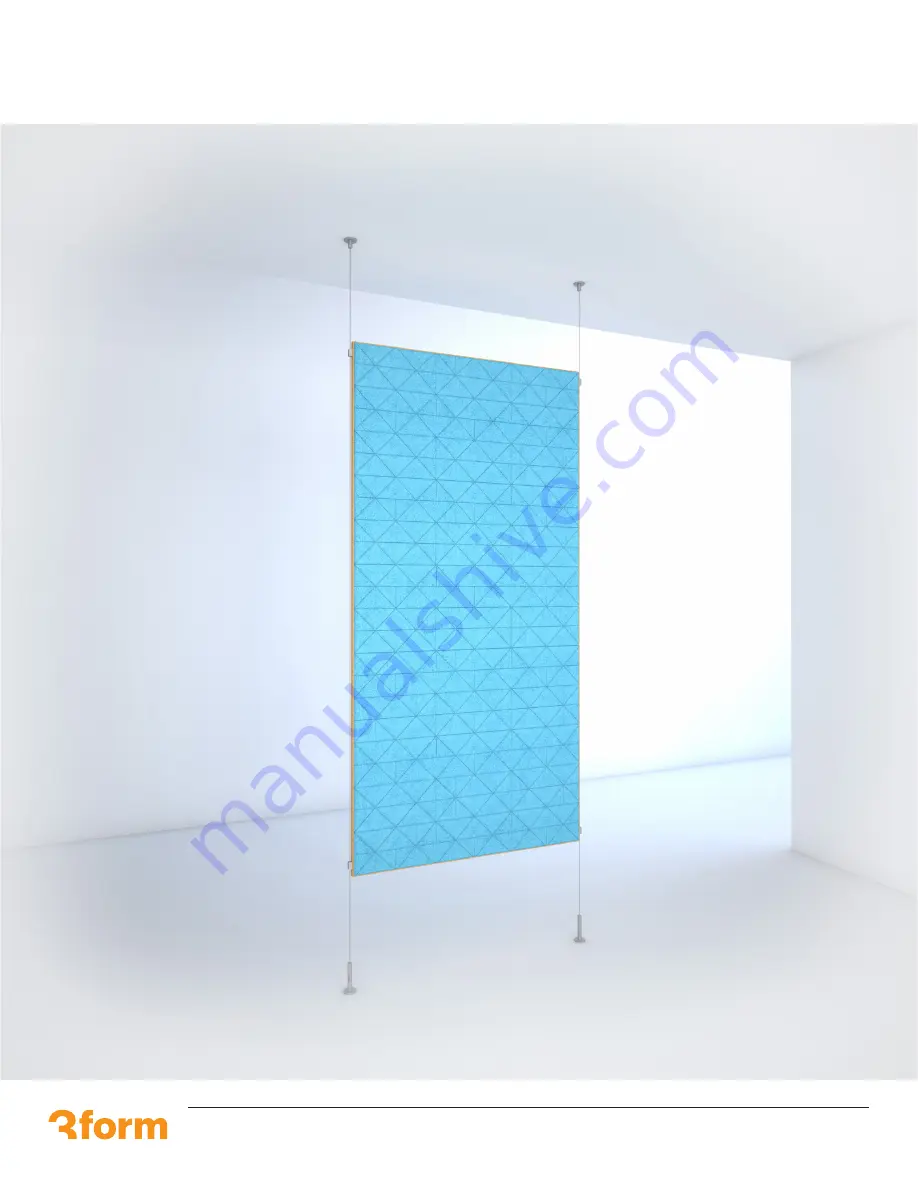
Page 4: ...r KIT SS 3 15 0754 K BO 3 15 2018 Single Panel Side Bracket For Felt KIT SS 3 15 2012K BO 3 15 2013K 36 3 8 x 72 3 8 Divy Felt Panel SimpleSpec 200 51 provides a robust partition with the added quality of acoustical absorption The 3form Sola Patterned Felt is complimented by a beautiful Birch Plywood Edge For more information please visit 3 form com or call 800 726 0126 OCTOBER 2019 MAN RTG 200 51...
Page 5: ...y If anchoring in concrete follow Steps 1a f if anchoring in drywall follow Steps 1g l if anchoring in wood follow Steps 1m n b c a Concrete Installation e f d Place a washer under the screw head Torque the screw to 15 Nm Remove screw For more information please visit 3 form com or call 800 726 0126 OCTOBER 2019 MAN RTG 200 51 REV 005 2019 3form Inc All rights reserved Installation Manual 5 Ready ...
Page 6: ...nel firmly against the inner wall cavity by tugging the plastic pull ring Hollow Substrate Installation k l j Slide the plastic cap forward along the legs until it is seated flush to the work surface Snap the plastic legs off flush at the plastic cap by pushing outward Note Maximum torque on screw or rod is 5 ft lb For more information please visit 3 form com or call 800 726 0126 OCTOBER 2019 MAN ...
Page 7: ...lumb bob to mark anchoring point on floor If anchoring in concrete follow Steps 1a f if anchoring in wood follow Steps 1g h 3 1 5 1 75 4 3 1 5 0 7 9 1 SS 3 15 1639 BO 3 15 2004 n o m Drill Ø7 16 Ø11 1mm hole minimum 20mm deep Use an Allen wrench to install the M8 Threaded Insert 3 15 791 Wood Installation For more information please visit 3 form com or call 800 726 0126 OCTOBER 2019 MAN RTG 200 51...
Page 8: ...cess cable through the side exit on the tensioner Unscrew the cap 150 200 lbs 225 lbs max weight per cable Maximum Weight 225 lbs Maximum Tension 400 lbs Hollow Substrate Max Tension Weight 70lbs For more information please visit 3 form com or call 800 726 0126 OCTOBER 2019 MAN RTG 200 51 REV 005 2019 3form Inc All rights reserved Installation Manual 8 Ready To Go SimpleSpec 200 51 Divytm ...
Page 9: ...tighten set screws SS 3 15 2012 BO 3 15 2013 2 Set Screws SS 3 15 2017 BO 3 15 2016 For more information please visit 3 form com or call 800 726 0126 OCTOBER 2019 MAN RTG 200 51 REV 005 2019 3form Inc All rights reserved Installation Manual 9 Ready To Go SimpleSpec 200 51 Divytm ...
Page 10: ...t tighten set screws 2 Set Screws SS 3 15 2017 BO 3 15 2016 For more information please visit 3 form com or call 800 726 0126 OCTOBER 2019 MAN RTG 200 51 REV 005 2019 3form Inc All rights reserved Installation Manual 10 Ready To Go SimpleSpec 200 51 Divytm ...
Page 11: ...lation Remove Panel SS 3 15 2017 BO 3 15 2016 For more information please visit 3 form com or call 800 726 0126 OCTOBER 2019 MAN RTG 200 51 REV 005 2019 3form Inc All rights reserved Installation Manual 11 Ready To Go SimpleSpec 200 51 Divytm ...
Page 12: ...w desired location of the top of the panel Tighten set screws to the cable top side brackets only b Position the panel to desired location and ensure it is level Tighten set screws to the panel on top side brackets only 69 1762mm 1 25mm SS 3 15 2017 BO 3 15 2016 For more information please visit 3 form com or call 800 726 0126 OCTOBER 2019 MAN RTG 200 51 REV 005 2019 3form Inc All rights reserved ...
Page 13: ... Allen wrench through tensioner as shown in 6c SS 3 15 2017 BO 3 15 2016 2 Set Screws 1 25mm Tighten set screws on lower side brackets once cables have been tensioned This will prevent gapping in tension on the cables For more information please visit 3 form com or call 800 726 0126 OCTOBER 2019 MAN RTG 200 51 REV 005 2019 3form Inc All rights reserved Installation Manual 13 Ready To Go SimpleSpec...
Page 14: ... drop of super glue at end of cut cable to keep from fraying 1 2 For more information please visit 3 form com or call 800 726 0126 OCTOBER 2019 MAN RTG 200 51 REV 005 2019 3form Inc All rights reserved Installation Manual 14 Ready To Go SimpleSpec 200 51 Divytm ...
Page 15: ...trong solvents highly alkaline or abrasive cleaning agents Do not completely saturate module with cleaning solution or water Divy Panels can be specified in any of 3form s 15 Sola Felt options Aries Admiral Burnt Umber Armor Cashmere Citrine Cast Ebony Hunter Mineral Ruby Oxford Nickel Moon Zinc Available Finishes For more information please visit 3 form com or call 800 726 0126 OCTOBER 2019 MAN R...