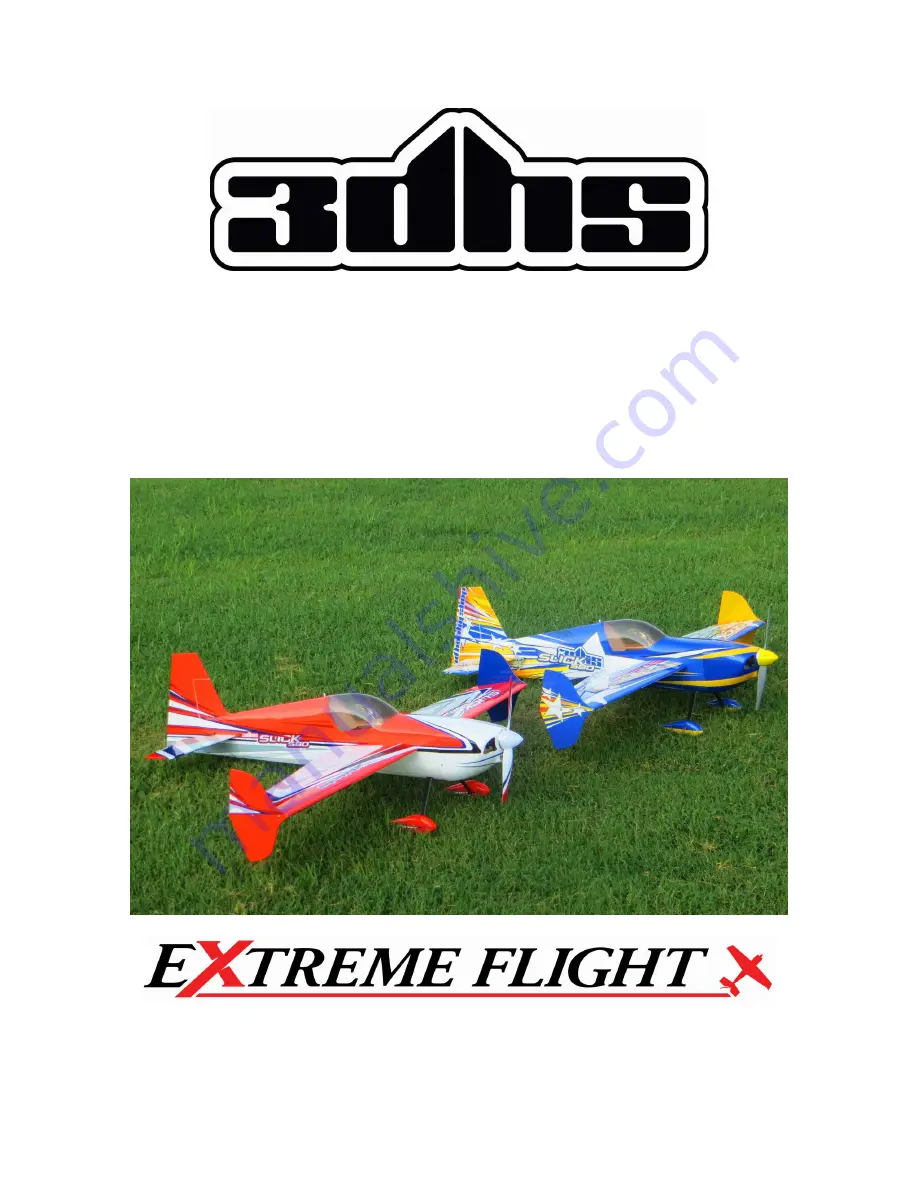
SLICK 580
Electric ARF Assembly Manual
Copyright 2015 EXTREME FLIGHT
1
Page 1: ...SLICK 580 Electric ARF Assembly Manual Copyright 2015 EXTREME FLIGHT 1 ...
Page 2: ...proves on that with superior predictability lower coupling and ultra high maneuverability at all speeds Carbon reinforcement and top quality wood produce a strong airframe that can take incredible punishment giving you the confidence to push the Slick 580 to the limit Our new proprietary covering system gives you the durability of genuine Ultracote with a super detailed CNC applied scheme Nothing ...
Page 3: ...of the covering 3 Use a fresh bottle of thin CA with a fine glue tip when attaching the CA hinges This will ensure that the proper amount of CA wicks into the hinge and surrounding balsa wood and creates a proper bond between the wood and hinges 4 Apply a couple drops of CA to high stress areas such as anti rotation pins landing gear mounts servo trays and motor box joints 5 Take the time to prope...
Page 4: ...performed with Hitec HS 65MG and HS 5065MG digital servos and we strongly recommend the use of either of these high quality servos Torque 2818T 900 Brushless Outrunner motor Airboss Elite 45 Amp ESC 3S 2100 2700 mah LiPo battery APC 12x6 E prop NOT the slow fly version 52 mm Extreme Flight spinner 1 18 24 extensions for the elevator servo and 2 6 8 extensions to go between the receiver and the ail...
Page 5: ...leron with a sharp hobby blade Make sure you are doing this on the bottom of the aileron 2 Scuff the portion of the control horn that will be glued into the aileron with sandpaper Use a glue tip on your bottle of medium CA and apply glue to the slot as well as to both sides of the control horn Insert the control horn into the slot and make sure it seats properly against the surface of the aileron ...
Page 6: ...unting hardware with the output spline toward the leading edge of the wing 4 Slide the aileron into position on the hinges and secure with several drops of fresh thin CA This process is much easier and more effective if a fine glue tip is used Make sure to deflect the surface as pictured while applying the CA 6 ...
Page 7: ...llars and the 2 wheel pants from the hardware package Place the threaded portion of the axle through the hole in the carbon gear slide a washer over the threaded portion and screw the lock nut onto the axle but do not tighten completely Place the wheel onto the axle and secure with a wheel collar There is a slot pre cut in the wheel pant to allow it to fit over the axle Slide the wheel pant into p...
Page 8: ...washers Secure the landing gear to the fuselage by inserting a 3mm screw into a washer through the carbon fiber gear and into the pre installed blind nut in the fuselage Make sure to use a drop of blue Loctite on each screw to prevent them from backing out 8 ...
Page 9: ... the rear of the fuselage Rotate the elevator into proper position and then slide the horizontal stabilizer into position 11 Insert the carbon fiber wing tube into the sleeve in the fuselage Use a ruler to insure that the stabilizer is centered in its slot and compare the stabilizer to the wing tube to make sure it is properly aligned Sand or shim the slot if necessary to ensure proper alignment S...
Page 10: ... Scuff the portion of the control horn that will insert into the elevator with sandpaper Secure the control horn with medium CA 13 Attach your servo extension to the elevator servo and install the elevator servo with the output spline toward the rear of the model Assemble the linkage and install as per the picture 10 ...
Page 11: ... wire that will reside in the aluminum mounting bracket is flush with the rudder bevel Secure the wire with CA A piece of strapping tape placed over the slot will add strength and durability to this area 15 Slide the metal bracket into position and then place the tailwheel onto the wire and secure with a wheel collar 11 ...
Page 12: ...into position and secure with CA 17 Slide the rudder onto the vertical stabilizer and secure the hinges with thin CA Install the entire assembly onto the fuselage taking care to achieve proper alignment Secure with CA 18 Secure the tailwheel bracket to the bottom rear of the fuselage with 2 of the provided wood screws 12 ...
Page 13: ... pull pull assembly and install as shown in the pictures using the EZ connectors on the servo end to adjust the cables 20 Install your choice of motor using the provided 3mm bolts We highly recommend the Torque 2818 900 and Airboss 45 Amp ESC Mount the ESC on the bottom of the motorbox with Velcro 13 ...
Page 14: ...ery and tray to prevent the battery from being ejected during high G maneuvers Install your receiver and plug in all of your servo leads and the lead from the ESC Power up the system with the propeller removed and make sure all controls are functioning properly and the motor is turning in the proper direction 24 Insert the carbon fiber wing tube into the sleeve in the fuselage and slide the wings ...
Page 15: ... I recommend setting your CG using the 45 degree line test Fly the aircraft from left to right or right to left whichever direction you are more comfortable with at 3 4 to full throttle Pull the aircraft to a 45 degree up line and establish this line and immediately roll the aircraft inverted Establish this line and let go of the elevator stick Ideally the aircraft will continue to track on that 4...
Page 16: ...l values I feel comfortable with They may feel awkward to you and if so please adjust to your taste Elevator Low rate 8 10 degrees 15 20 Exponential 3D rate 45 50 degrees 40 50 Exponential Rudder Low rate 20 degrees 45 50 Exponential 3D rate As much as possible 60 70 Exponential Aileron Low rate 15 20 40 45 Exponential 3D rate As much as possible 50 60 Exponential Thanks so much for your business ...