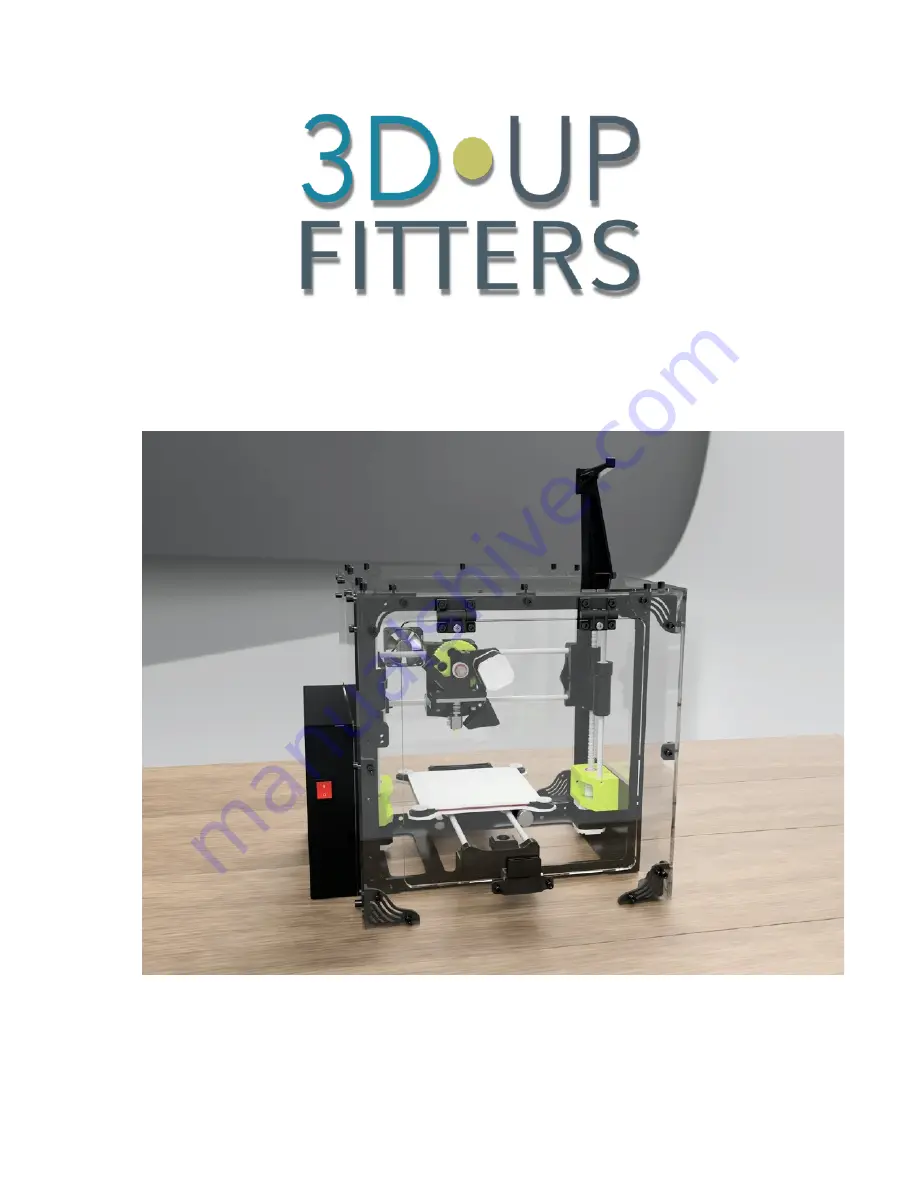
LulzBot Mini 2 R1 Enclosure Kit
Installation Manual 1.3
January 2020
Copyright 2020 3DUPfitters LLC
1
Page 1: ...LulzBot Mini 2 R1 Enclosure Kit Installation Manual 1 3 January 2020 Copyright 2020 3DUPfitters LLC 1 ...
Page 2: ...This page intentionally left blank Copyright 2020 3DUPfitters LLC 2 ...
Page 3: ...tallation manual covers the enclosure design for the LulzBot Mini 2 enclosure If you have a different version of the enclosure please read the correct version of the manual available on the website Is your LulzBot Mini 2 Customized If your printer is stock then no customization is needed If you have customized the printer you should examine any modifications to make sure they don t block the panels...
Page 4: ...hite covering to protect against scratches Follow the directions below to remove the cover and discover the beautiful plastic underneath To remove the covering from an acrylic panel lay the panel flat on a table Then peel up a corner of the covering and CAREFULLY and SLOWLY pull horizontally to the sheet to reduce the lateral forces that would bend the acrylic This video shows just what to do Copy...
Page 5: ...Warning Only move the LulzBot Mini 2 and Enclosure by opening the door and using the textured handle Copyright 2020 3DUPfitters LLC 5 ...
Page 6: ...back Each section will describe exactly which screw to use to read carefully and use the specified screw for the best results The actual length of the long screws to attach the fan and or filter will vary depending on the depth of the particular shipment of fans we happen to get that month They won t be hard to spot since they ll be the longest thing in the bags Screw Tool Needed Usage Relative Si...
Page 7: ...s stamped on the inside The opposite connectors are identical i e Bottom Right is the same as Top Left In all cases the surface of the connector with the cutout pattern faces front or back 2 Attach The Door Frame Corners The front door is designed so that the latches are on the top Attach the door connectors on the back side of the door frame using the provided cap head 12mm screws See the photos ...
Page 8: ...e the wood screws to attach it to the latch mount Hand tighten and make sure its secure but do not over tighten or the screws may strip The latch can be later adjusted front to back to make sure the door is flush with the door frame The assembled latch mount is attached to the door frame via two M4 12mm cap head screws at the bottom of the door frame as shown to the right Copyright 2020 3DUPfitter...
Page 9: ...e door knob by first inserting the square M4 nut into the slot Use a 16mm cap head screw to attach the door Attach the strike plate by first attaching the adhesive rubber backing to the acrylic The black square strike plate should then fit snuggly over the backing If there is slippage bent the strike plate in slightly The front should now look like the picture below Copyright 2020 3DUPfitters LLC ...
Page 10: ...ws and nuts 6 Assemble Back The view to the right is of the back of the enclosure when viewed from the back The four corner connectors are mirror images of the front and are on the other side of the plastic in this view The large hole is either for an air filter purchased separately or can be covered up by a plastic disc using short M4 12mm screws On the top and on each side are mid panel corner c...
Page 11: ... insert the screws from the inside and put the nuts next to the filter housing If you didn t purchase an air filter you should just see a fan as shown to the right As with the filter make sure the fan is blowing air out of the enclosure 7 Attach Top First move the partially assembled enclosure the Front Left Side and Back and place them around the LulzBot Mini 2 as pictured below Copyright 2020 3D...
Page 12: ...ide mid corner connector by hand Instead use a dab of super glue not included to attach the M4 nut to the inside of the connector before going any further Once the glue has dried move the spool holder into the up position and move the top of the enclosure in place putting the notch around the spool holder Copyright 2020 3DUPfitters LLC 12 ...
Page 13: ...tor be sure to not push out the nut held on with glue 9 Seal Gaps Once the enclosure is completely put together it s time to make sure that each of the panels is held tightly to each adjoining panel The connectors are designed with a small amount of play that allows you to make small adjustments for the perfect fit 1 Loosen screws on the panel to move 2 Push that panel into place You may need a fr...
Page 14: ...use of physics the amount of air moving into the enclosure has to be equal to the air moving out of the enclosure When the air moves out of the enclosure carrying volatile organic compounds it can then be vented to the outside or run through an air filter People often ask us if the enclosures are airtight and have a bottom If your main concern is air quality then being airtight doesn t buy you any...
Page 15: ... This works great for people either interested mostly in air quality or those who are risk averse and don t want to take a chance of clogging their hot ends or decreasing the useful life of their printers More experienced 3D printer owners though those for whom a clogged nozzle is a known risk might want to run the temperatures higher for less chance warping of ABS parts or to print nylon In those...
Page 16: ...ed with the fact that the particles are extremely small and light As you can see the fan keeps the air flowing in and the harmful particles flowing into the vent or filter 3D Printer Design Matters The other part of the equation is the printer design Those printers where the hot end is at the top of the enclosure make it easier to achieve higher temperatures because the hot air rises to the top an...
Page 17: ...temperature is more likely to vary as the hot end goes from the bottom to the top of the enclosure Copyright 2020 3DUPfitters LLC 17 ...
Page 18: ...emperature More Cold Air Higher Temperature Less Cold Air Pro Tip measure your current temperatures before attempting to make any changes We get support calls saying my enclosure is too hot or too cold but they didn t actually measure the temperature Without measurements it s impossible to say if a printing problem is temperature related or not Copyright 2020 3DUPfitters LLC 18 ...