3D Systems, Inc.
5
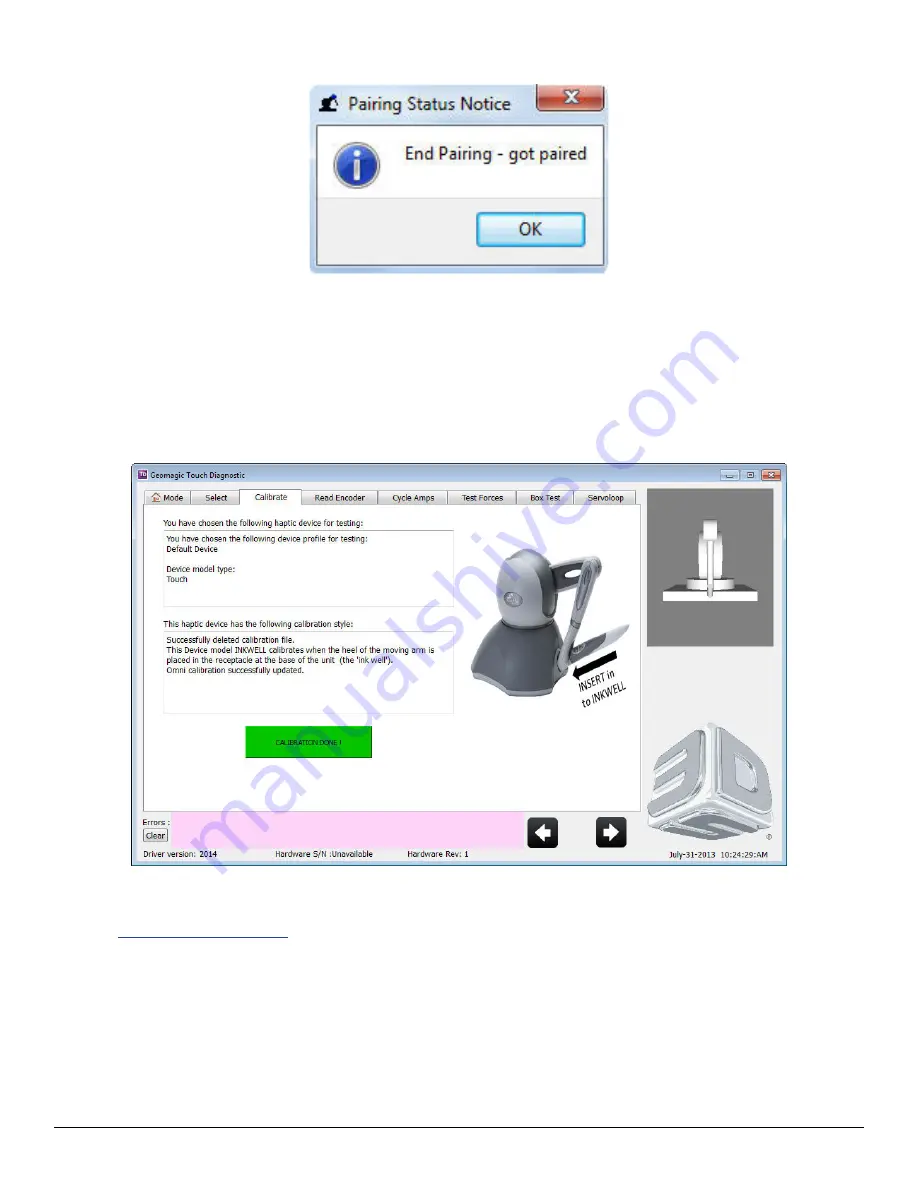
When the computer and device have been successfully paired – the notice below will appear.
10. Click
OK
, then press the
Apply
and
OK
buttons in the Geomagic Touch Setup dialog.
11. On the Desktop, click to open the
Geomagic Touch Diagnostic
or click
Start>All Programs>3D Systems>Geomagic
Touch>Geomagic Touch Diagnostic
.
12. Click the
Next
arrow in the bottom right of the dialog or click the Select tab to move on to the next step.
13. The
Select
tab initializes the Geomagic Touch device and begins to run to the Servoloop. Click the Next arrow when the six
remaining test tabs appear in the dialog to move on to the Calibration stage.
14. You will have to move the stylus through the complete range of motion to properly calibrate the device. Once each axis is
calibrated, its icon will turn
Green
(see image) when the device is properly calibrated.
15. Complete the remaining Geomagic Touch tests. When complete, click the red X in the top right corner to exit the Geomagic Touch
Diagnostic.
Go to
to download the
Geomagic Touch Device Guide
.


