4-6
C
HAPTER
4: A
CCESSING
M
ANAGEMENT
F
EATURES
Logging On
1
Connect your terminal to the Console port on the
rear panel of the Switch 2000 TR using a cross-over
cable for a serial line connection. Refer to the Switch
2000 TR User Guide for more information.
The Console port automatically detects the line-speed
(baud rate), and uses the following default settings:
■
auto-baud
■
8 character size (data bits)
■
1 stop bit
■
no parity
Character size, stop bit, flow control, and parity
values cannot be changed.
2
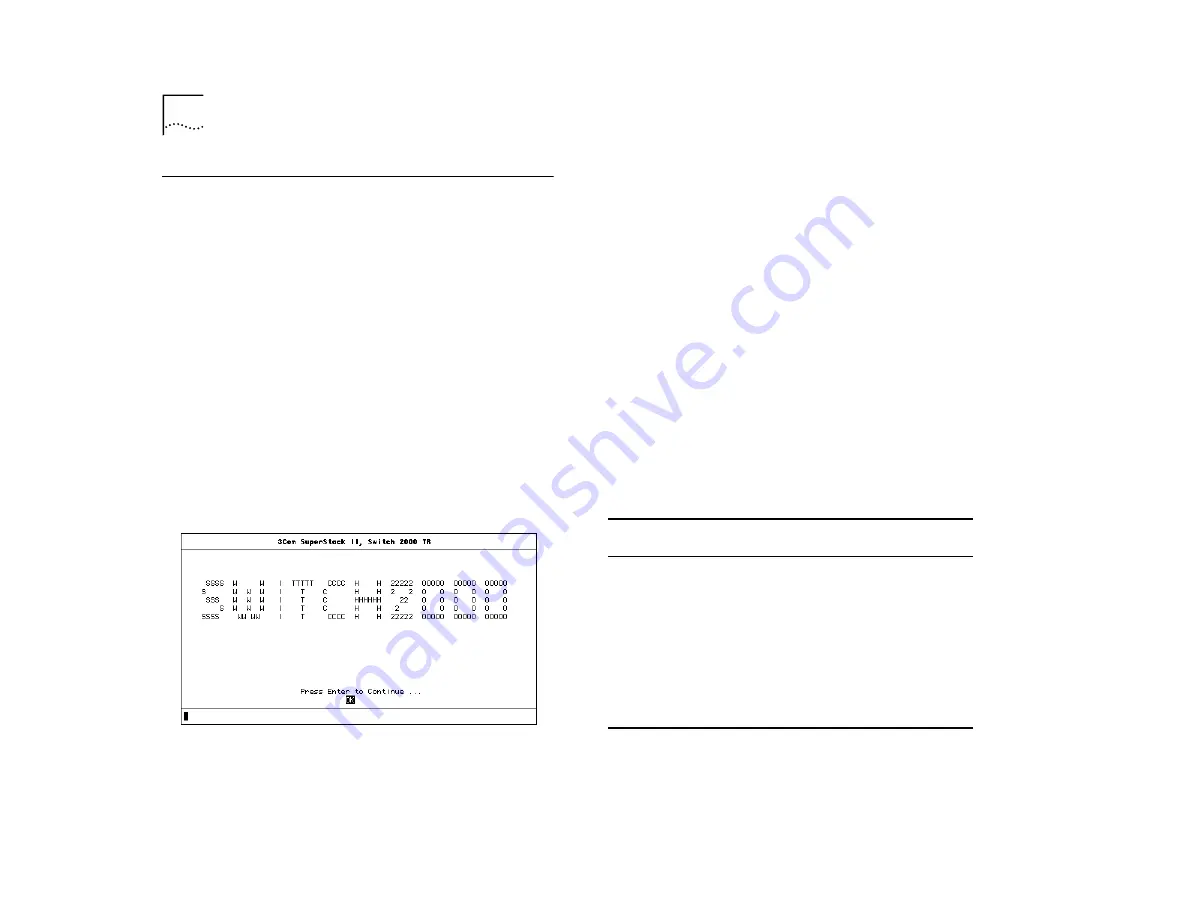
Press [Return] two or more times until the Switch
2000 Main Banner appears (shown in Figure 4-3).
Figure 4-3
Main Banner
If your terminal is already set up with these values,
the Main Banner appears as soon as power-up is
complete.
3
Press [Return] to display the Logon screen at the Main
Banner.
4
Type in your user name and password. Note that they
are both case-sensitive:
■
If you are logging on for the first time (after instal-
lation or initialization), use a default user name
and password to match your access requirements.
We recommend that you use the default user
“
securityÓ
so that you can access all functions.
The defaults are shown in Table 4-3.
■
If you have been assigned a user name, access
level and password, type in these details.
Table 4-3
Default Users
User Name
Default
Password
Access Level
monitor
monitor
monitor - this user can view, but
not change all manageable
parameters
manager
manager
manager - this user can access
and change the operational
parameters but not special/secu-
rity features
security
security
security - this user can access
and change all manageable
parameters
Summary of Contents for SUPERSTACK II 2000 TR
Page 10: ...1 4 CHAPTER 1 OVERVIEW...
Page 18: ...2 8 CHAPTER 2 TR IN FE CONCEPTS...
Page 32: ...4 8 CHAPTER 4 ACCESSING MANAGEMENT FEATURES...
Page 46: ...B 2 APPENDIX B SCREEN ACCESS RIGHTS...
Page 50: ...C 4 APPENDIX C TR IN FE MODULE TECHNICAL SPECIFICATIONS...


