background image

the correct Internet service provider, or choose 

Custom

 and enter the correct settings for your 

system.


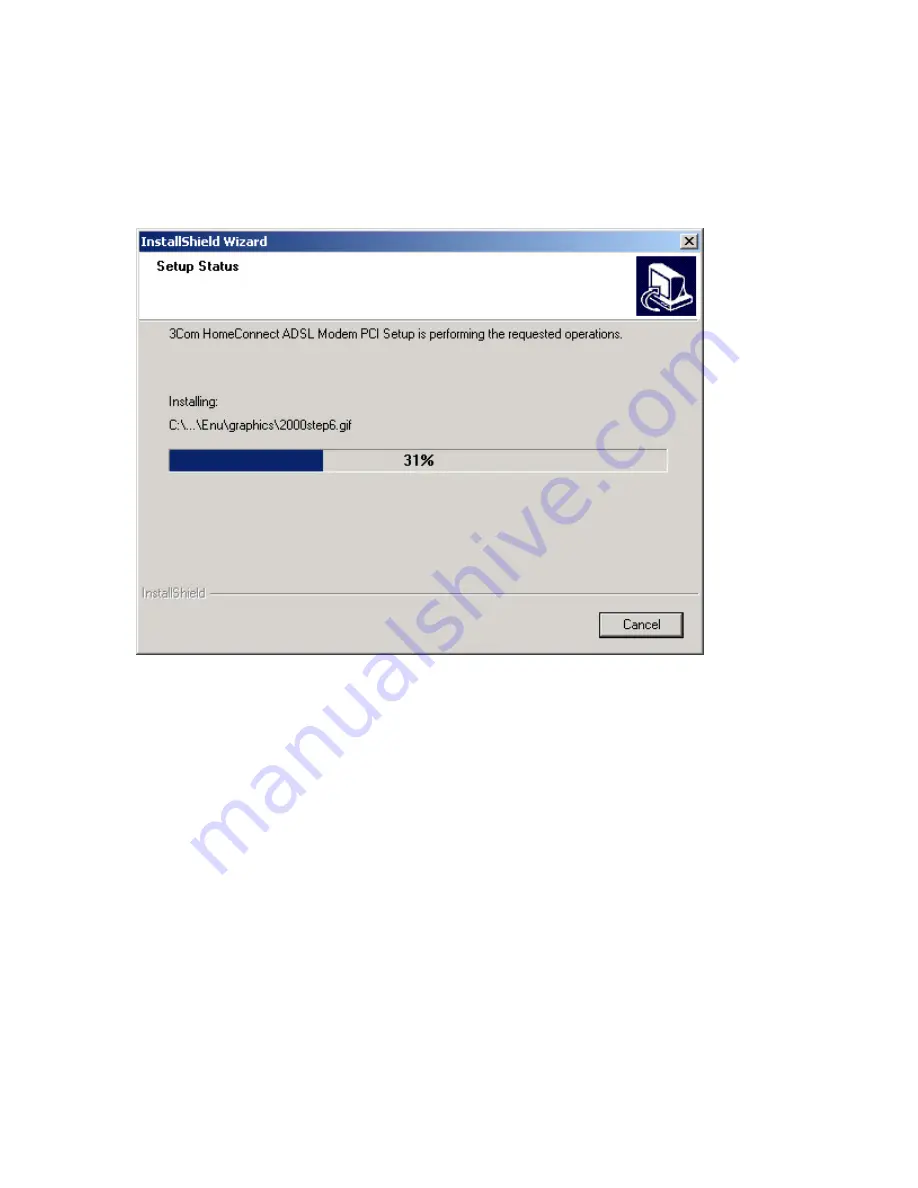
The screen below will be displayed while the software is installing. When the copying is complete, 
click the 

Finish

 button that will be displayed on the last screen. You will need to shutdown the 

machine to install the hardware for Windows 95, 98, ME, and 2000.  

NOTE

: NT users should install the hardware prior to initiating the software install. 


When the copying is done, click 

Finish

Installing the Hardware


Power down the machine and install the PCI card. Be sure the card is firmly seated in the PCI 
slot. Connect the phone cable from the wall socket to the card. If other analog devices are 
sharing the DSL line, make sure they are connected with filters.  


Windows NT Only 

Remote Access Services (RAS) and Reapplying the Service Packs 

Customers using Windows NT will need to install RAS if it is not already installed. Refer to the 
original installation instructions for RAS installation procedures. You will also need to reapply the 
service packs (4.0 or higher). Do so by placing the Service Pack CD in the CD-ROM drive and 
running the setup file. 


Establishing A Connection 

Once the 3Com software and hardware have been installed properly and there is a connection to 
the live DSL line, you should see a green light in the Quick View icon.  

NOTE:

 Quick View indicates the status of the DSL connection. It is located on the system tray which is 

on the lower right portion of the screen. 

Summary of Contents for HomeConnect 3CP3617B

Page 1: ...he prompts will look a little different in each operating system In Windows 95 the first screen will ask if you want to install Dial up Networking Click to accept and you will see a screen similar to...

Page 2: ...Although you should not have to change any settings double check them against the information supplied by your service provider and make changes if appropriate If you are in one of the categories list...

Page 3: ...ng then click Next to continue VPI and VCI Values PPP over ATM VPI VCI Values Since you chose Custom and the Dial Up Networking Name is Other then you will have to enter the correct VPI and VCI values...

Page 4: ...VPI and VCI values recommended by your service provider Click Next to continue Selecting the Destination for ADSL Files Control Center The required files and software will be copied to the local hard...

Page 5: ...You will be prompted to confirm the settings prior to copying files The confirmation information will vary depending on the connection method PPP over Ethernet versus PPP over ATM This final confirma...

Page 6: ...o the Who is your Internet Service Provider screen Choose the correct Internet service provider or choose Custom and enter the correct settings for your system Settings for PPP Over ATM LLC Click Next...

Page 7: ...wall socket to the card If other analog devices are sharing the DSL line make sure they are connected with filters Windows NT Only Remote Access Services RAS and Reapplying the Service Packs Customer...

Page 8: ...the installation of service provider software to establish the connection Install this software as designated by the service provider Dial up software may be required as designated by the connection...

Reviews: