background image

13

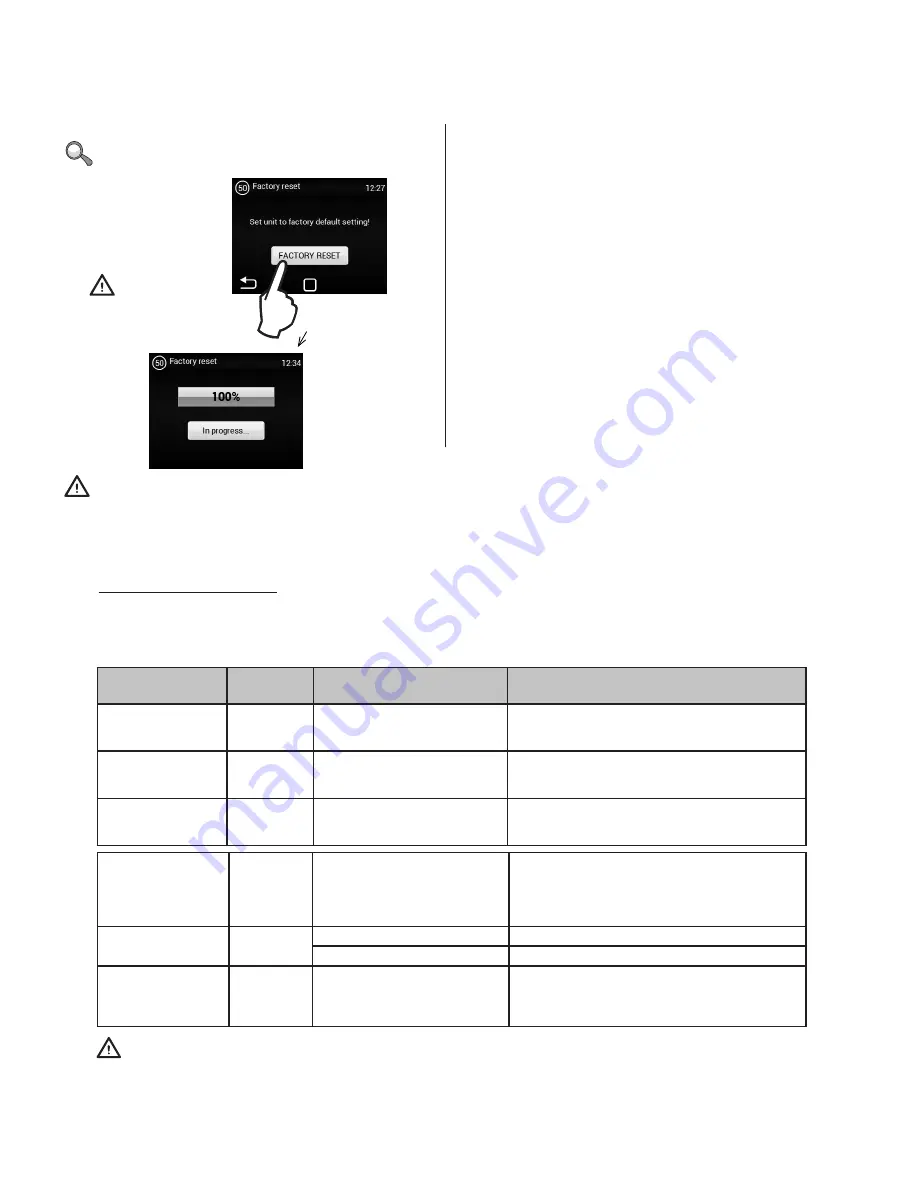
MENU - FACTORY RESET

Use this to reset the default values

Press “FACTORY RESET” to reset 

the default values of MENU 1616

Once completed, we recommend to turn the main supply off and on.

5. MALFUNCTIONS

7.1 MALFUNCTIONS

Disconnect the main power supply before any intervention to the unit. If you are not sure of the correct steps, do not attempt 
to perform any repairs and call a professional service!

Description

Unit 

behaviour Likely problem

Solution

44 – Fan 

error

Unit 

out of order

Overheated fan or defect on 

thermal contact of inlet fan

Determine the cause of the overheating (defective 

bearing, short-circuit...) or replace the motor.

45 – Mandatory 

maintenance/filter 

clogged

Unit 

operational

Filter clogged or the time to 

replace it has come

Replace filters. After replacing, do not forget to 

reset the MENU 1616 – FILTER TIMER

46 – Heater 

malfunction

Unit 

out of order

Heater malfunction

Check the heater and the condition of the safety 

thermostat Does the heater have proper cooling?

Check engine running.

65 – Communication 

error

Unit out of 

order

Communication error

Check the communication cable for damages 

and if it is properly connected Observe the 

wiring diagram to prevent occurrences that may 

disrupt communication (wiring near high tension, 

phenomena on site causing disruptions)

Unit’s not working

Unit 

out of order

Power supply interrupted

Check that the power supply is not interrupted

Cracked fuse

Check the fuse in side the control module

The heating swit-

ches off automa-

tically

Unit 

operational 

but not 

heating

The heater overheats

The heater overheats due to insufficient air flow. 

Check that the ventilators are in good order and 

that the air supply is not disrupted.


ATTENTION!

Switch off the main power supply before any intervention inside the unit. Let the unit cool!

All manuals and user guides at all-guides.com

Summary of Contents for ESSENSSE NEO COMFORT

Page 1: ...ESSENSSE NEO COMFORT EN Installation and operation instructions All manuals and user guides at all guides com a l l g u i d e s c o m...

Page 2: ...onds to the type of product ordered In case of discrepancy do not unpack the product and con tact the vendor After unpacking check that the product and all the other components are in good order In ca...

Page 3: ...54 51 52 CONTACT INCENDIE CMSI 62 61 BOOST BOOST 57 58 boitier de commande J1 J2 GND GND 15 13 14 9 8 7 10 5 4 3 2 1 6 12 11 16 17 18 19 20 21 22 23 24 82 83 81 80 79 78 77 76 75 74 73 25 26 27 28 29...

Page 4: ...29 68 67 66 65 64 63 62 61 60 59 58 57 56 55 54 53 52 51 31 33 35 36 37 38 39 40 41 42 43 9 44 45 46 47 48 49 50 30 32 34 72 71 70 69 LO L LO N GND GND 0 10V SSR SSR GND 0 10V 230VAC FLAP EXT 230VAC...

Page 5: ...act TECHNICAL INFORMATION Isolated switching contact with maximum voltage 12V Cable Two core cable with a cross section of 0 5 mm2 Maximum length 50 m ATTENTION Not included with the product 2 1 3 The...

Page 6: ...COMMISSIONING PLEASE NOTE Before starting up the unit check the following Did you leave inside tools or objects that could damage the unit Is the supply of energy and heating water if applicable adeq...

Page 7: ...and the data is loaded The device is ready to be activated once the service data has fully loaded The remote control has a touch screen The device is controlled tapping the symbols on the screen They...

Page 8: ...ith closed doors Air flow settings with closed doors Language Display backlight Parameters Date and time NFC Timer Back to previous screen Confirm return Confirm return Display required air flow three...

Page 9: ...tand by mode after the timer expires There are 5 languages available Confirm return Display backlight when on Lightning level on stand by Back to main screen The NFC menu allows devices compatible wit...

Page 10: ...the regulators MENU MODBUS RTU Address 1 247 Parity None Odd Even Communication speed 4800 Bd 9600 Bd 14400 Bd 19200 Bd 38400 Bd Use this menu to set the Modbus RTU communication parameters An incorre...

Page 11: ...Full Only the information menu can be accessed without password User mode Special user mode see image below End of winter period month number Mode Fixed Start of winter period month number Enable disa...

Page 12: ...tion 1 ON ON CP 1 CP 2 ON ON ON ON OFF OFF Electric connection Option 2 CP 1 CP 2 CP 1 CP 2 CANH CANL GND 12V ON ON ON ON Electric connection Option 2 OFF OFF Ad 1 Use one door contact as main Its sta...

Page 13: ...ER TIMER 46 Heater malfunction Unit out of order Heater malfunction Check the heater and the condition of the safety thermostat Does the heater have proper cooling Check engine running 65 Communicatio...

Page 14: ...information to the supplier or service type designation of the air curtain accessories in use place of installation serial number conditions of the installation incl electrical period of operation de...

Page 15: ...15 8 WIRING DIAGRAM RGJ VCES2 CO S MA All manuals and user guides at all guides com...

Page 16: ...16 RGJ VCES2 CO E MA 8 WIRING DIAGRAM All manuals and user guides at all guides com a l l g u i d e s c o m...

Page 17: ...17 RGJ VCES2 CO V MA 8 WIRING DIAGRAM All manuals and user guides at all guides com...

Page 18: ...18 RGJ VCES2 CO S SL 8 WIRING DIAGRAM All manuals and user guides at all guides com...

Page 19: ...19 RGJ VCES2 CO E SL 8 WIRING DIAGRAM All manuals and user guides at all guides com...

Page 20: ...20 RGJ VCES2 CO V SL 8 WIRING DIAGRAM All manuals and user guides at all guides com...

Page 21: ...not hesitate to contact our sales or technical support departments CONTACT Address 2VV s r o Pod bradsk 289 530 09 Pardubice Czech Republic Internet http www 2vv cz contact distribution php All manual...

Reviews: