background image

-14-

Troubleshooting

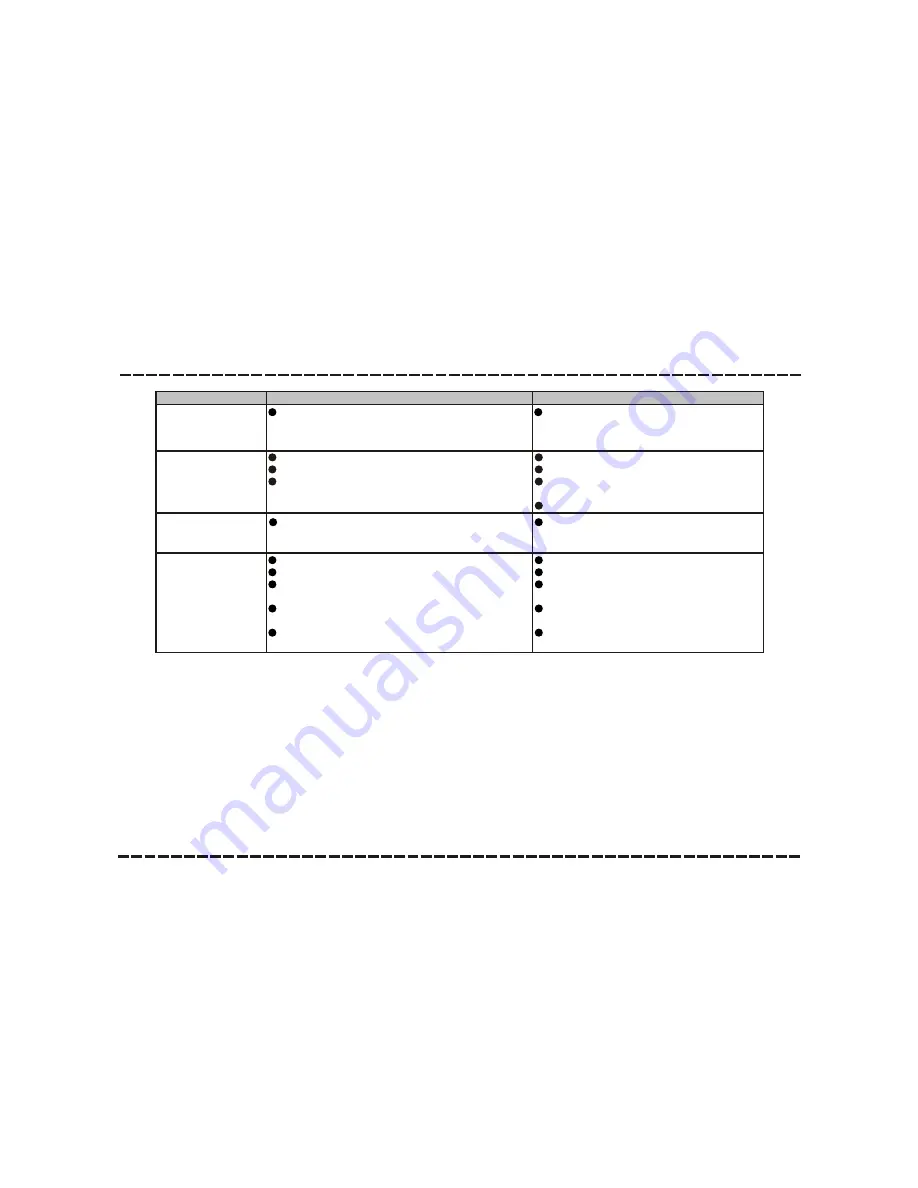
Before resorting to maintenance service, please kindly check by yourself with the following chart.

Sound

There is no sound or 
the sound is 
distorted.

The audio cables aren't connected securely.
The volume is set to the minimum level.
The sound is switched off.

Connect the audio cables securely.
Turn up the volume.
Press [MUTE] on the remote control to 

 switch on the sound.

Press [PLAY/PAUSE].

The remote 
control does not 
function.

Symptom

Cause(s)

Remedy

The buttons on the 
unit doesn't work.

Switch off and unplug the unit.

 Then connect the plug to the power supply 
 and switch it on again.

The unit is being interfered with static electricity

 etc.

The AC power cord is not connected to the power 

 supply or is not connected to a power supply 
 securely.

Please check that the AC power cord 

 is connected securely.

No Power

There is no battery in the remote control.
The batteries are out of charge. 
The remote control isn't pointed to the remote 

 sensor.

The remote control is out of its operating area.

The unit is shut down.

Install two AAA/1.5V batteries in it.
Replace the batteries with new ones.
Make sure that the remote control is 

 pointed to the remote control sensor.

Make sure the remote control is within 

 the operating area.

Switch off the unit and disconnect it from 

 the AC outlet. Then power on the unit again. 

Summary of Contents for 436NA-0006

Page 1: ...USER MANUAL SOUND BASE SYSTEM 436NA 0006 436UK 0006 436DE 0006...

Page 2: ...Contents Contents 1 Features 2 For your Attention 3 4 Panel 5 6 Wall mounting 7 8 Connections 9 10 Remote Control 11 12 Basic Playback 13 Trouble shooting 14 Specifications 15...

Page 3: ...making connections and operating this product Retain this manual for future reference Line input AUX input Optical input USB slot ARC function Bluetooth playback Package Contents User manual User man...

Page 4: ...C power supply when it is not being used for a long time Don t install the unit in a place exposed to heating sources or direct sunshine Don t install the unit in a place exposed to moisture or rain T...

Page 5: ...y and if not installed and used in accordance with the instructions may cause harmful interference to radio communications However there is no guarantee that interference will not occur in a particula...

Page 6: ...FRONT PANEL Panel 5 2 2 1 1 1 DISPLAY SCREEN 2 REMOTE SENSOR...

Page 7: ...Panel 6 REAR PANEL 3 3 4 4 1 HDMI 2 AUX INPUT 3 OPTICAL DIGITAL AUDIO INPUT 4 AC INPUT 1 1 1 STANDBY 2 SOURCE 3 USB SLOT 4 VOLUME 5 VOLUME 6 LINE IN 2 2 1 1 2 2 SIDE PANEL 4 4 3 3 5 5 6 6...

Page 8: ...wall and keep the distance between drill holes of the sound base is 500mm As shown in the picture on the right diagram 1 2 Insert the two plugs supplied into two drilled holes and then insert two scr...

Page 9: ...s shown in the picture on the right diagram 4 5 Use the bracket screws supplied to insert the wall mounting bracket hole and tighten As shown in the picture on the right diagram 5 6 Use the assembled...

Page 10: ...n input the analogue stereo audio signals from extra devices such as VCD CD VCR DVD player etc Use the audio cable to connect the stereo audio output terminals of a VCD CD VCR DVD player to the stereo...

Page 11: ...el 1byone BS015 in your device was not deleted use your smart phone to search the bluetooth signal of the sound base select 1 on your list input the password 0000 if need the password prompt the sound...

Page 12: ...n leak and severely damage the remote control The battery must not be exposed to excessive heat source such as sunshine fire or any other things like that Be environmentally friendly and dispose of ba...

Page 13: ...Remote Control 12 1 STANDBY 2 VOLUME 3 PREVIOUS 4 PLAY PAUSE 5 VOLUME 6 LINE AUX 7 BT BLUETOOTH 8 ARC 9 MUTE 10 NEXT 11 USB 12 OPTICAL 2 7 6 1 3 4 5 8 9 11 10 12...

Page 14: ...3 Operation Press to skip to the next track Press to return to the previous track Press to enter to USB mode Press repeatedly to switch between LINEand AUX IN mode Press to enter to OPTICAL IN mode LI...

Page 15: ...he power supply and switch it on again The unit is being interfered with static electricity etc The AC power cord is not connected to the power supply or is not connected to a power supply securely Pl...

Page 16: ...15 Specifications 20WX2 Power supply AC 100 240V 50 60Hz Working environment Temperature 10 35 Relative humidity 5 90 Power output Max 3dB 20Hz 20kHz Frequency response...

Page 17: ......

Reviews: