


Chapter 6 Configuration
NSG Series User’s Guide
25
The following table describes the labels in this screen.
6.3.5 Secure Telnet Using SSH Examples
This section shows two examples using a command interface and a graphical interface SSH client
program to remotely access the NSG. The configuration and connection steps are similar for most SSH
client programs. Refer to your SSH client program user’s guide.
6.3.5.1 Example 1: Microsoft Windows
This section describes how to access the NSG using the Secure Shell Client program.
1
Launch the SSH client and specify the connection information (IP address, port number) for the NSG.
2
Configure the SSH client to accept connection using SSH version 1.
3
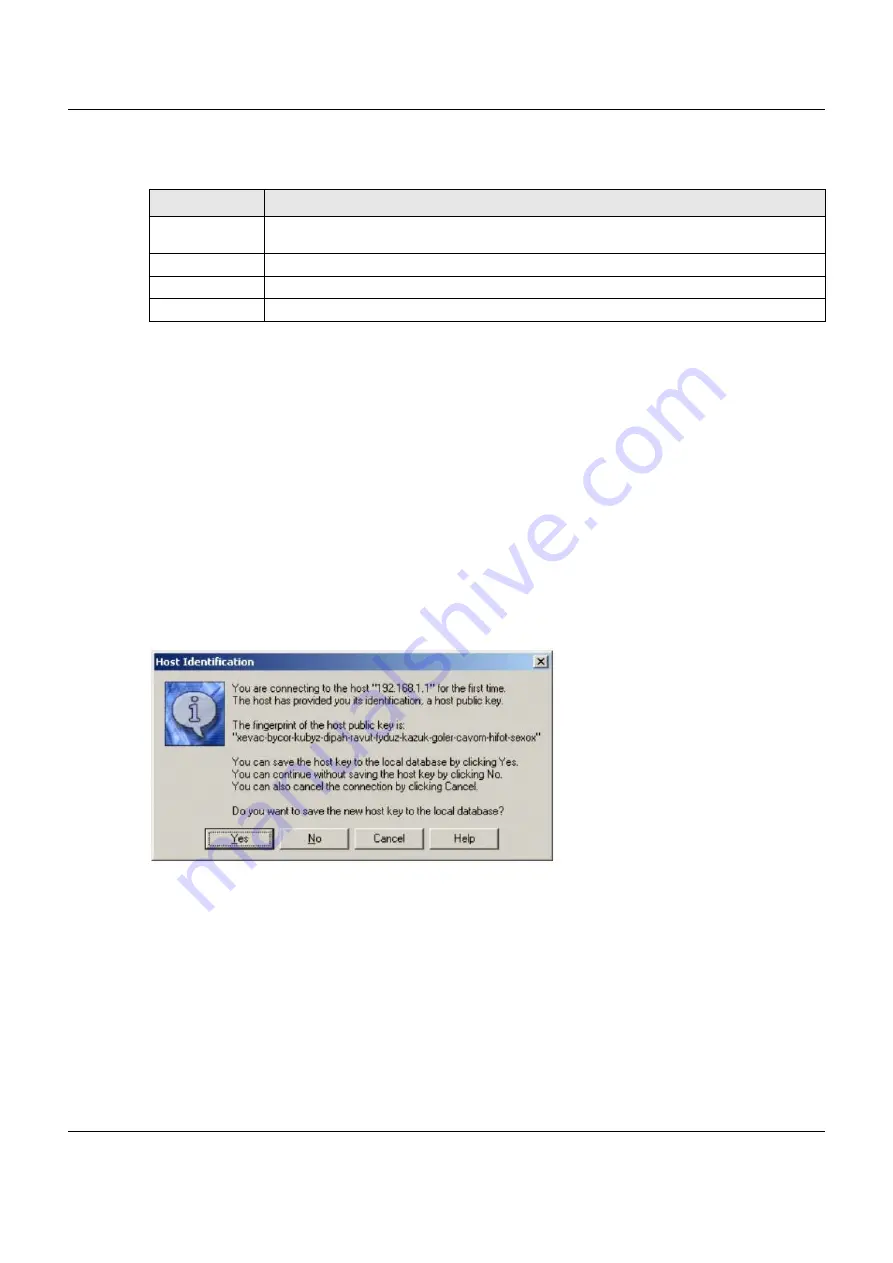
A window displays prompting you to store the host key in you computer. Click
Yes
to continue.
Figure 27
SSH Example 1: Store Host Key
Enter the password to log in to the NSG. The CLI screen displays next.
6.3.5.2 Example 2: Linux
This section describes how to access the NSG using the OpenSSH client program that comes with most
Linux distributions.
1
Test whether the SSH service is available on the NSG.
Enter “
telnet 192.168.1.1 22
” at a terminal prompt and press
[ENTER]
. The computer attempts to
connect to port 22 on the NSG (using the default IP address of 192.168.1.1).
A message displays indicating the SSH protocol version supported by the NSG.
Table 12 Configuration > SSH
LABEL
DESCRIPTION
Allow WAN to
Device
Select the check box to allow the computer with the IP address that matches the IP address in
the
Client IP Address
field to access the NSG CLI using SSH.
Client IP Address
Enter the IP address with which the computer is allowed to access.
Apply
Click
Apply
to save your changes back to the NSG.
Reset
Click
Reset
to return the screen to its last-saved settings.


