146
10.9 Auto-testing
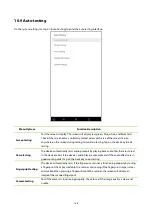
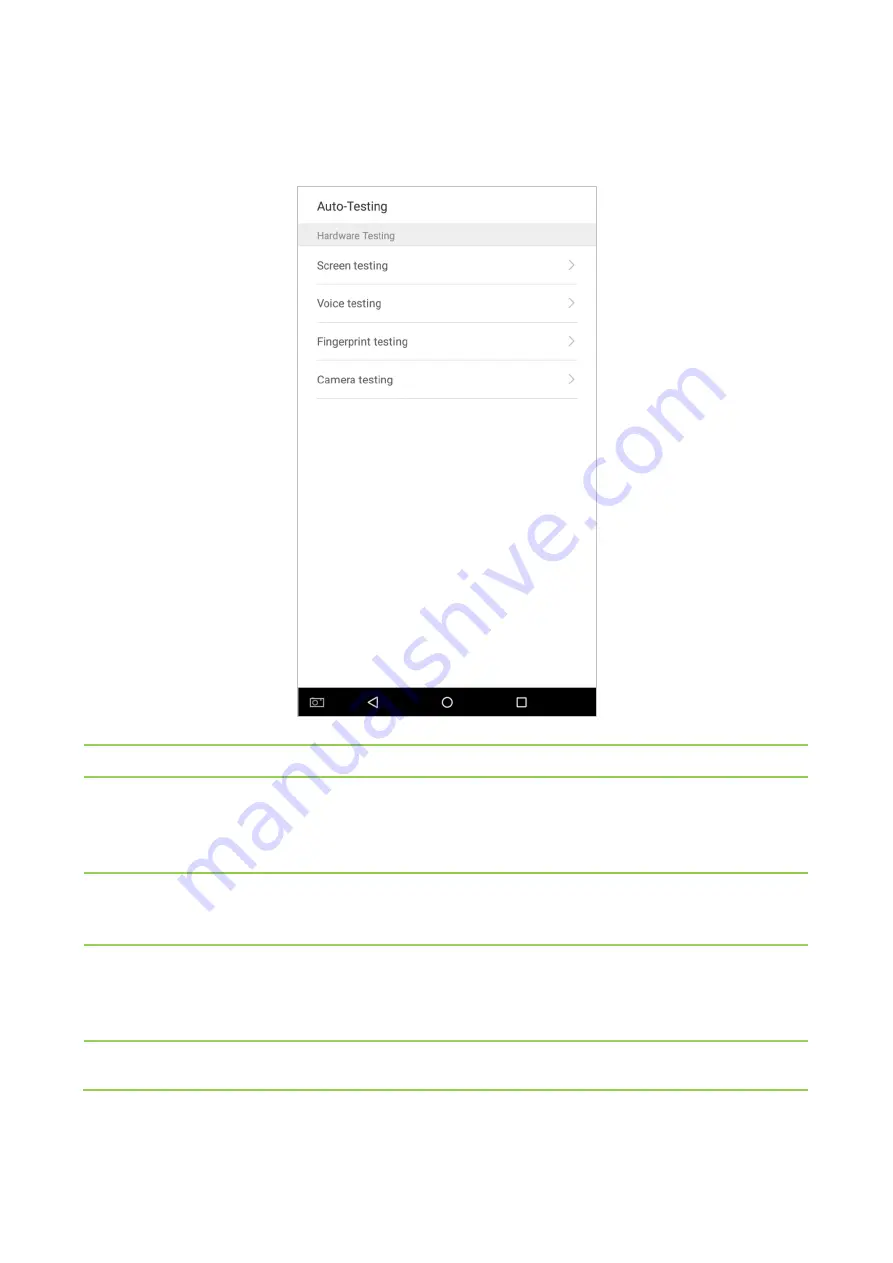
On the system settings list, tap on [Auto-Testing] to enter the auto testing interface:
Menu Options
Function Description
Screen testing
Test the screen's display. The screen will display red, green, blue, white, and black tests.
Check if the screen color is uniformly correct across each area of the screen. Tap on
anywhere on the screen during testing to continue testing. Tap on the back key to exit
testing.
Voice testing
The device automatically tests audio prompts by playing back audio files that are stored
in the device to test if the device's audio files are complete and if the audio effects are in
good working order. Tap on the back key to exit testing.
Fingerprint testing
The device automatically tests if the fingerprint scanner is functioning properly by testing
a fingerprint that is pressed onto the scanner, and seeing if the fingerprint image is clear
and usable. When pressing a fingerprint onto the scanner, the screen will display an
image of the scanned fingerprint.
Camera testing
Test if the camera is functioning properly. Check to see if the image quality is clear and
usable.
Содержание SpeedFace Series
Страница 1: ...General User Manual Visible Light Face Recognition Version 1 0 Date December 2018...
Страница 10: ...5 Change the theme 1 Tap on Choose theme and select a theme at the bottom of the interface...
Страница 11: ...6 2 After the theme was set successfully it will be displayed on the standby interface...
Страница 13: ...8 2 The wallpaper is set successfully and displayed on the standby interface...
Страница 15: ...10 2 Verification is failed...
Страница 17: ...12 2 Look at the camera make sure your face stay in the center of the camera...
Страница 18: ...13 3 Successfully verified...
Страница 19: ...14 4 Verification is failed...
Страница 21: ...16 Verification is failed...
Страница 24: ...19 2 Press the finger on the fingerprint reader to proceed with verification...
Страница 25: ...20 3 Successfully verified...
Страница 26: ...21 4 Verification is failed...
Страница 29: ...24 2 Enter a password and press OK...
Страница 30: ...25 3 Successfully verified...
Страница 31: ...26 4 Verification is failed...
Страница 34: ...29 2 Successfully verified...
Страница 39: ...34 2 Tap on Start on the employee creation wizard...
Страница 42: ...37 2 Employee should face the lens and then adjust the position Tap on the icon to take a photo...
Страница 44: ...39 4 Tap on the rightwards arrow to complete adding the photo...
Страница 51: ...46 Tap on to encrypt the password tap on to make the password visible as shown below...
Страница 52: ...47 2 If the password you input in both fields does not match you have to re enter the passwords...
Страница 54: ...49 Press Delete Overwrite in the dialog window that pops up...
Страница 55: ...50 Click Done after the registration a new employee is created successfully...
Страница 59: ...54 2 Select Verification Mode and then select a verification mode...
Страница 65: ...60 2 Automatically finds employees with information that is relevant to the search query...
Страница 66: ...61 3 3 Edit an Employee 1 Select an employee on the employee list...
Страница 68: ...63 3 4 Delete Employee 1 On the User Management interface tap on the button in the upper right corner...
Страница 72: ...67 2 In the attendance event creation wizard tap on Start...
Страница 74: ...69 If the input status value is a duplicate or exceeds the permitted range the following message will appear...
Страница 75: ...70 4 Successfully created...
Страница 76: ...71 4 2 Edit Attendance Events 1 Select an employee attendance event...
Страница 79: ...74 2 A window will appear Tap on OK...
Страница 80: ...75 3 The event is now deleted and will not appear on the list...
Страница 84: ...79 1 Enter the number of time rule maximum 50 rules in the search bar...
Страница 87: ...82 2 Select a date and type of the holiday Enable Recurring holiday to recur the holiday yearly...
Страница 88: ...83 3 Click Done a new holiday is created successfully 3 Select an employee on the employee list...
Страница 90: ...85...
Страница 92: ...87 2 Enter information such as the employee ID first or last name of an employee in the search bar...
Страница 93: ...88 3 Automatically finds the employees with information that is relevant to the search query...
Страница 96: ...91 2 Enter the Employee photos interface...
Страница 98: ...93 5 Show search results...
Страница 105: ...100 2 Set Time select Hour and Minute...
Страница 107: ...102 4 Tap on the Bell button and a window will pop up Select a ringtone and tap on OK...
Страница 109: ...104 9 2 Edit Alarms 1 Select an alarm from the alarm list...
Страница 111: ...106 9 3 Delete Alarms 1 On the Alarm Management interface tap on the button on the upper right corner...
Страница 112: ...107 2 Select the alarm that you would like to delete and then tap on the button on the lower right hand corner...
Страница 113: ...108 3 A window will appear Tap on OK...
Страница 114: ...109 4 The event is now deleted and will not appear on the list...
Страница 116: ...111 10 1 Network Settings On the system settings list tap on Network settings to enter the Network Settings interface...
Страница 120: ...115 10 2 Date and Time In system settings tap on Date and time to enter the date and time settings interface...
Страница 121: ...116 10 2 1 Date and Time Settings 1 Tap on Set Date and swipe up and down to set the year month and day Tap on OK...
Страница 122: ...117 2 Tap on Set Time and swipe up and down to set the hour and minute Tap on OK...
Страница 123: ...118 10 2 2 Date and Time Format Settings 1 Tap on Date Format and select a date format...
Страница 124: ...119 2 Tap on 24 Hour Time to enable this function It will appear green if enabled or gray if disabled...
Страница 128: ...123 3 Set the time When the Repeat daily switch is turned on the following will display...
Страница 129: ...124 4 Tap on the Time button and swipe up and down to set the corresponding time Tap on OK...
Страница 130: ...125 5 When the Repeat Daily switch is disabled the following will display...
Страница 134: ...129 2 In the Fixed mode selection menu select the attendance status that you would like to set...
Страница 135: ...130 Set this mode to disabled 1 Select the Status Mode as Disable mode...
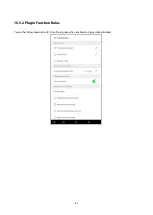
Страница 137: ...132 10 3 2 Plugin Function Rules Tap on the Allow Execute switch It will turn green when enabled and gray when disabled...
Страница 139: ...134 10 3 4 Verification Settings Configure settings for attendance verification parameters...
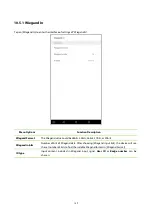
Страница 143: ...138 10 5 Wiegand Settings Tap on Wiegand Settings in the system setting list to access the interface as shown below...
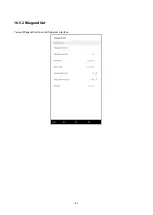
Страница 145: ...140 10 5 2 Wiegand Out Tap on Wiegand Out to enter the below interface...

