INSTRUCTION MANUAL
Semi-automatic BOV Filling Machine Z-2323
A0310.02.2323.905.1.EN
Page 30/39
Replacing the lip sealing on products piston
If in the rear part of the connector there is a product leak, it means that the seal on the piston in
the product cylinder is worn out. The seals are replaced as follows:
1.
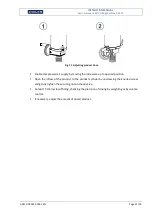
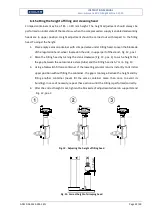
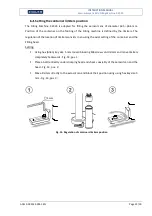
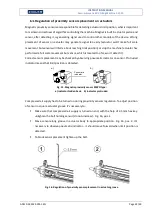
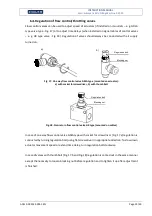
Close the inlet of the product to the cylinder by tightening the knurled screw [Fig. 9, pos. 1]
of the product cylinder non-return valve after loosening the securing nut [Fig. 9, pos. 2].
2.
Disable product supply to the machine. It involves switching off any installed product
pumps and emptying whole installation supplying product to the machine.
3.
Empty the gas cylinder. In order to do this place empty aerosol container with crimped
valve under the gasifying head. Using machine’s control panel perform single gasifying cycle
on empty container.
4.
Disable compressed air supply. It involves closing the main cut-off valve and emptying
whole pneumatic installation supplying the machine.
5.
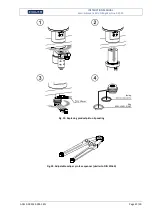
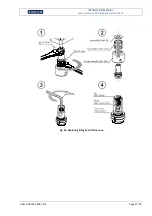
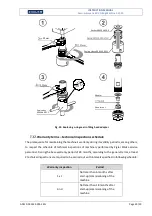
Unscrew the knurled nut (while holding the cylinder) connecting the product cylinder with
the remaining part of filling module - Fig. 19, pos. 1. To facilitate the task use adjustable
caliper pin face spanner (pin diameter ø5.5 mm) - Fig. 20.
CAUTION! In order to preserve safety during maintenance activities make
sure that product cylinder was emptied before dismantling!
6.
Move gently the product cylinder down the piston - Fig. 19, pos. 2.
7.
Hold the piston rod axle with a 19 mm flat wrench and unscrew the piston with a caliper
pin face spanner (pin diameter ø4 mm) - Fig. 19, pos. 3.
8.
Replace the piston seal 9003.42.001.0/VS1 and a guiding ring 9003.42.001.0/GR1 if
damages are visible - Fig. 19, pos. 4. Before placing the seal, lubricate it with pneumatic oil.
9.
Mount the complete piston on the rod and tighten it using adjustable caliper face spanner.
10.
Slide the cylinder on the piston, making sure not to damage the sealing.
11.
Connect the air cylinder to the remaining part of the product pump using a connecting nut
and tighten with adjustable caliper face spanner.
Содержание Z-2323
Страница 42: ...PNEUMATIC DIAGRAMS ...
Страница 44: ...SPARE PARTS LIST WITH TECHNICAL DRAWINGS ...


