

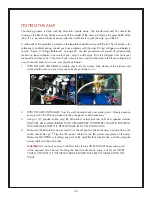


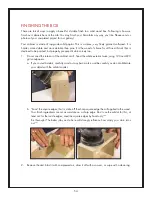


44
bit, then countersink with the ¼ bit, carefully and gradually adjusting the depth of plunge until the full
diameter of the bit just barely cuts into the wood. The screw should then pull the head down into the
wood and just below the surrounding surface. Practice setting the depth on a scrap of pine until you
like the results.
ALWAYS provide a 1/16” pilot in the holding piece of wood, and keep the clutch on your screw gun
set low when driving, or the screws provided are likely to spin out or break.
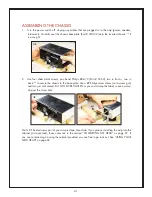
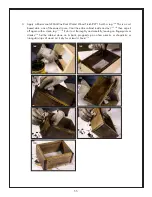
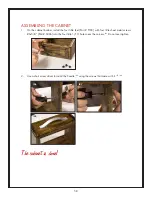
ASSEMBLING THE BOX
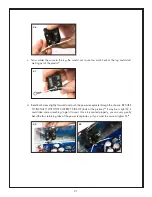
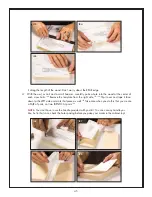
1. Fitting the Wood Parts (Part # CA05). Note that the longer wood parts are the top and bottom
(Part # CA05.1) and the shorter pieces (Part # CA05.2) are the sides. Arrange the four pieces of
wood as shown in the diagram. If you have a preference for the appearance of grain, color,
knots, etc, flip the parts around this way and that until you like the way they look.
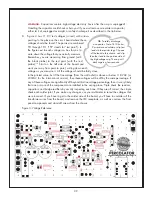
121
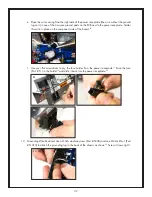
Sometime,
the wood exhibits blemishes on one side from the milling process. Face these toward the inside.
They will be completely invisible and will have no effect on the quality of the cabinet.
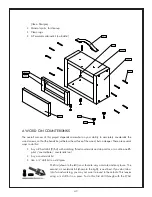
2. With the pencil, label the parts where it won’t show, so you can easily fit them together again
later. Put the labels towards the front of each piece.
122
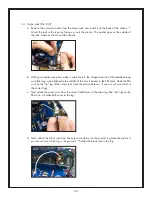
3. With scissors or blade, cut out the templates provided with your kit.
123
If you ruin them, they also
appear at the end of this document. Tape the templates to the top, the bottom and the right-hand
side (as you face the front).
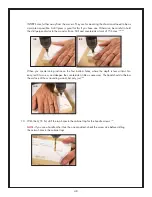
124, 125
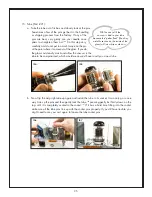
If the templates do not match the wood size PERFECTLY (it
happens), line up the FRONT EDGE of the template to the FRONT EDGE of the wood, and center
121
122