000000-2121-813-KurzGA01-GB-280815
WARNING – GENERAL HAZARDS
These quick instructions are intended as an overview. Instructions for the safe operation of the device are to be found in the user's manual.
F
Please read the CIRRUS photo user manual carefully before using this product.
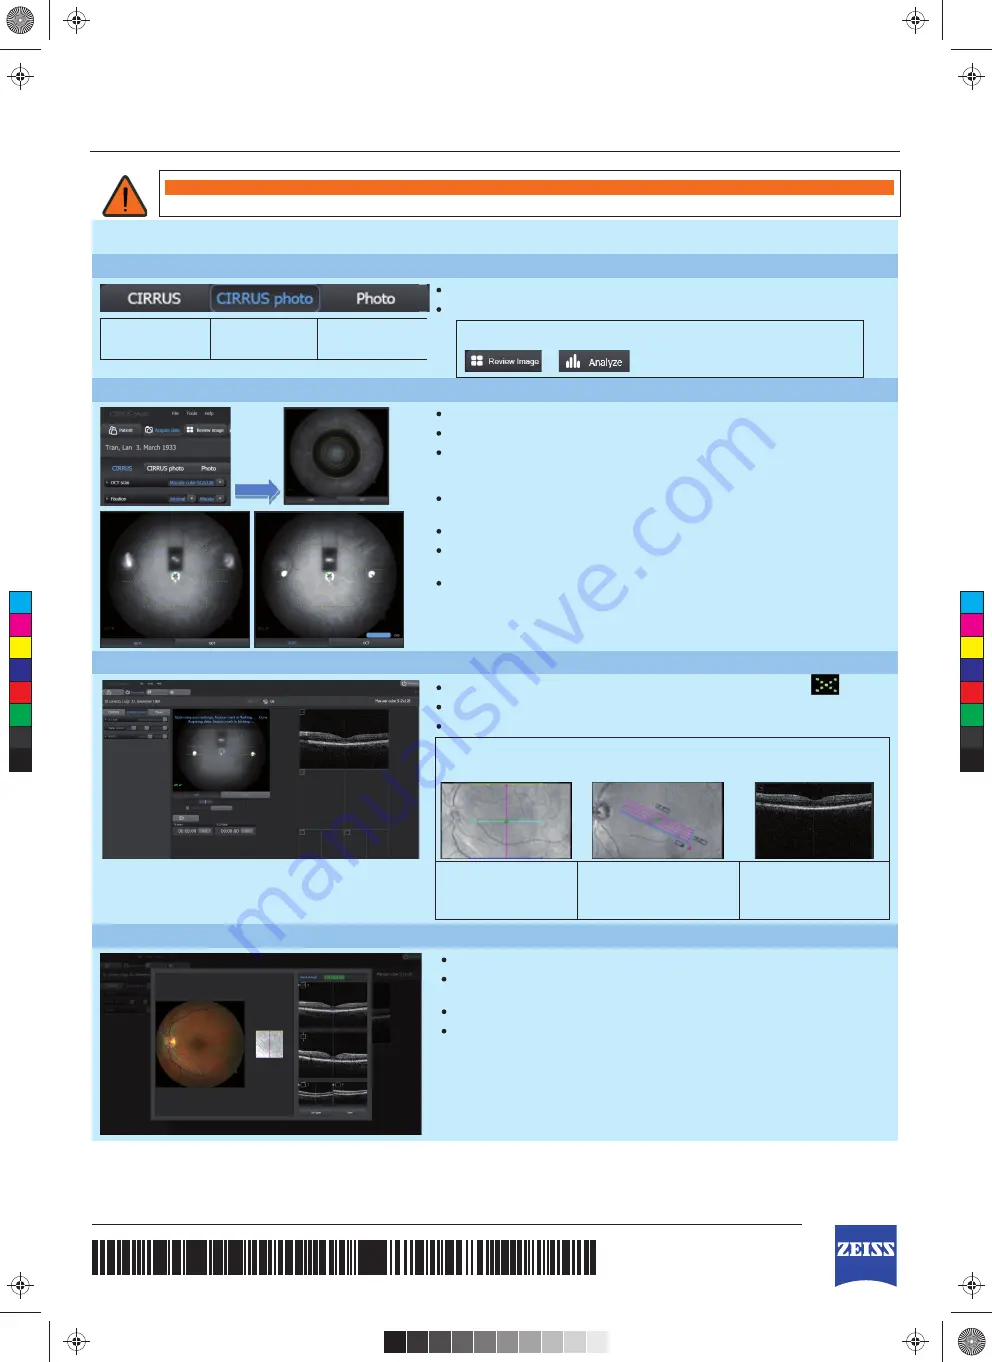
Select acquisition mode and scan parameters
Select this mode for
OCT imaging only
Select this mode
for combined OCT
+ fundus imaging
Select this mode
for fundus imaging
only.
Select the desired imaging mode.
Advanced tip:
For patients who have difficulty fixating, take OCT and fundus images as
separate acquisitions (
CIRRUS
and
Photo
), and combine them using
or
.
Align and fo cus the instrument using working distance dots
Pull the instrument back from the patient and place patient‘s chin in the chinrest.
Adjust table height and use eye level marks to adjust height of chinrest.
Use joystick to align instrument with patient pupil (use alignment circles for best
positioning).
Move instrument towards patient. The focusing aid and working distance dots (two
white dots) will appear together with the fundus image.
Bring the working distance dots roughly into focus.
If AutoFocus fails, use knob on side of instrument (bars should be aligned
horizontally).
Bring the working distance dots into focus by turning and moving the joystick and
align the working distance dots within the horizontal lines.
Acquire image(s)
Instruct patient to blink once and to look directly at the fixation target
.
Click joystick button to capture image(s).
Advanced tip:
To modify OCT scan pattern location, press arrow (
) on keypad before capturing
images. Use controls on OCT fundus image to change the scan location and
rotation/size (HD Raster only).
Grab and drag scan
pattern to preferred scan
location.
Grab edge of scan pattern to
resize the raster scan length
and spacing. For 1 Line Raster,
drag spacing to zero.
Press
<!>
on keypad or the
Optimize
button in display.
Use the scroll wheel of your
mouse to center the scan.
Review the captured scan, then save or try again.
Evaluate the B-scan quality and the signal strength (should be 6 or greater).
Check that the OCT B-scans in the display windows appear centered and that no
data is cut off or missing.
Click
Try Again
to repeat scan acquisition, if necessary.
Click
Save
to save the OCT scan (fundus images are automatically saved).
false
correct
CIRRUS
™
photo Scan Acquisition (Models 600 and 800)
Quick Reference Guide
C
M
Y
CM
MY
CY
CMY
K
00542 BBP CIRRUS photo 600 quick guide.pdf 1 18/01/2016 22:13


