Installation & User Guide
Valve Controller 1
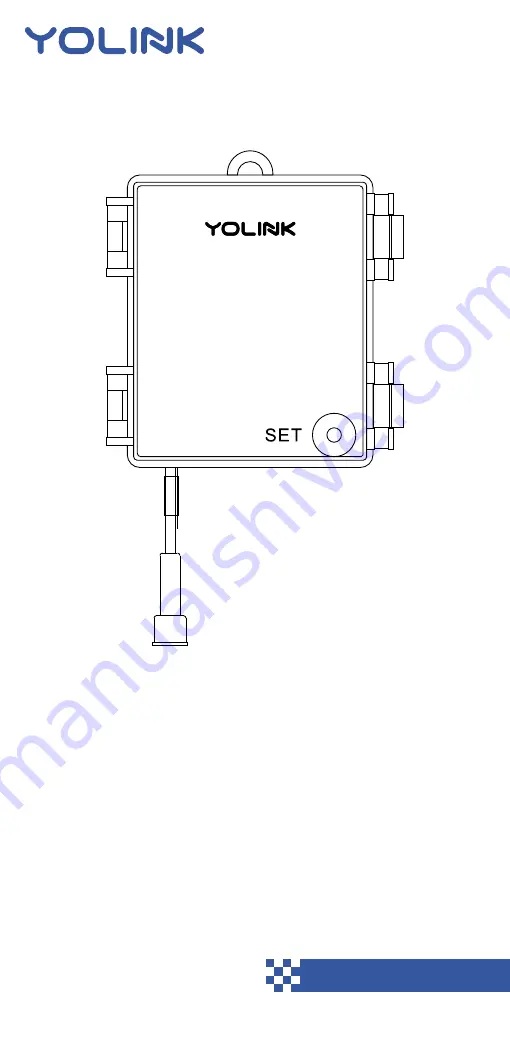
YS4909(S)-UC
KITS:
YS4909(S)-UC & BULLDOG
YS4909(S)-UC & DN##
Revision May. 31, 2023
Страница 1: ...Installation User Guide Valve Controller 1 YS4909 S UC KITS YS4909 S UC BULLDOG YS4909 S UC DN Revision May 31 2023...
Страница 2: ...ting Troubleshooting Get to Know Your Motorized Valve Install the Motorized Valve Final Connections Manual Operation Testing Troubleshooting Control D2D Device to Device Pairing Using the App 3rd Part...
Страница 3: ...allation with our products or if you have any questions that this manual does not answer please contact us right away See the Contact Us section for more info Thank you Eric Vanzo Customer Experience...
Страница 4: ...the QR code Before You Begin Visit our Valve Controller 1 support page on our website for the latest installation guides additional resources information and videos by visiting www shop yosmart com pa...
Страница 5: ...l network In order for remote access to the device from the app and for full functionality a YoLink hub is required This guide assumes the YoLink app has been installed on your phone and a YoLink Hub...
Страница 6: ...04 What s Included C Valve Controller 1 4 x AA Batteries Pre Installed Quick Start Guide YS4909 S Items...
Страница 7: ...05 Bulldog Valve Robot Large Small Brackets 24 36x50 36 52x54 Motorized Valve What s Included Continued C Bulldog Valve Robot Kit Items Motorized Valve Kit Items...
Страница 8: ...se tools or items may be required Required Items D Wall Anchors Drill with Drill Bits Medium Phillips Screwdriver Medium Phillips Screwdriver These items will be required to install the Bulldog Valve...
Страница 9: ...ocking Pliers Pipe Wrench Copper Pipe Cutting Tool Sandpaper Thread Seal Tape Marker or Pencil Pipe Fittings Adapters These items may be required to install the motorized valve Required Items Continue...
Страница 10: ...rt Up Blinking Red And Green Alternately Restoring to Factory Defaults Blinking Red Once Valve Closing Quick Blinking Red Twice Valve is Closed Blinking Green Once Valve Opening Quick Blinking Green C...
Страница 11: ...09 Power Up F Power up the Valve Controller 1 by briefly pressing the SET button until the LED flashes red then green SET button...
Страница 12: ...ou receive important messages in the future Log in to the app using your new username and password The app opens to the Favorite screen This is where your favorite devices and scenes will be shown You...
Страница 13: ...on 2 Approve access to your phone s camera if requested A view nder will be shown on the app 3 Hold the phone over the QR code so that the code appears in the view nder If successful the Add Device sc...
Страница 14: ...12 Add Your Valve Controller 1 to the App Continued H 4 You can change the device name and assign it to a room later Tap Bind device 5 If successful the screen will appear as shown Tap Done...
Страница 15: ...dable operation provide protection from rain and direct sunlight with overhead cover in the form of an enclosure or rain hood Do not install your valve controller or valve device at a location where i...
Страница 16: ...chors install one at the top mounting hole location per the manufacturer s instructions drill a pilot hole rst etc 3 Insert a screw in the top mounting hole location but do not screw it flush with the...
Страница 17: ...g Brackets Valve Control Cable Valve Status Cable Do not use this 3 pin connector if present Please note the existing ball valve must be in good working order It must open and close smoothly with mini...
Страница 18: ...racket ts over the ball valve where it is connected to the pipe and can subsequently be tightened securely to the ball valve If the bracket does not t over the ball valve or seems to be too loose try...
Страница 19: ...acket on the valve as shown and loosely tighten the screws Important The bracket must be mounted to the ball valve not to the pipe The ball valve should have at least one side shaped like a nut or bol...
Страница 20: ...ition the bracket so that it is aligned with the pivot point of the ball valve by visualizing a line between the tab slot and the pivot point as shown 5 Remove the screw from the tab slot then attach...
Страница 21: ...the tab slot screw If it is not possible to align the parts as shown or if the bracket can not be secured to the ball valve consider rotating the ball valve handle 180 After removing the Bulldog this...
Страница 22: ...K 7 Securely tighten the two screws on the brack et Gently tug on the Bulldog and tighten the screws until the Bulldog is rmly held in place by the bracket and tab screw 8 Remove the nuts and collars...
Страница 23: ...th one hand insert the bottom supporting bracket over the end of each bolt as shown Insert and loosely tighten a nut on each bolt Now position each bolt collar so that it is snug against the valve lev...
Страница 24: ...er s valve control cable 2 pin to the control cable of the Bulldog Valve Robot Ensure the arrow of the cable connector aligns with the arrow of the other cable connector Twist the collar of the connec...
Страница 25: ...he motor and gears are disengaged from the ball valve allowing it to be manually operated If you are not using the valve status feature or if your valve controller does not have the valve status featu...
Страница 26: ...ound increases or appears to be straining this may indicate incorrect or suboptimal Bulldog installation and or a mechanical issue with the ball valve such as too stiff or too much resistance to turni...
Страница 27: ...s if needed Replace the batteries Problem The valve controller does not respond to the SET button being pressed and or the Bulldog Valve Robot is unresponsive Possible Solutions Ensure the Valve Contr...
Страница 28: ...tly secured to the ball valve Return to the installation section if needed Problem The Bulldog Valve Robot does not close the valve completely and or appears to strain shakes or makes a loud and or gr...
Страница 29: ...ow indicates the current position of the valve O indicates open S indicates shut Valve Control Cable Valve Status Cable Speci c models your valve may not have this cable The valve included in this kit...
Страница 30: ...that there is physical room for the valve that other pipes a wall or other objects will prevent installing it at the desired location The manual control knob and Open Shut indicator window should be v...
Страница 31: ...installed Drain the water from the pipe by turning on a faucet or by other method as required 2 Depending on the adapter tting used measure the length of pipe that must be cut and mark the cut lines o...
Страница 32: ...tool then remove the cut section of pipe as shown below 4 Sand both ends of cut pipe removing any burrs or rough edges Use care handling the cut edges which may be sharp Wipe off the cut section of pi...
Страница 33: ...he tape manufacturer s instruc tions as shown below 7 Install the Motorized Valve on the adapter ttings ensuring a secure connection at each tting as shown below 8 At the water valve or point of disco...
Страница 34: ...ot have the valve status feature to avoid the app from indicating the wrong valve status if you manually closed the valve for example manually open it again Do not open it via the app after manually c...
Страница 35: ...ure that no water is flowing through the valve the water flowing through the valve may make an audible sound Check that no water flows from an open faucet served by this valve 2 Test the operation of...
Страница 36: ...if needed Replace the batteries Problem The valve controller does not respond to the SET button being pressed and or the Motorized Valve Robot is unresponsive Possible Solutions Ensure the Valve Cont...
Страница 37: ...the commands is called the responder An example of a controller are a Water Leak Sensor while examples of a responder are a Siren Alarm or a Valve Controller 1 Use of YoLink Control D2D is optional On...
Страница 38: ...ve Controller 1 as a responder rst ensure that the valve or Bulldog is in the closed position Press and hold the controller s SET button for 5 10 seconds until the LED quickly blinks green then releas...
Страница 39: ...hen red then release the button 2 At the Valve Controller 1 press and hold the SET button for 10 15 seconds until the LED quickly blinks green then red then release the button Upon unpairing either th...
Страница 40: ...e from your account and it will not harm the device or lose any data or require you to redo your auto mations etc Instructions Hold the SET button down for 20 30 seconds until the LED blinks red and g...
Страница 41: ...the Detail screen of each device at the bottom you will see the Firmware section as shown in the image below A rmware update is available for your device if it says ready now Tap in this area to star...
Страница 42: ...1 Pry open the two snap clasps on the side of the controller to gain access to the battery com partment 2 Remove all four batteries Battery Replacement Z 1 5V AA LR6 1 5V AA LR6 1 5V AA LR6 1 5V AA L...
Страница 43: ...snap clasps into the closed position 5 In the app verify the Valve Controller 1 is online and the batteries are indicated as good The Valve Controller 1 can be powered by alka line or lithium ion batt...
Страница 44: ...is can protect it from the damaging effects of intense direct sunlight and or rain over a period of years Do not immerse or allow the devices to be immersed or submerged in water Avoid placing the dev...
Страница 45: ...other type batteries e g zinc blend Do not mix old and new batteries If storing the controller for extended periods remove the batteries Please contact Customer Support before attempting to repair dis...
Страница 46: ...alled were modi ed or put to a use other than designed This warranty does not cover products subjected to acts of God such as floods lightning strike or electrical surge or earthquakes etc This warran...
Страница 47: ...ned by turning the equipment off and on the user is encouraged to try to correct the interference by one or more of the following measures Reorient or relocate the receiving antenna connect the equipm...
Страница 48: ...Statement Continued PRODUCT NAME Valve Controller 1 PARTY YOSMART INC TELEPHONE 831 292 4831 MODEL NUMBER YS4909 UC ADDRESS 15375 BARRANCA PKWY SUITE J 107 IRVINE CA 92618 USA EMAIL SERVICE YOSMART C...
Страница 49: ...tween the radiator and your body Use only the supplied antenna French Le pr sentappareilestconf orme aux CNR d Industrie Canada applicables aux appareils radio exempts de licence L exploitationestauto...
Страница 50: ...onday Friday 9AM to 5PM Paci c You can also nd additional support and ways to contact us at www yosmart com support and service Or scan the QR code Finally if you have any feedback or suggestions for...