


<10. Other Functions>
10-7
IM 11M12A01-02E 16th Edition : Mar. 19, 2020-00
10.3 Other Display-related Functions
10.3.1
Auto-Return Time
On the Execution/Setup display or lower level menu displays, if no keys are touched for a preset
time, the Auto return time, then the display will automatically revert to the Basic panel display. The
“Auto return time” can be set in the range 0 to 255 minutes. If it is set to 0, then the display does
not automatically revert. By default, the “Auto return time” is set to 0 (zero).
<Setting procedure>
(1) On the Basic panel display, touch the [Setup] key to display the Execution/Setup display,
then select “Maintenance”. Select “Display setup” then “Auto return time”.
(2) The numerical entry display appears for you to enter the desired Auto return time.
To set an Auto return time of one hour, enter 060.
(3) If you set 0, then the Auto return function does not operate.
<Default setting>
The Auto return time is set to 0 prior factory shipment or after data initialization.
10.3.2
Entering Tag Name
You can attach a desired tag name to the equipment. To attach it, follow these steps:
(1) Select the [Setup] key from the Basic panel display to display the Execution/Setup display.
Then select “Maintenance” from the Execution/Setup display.
(2) Select the “Display setup” from the Maintenance display.
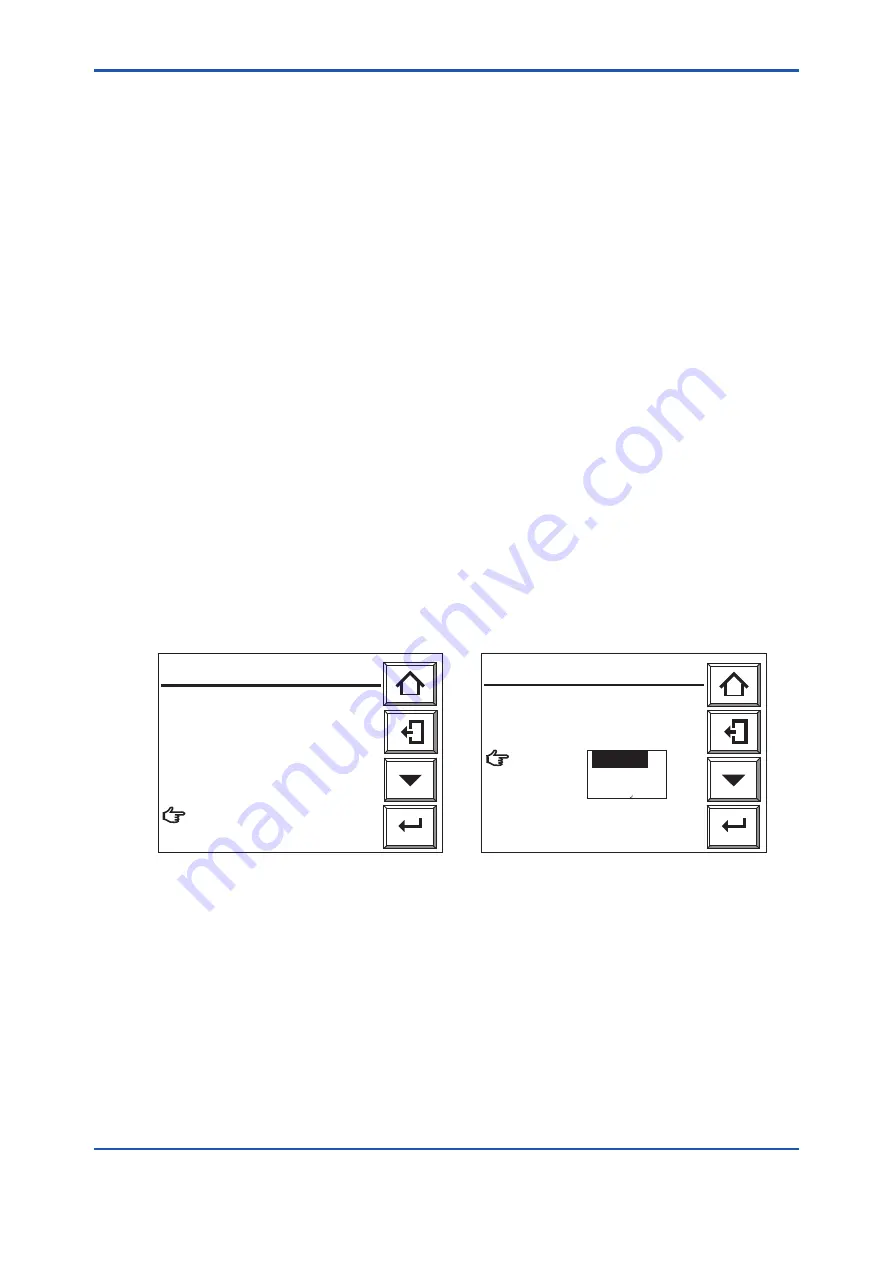
(3) Select the “Display item” from the Display setup display. The display shown in Figure 10.6
then appears.
(4) Select the “Tag name” from the Display item. The text-data entry display then appears.
(5) Enter up to 12 alphanumeric characters including codes for the desired tag name.
Enter
Primary value:
Oxygen
Secondary value:
mA-ouput1
Tertiary value:
mA-output2
Tag name:
Display item
F10.6E.ai
Enter
Display item
Trend graph
Auto return time: 0 min
Language:
Display setup
F10.7E.ai
English
Deutsch
Francias
Figure 10.6
Display Item Display
Figure 10.7
Selecting the Display Language
10.3.3
Language Selection
You can select a display language from among English, Japanese, German and French.
The display language is set to the one specified in the purchase order when the analyzer is
shipped from the factory.
To select the language you want, follow these steps:
<Setting procedure>
(1) On the Basic panel display, touch the [Setup] key to display the Execution/Setup display.
(2) Select “Maintenance”, then “Display setup”.
(3) Select “Language” and the dropdown selection (Figure 10.7) allows you to select the
desired language.
Содержание EXAxt ZR22G
Страница 15: ...Blank Page...
Страница 51: ...Blank Page...
Страница 77: ...Blank Page...
Страница 137: ...Blank Page...
Страница 171: ...Blank Page...
Страница 195: ...Blank Page...
Страница 197: ......
Страница 199: ......
Страница 201: ......
Страница 203: ......
Страница 205: ......
Страница 207: ......
Страница 211: ...Blank Page...