


2/28/2019
Provision your Yealink T2 series IP Phone for 3CX v15
https://www.3cx.com/sip-phones/yealink-t20p-t22p-t26p-t28p/
2/5
Step 2: Factory Reset the IP Phone
Before provisioning the IP phone, the phone must be brought back to factory defaults in case the device has
residual settings of a previous configuration. To reset the device read our
How to Factory Reset Yealink IP
Step 3: Provision the phone
There are several methods to provision a phone:
● Plug & Play - For phones on the local LAN or behind the 3CX SBC.
● RPS - For phones on remote networks that will connect directly to 3CX and use STUN.
For more information, see
“
When can I use which provisioning method?
Local LAN or SBC: Provision via Plug’n’Play
1. Connect the phone to the network. A PnP request will be sent automatically to 3CX.
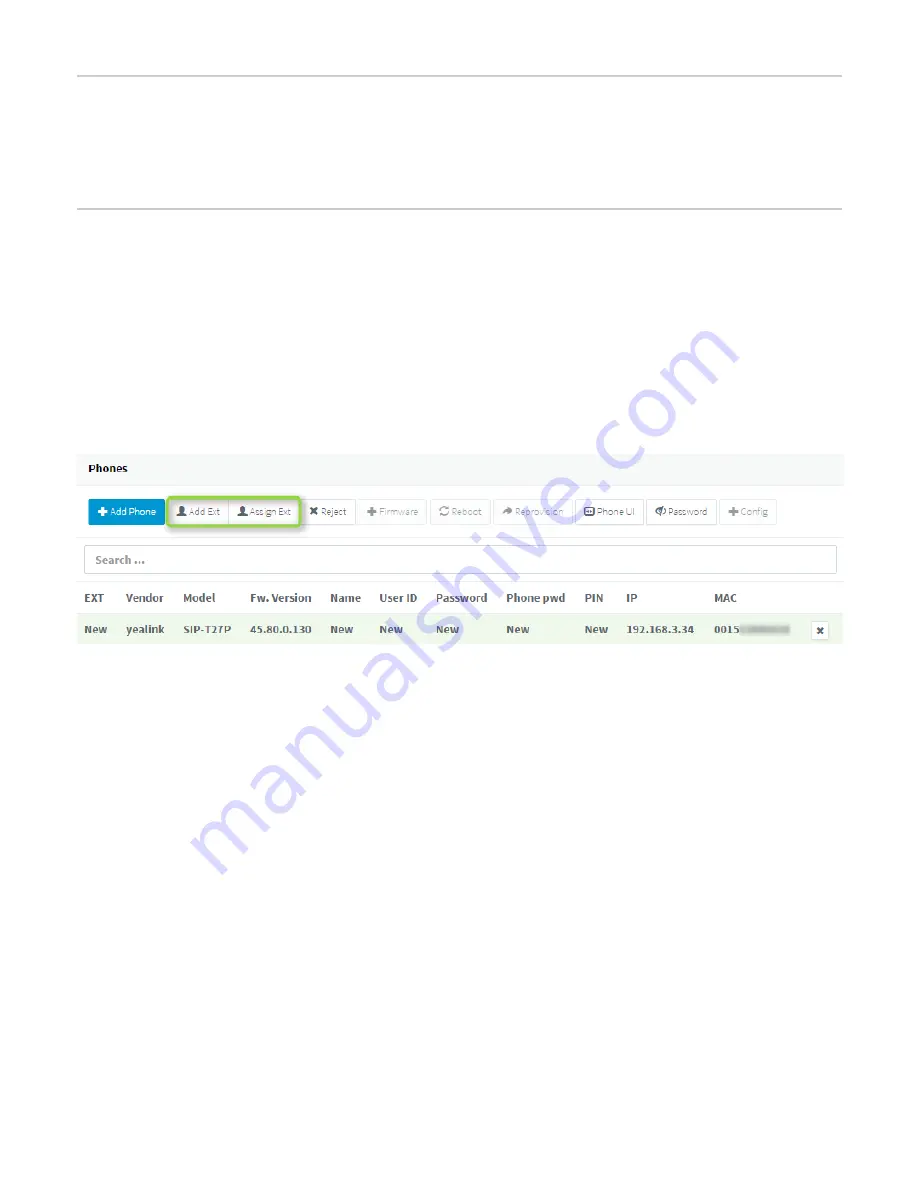
2. Go to the 3CX Management Console
⇒
“Phones”
page. The new phone will be marked in
Bold
.
3. Click on the
BOLD
entry and choose between
“Assign Ext”
or
“Add Ext”
, depending on whether
you want to assign the phone to an existing extension or create a new one.