

Configuring the phone
Pick up the handset and dial “**90
#
” to get the IP address of by voice prompt. Then enter it (for
example http://192.168.3.35) into the address bar of web browser.
The default login name and password are
admin/admin
.
Note
: Please locate your PC in the same network segment of the IP phone(192.168.3.X) to access the web
configuration page. Please consult your network administrator or service provider for help.
Note
: Using the wrong network parameters may result in inaccessibility of your phone and may also have an
impact on your network performance! Please contact your network administrator!
Configuring via Web Page
DHCP:
Pick up the handset and dial “**88
#
”, follow the prompt to enter the “0
#
” to
disable the DHCP, or “1#” to enable it.
Choose Network->Internet Port (WAN)
Choose Account
Please contact your service provider for more account details.
Network Settings:
DHCP:
By default the phone attempts to contact to
a DHCP Server in your network in order to obtain
its valid network settings, e.g. IP address, sub mask, gateway, DNS server, etc.
Static IP Address:
If your phone cannot contact a DHCP Server for any reason, you need to enter
the network settings manually via Static IP Address. Please contact your internet administrator for
more details.
Account Setting:
Account Active:
Display Name:
Register Name:
User Name:
Password:
SIP Server:
You can Enable/Disable this account by the right/ left navigation key respectively.
It is showed as Caller ID when making a phone call.
It is provided by ISP for registration.
User account information, provided by VoIP service provider.
It is provided by ISP for registration.
Server for registration, provided by ISP.
Parameter:
You can refer to the above "Configuring via Web Page" for the parameter details.
V0.1
Static IP:
1) IP Address: Pick up the handset and dial “**80
#
”, then follow the prompt to enter the IP address
and press the # key to confirm (for example:192.168.1.56
#
).
2) Subnet Mask: Pick up the handset and dial “**81
#
”, then follow the prompt to enter the Subnet
Mask and press the # key to confirm (for example:255.255.255.0
#
).
3) Gateway: Pick up the handset and dial “**82
#
”, then follow the prompt to enter the gateway
and press the # key to confirm (for example:192.168.1.0
#
).
4) DNS1: Pick up the handset and dial “**83
#
”, then follow the prompt to enter the DNS1 and press
the # key to confirm (for example:202.101.103.55
#
).
5) DNS2: Pick up the handset and dial “**84
#
”, then follow the prompt to enter the DNS2 and press
the # key to confirm (for example:202.101.103.55
#
).
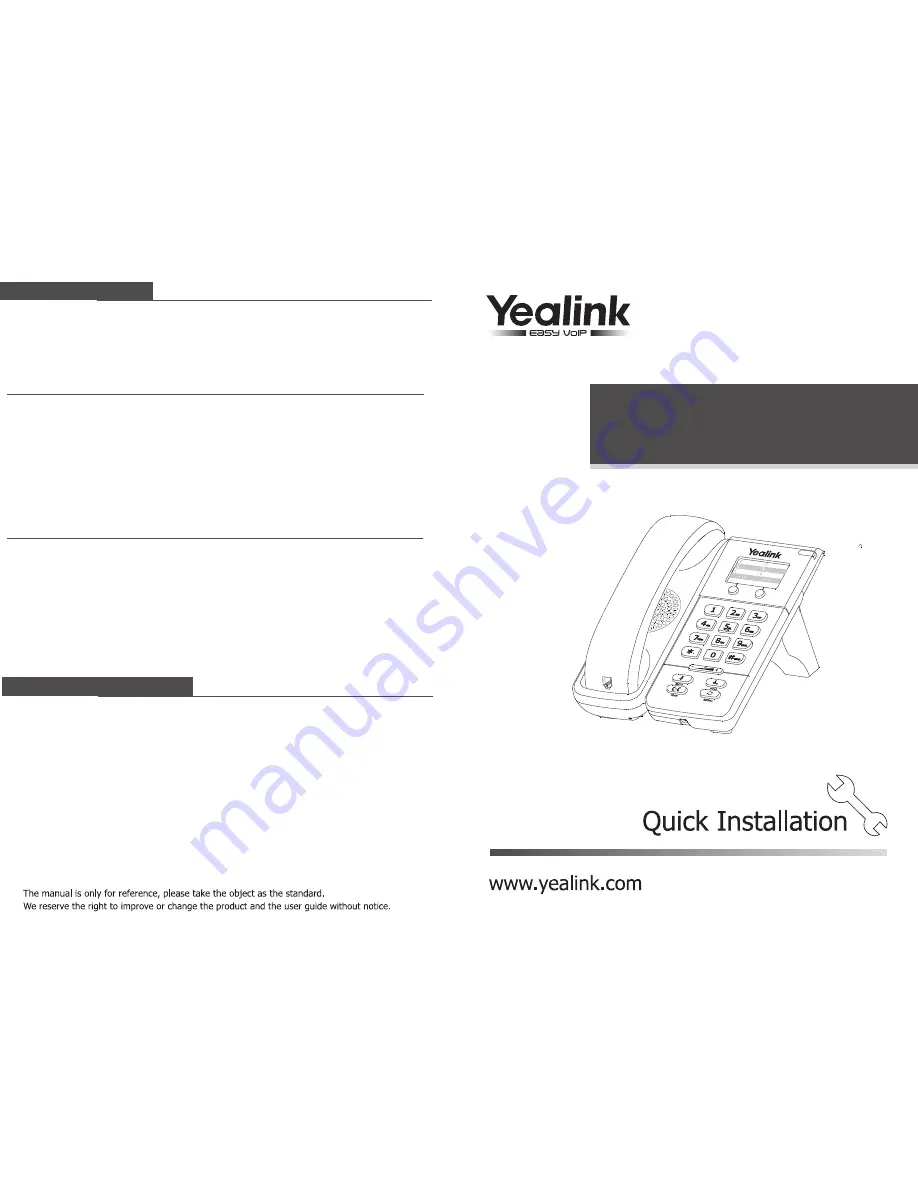
Simply IP Phone
SIP-T18P
Configuring via Web
Network Configuring via Keypad