


| Basic Settings |
137
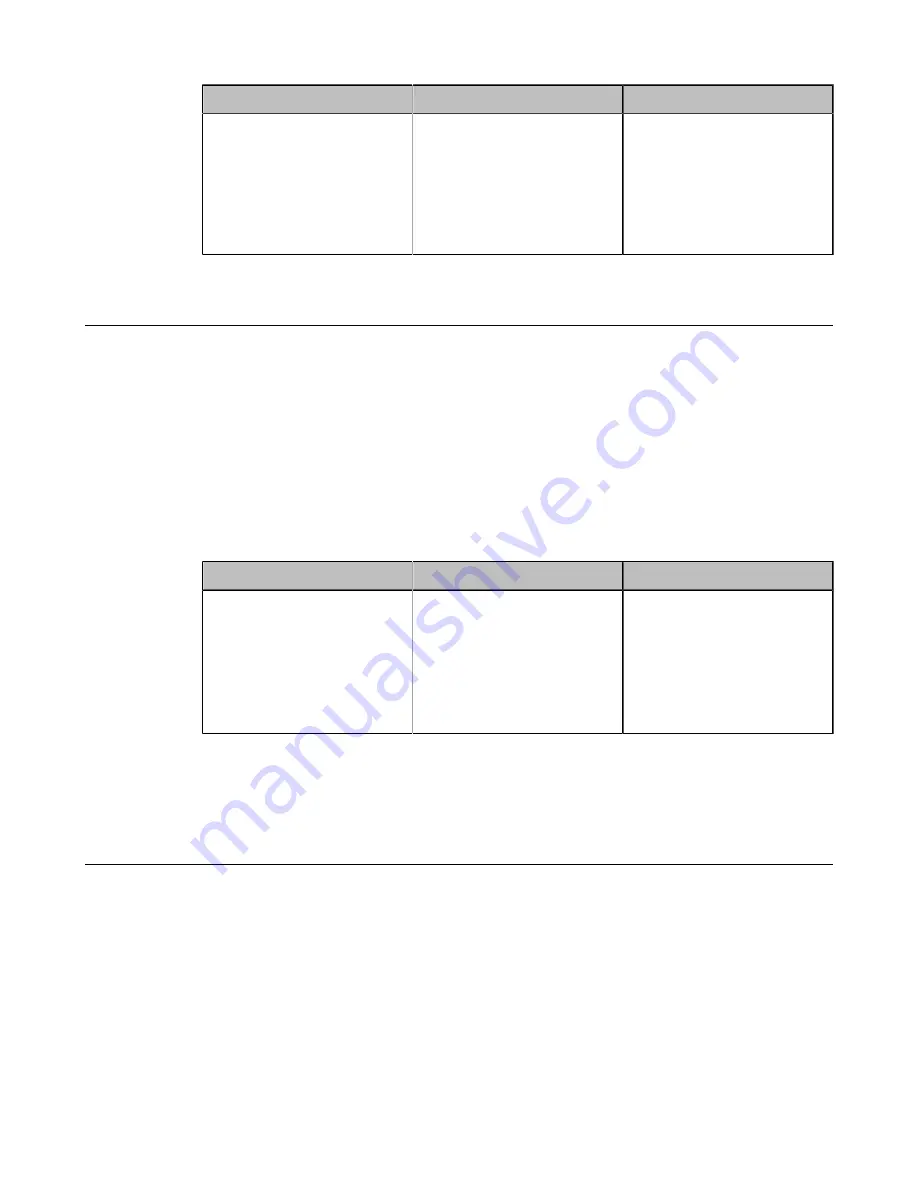
Parameter
Description
Configuration Method
Local Storage Enable
Enable or disable the local
storage feature.
Note
: the default value is On.
If you change this parameter,
the system will reboot to
make the change take effect.
Web user interface
Configuring the Screenshot
You can take screenshots. This feature is not applicable to VP59.
Before you begin
If you want to save the screenshot to USB flash drive, make sure a USB flash drive is available.
If you want to save the screenshot to local storage (only applicable to MeetingEye 600/MeetingEye 400/
VC200), make sure the local storage is enabled.
Procedure
1.
On your web user interface, go to
Setting
>
Video & Audio
>
USB Config
.
2.
Configure and save the following settings:
Parameter
Description
Configuration Method
Taking Screenshots
Enable or disable to capture
the screenshot by using the
remote control.
•
On
•
Off
Default
: On.
Web user interface
Related tasks
Configuring USB Storage
Configuring Local Storage
Configuring to Automatically Upload Screenshots to the YMS
If you enable this feature, the endpoint can automatically upload the screenshots you take and save on the
USB flash drive or local storage (only supported by MeetingEye 600/MeetingEye 400/VC200) to the YMS,
which is convenient for you to view and manage the screenshots on the YMS.
Before you begin
Make sure the the Screenshot feature is enabled.
If you want to save the screenshot to USB flash drive, make sure a USB flash drive is available.
If you want to save the screenshot to local storage (only applicable to MeetingEye 600/MeetingEye 400/
VC200), make sure the local storage is enabled.
Содержание MeetingEye 400
Страница 1: ......


