


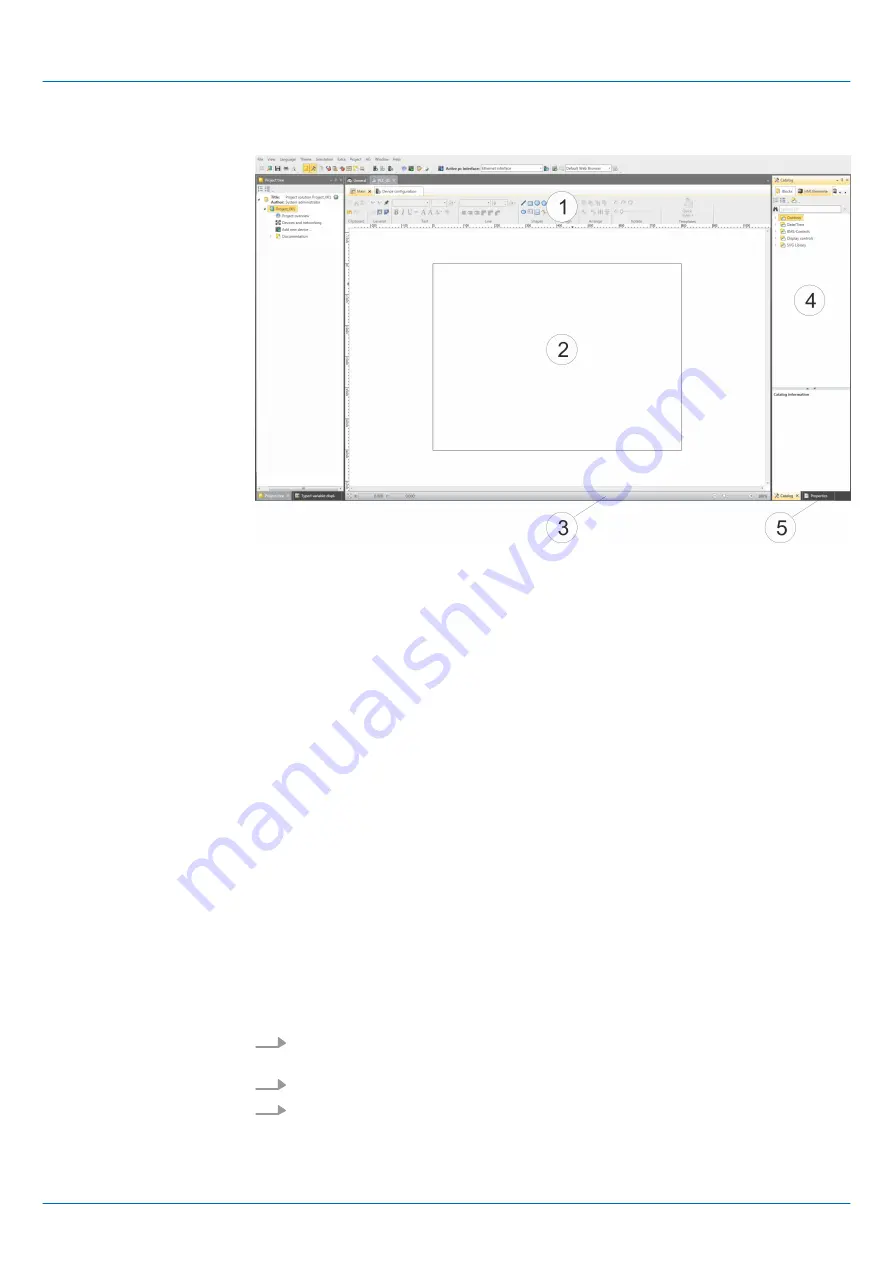
8.1.1 Working environment
(1) Toolbar
(2) Editor surface
(3) Status bar
(4) Catalog
(5) Properties window
The toolbar provides important commands for working with the
WebVisu
editor.
The editor area is your workspace. Here you can place and edit texts and graphics
objects.
With a slider you can enlarge or reduce your view.
Via
Catalog
you can access all the
WebVisu
elements. You can use Drag & Drop to place
them on the
Editor surface
and adjust them using properties.
By enabling
‘View
è
Properties’
the
‘Properties’
are shown. The properties of the
selected element are shown here. You can adjust these if necessary.
8.1.2 Creating a WebVisu project
1.
Start the
SPEED7 Studio
with your project for the CPU for which a
WebVisu
project
is to be created.
2.
If not already done, add a CPU by clicking
‘Add new device’
.
3.
Click in the
‘Project tree’
at the CPU and select
‘Context menu
è
Device properties’
.
ð
The
‘Device properties’
of your CPU opens.
(1) Toolbar
(2) Editor area
(3) Status bar
(4) Catalog
(5) Properties window
Add WebVisu
VIPA System SLIO
Deployment WebVisu - Web visualization
WebVisu editor > Creating a WebVisu project
HB300 | CPU | 013-CCF0R00 | en | 19-30
210


