MANUAL NO. SIEP C730600 85D
YASKAWA AC Drive Option
CANopen
Technical Manual
Model
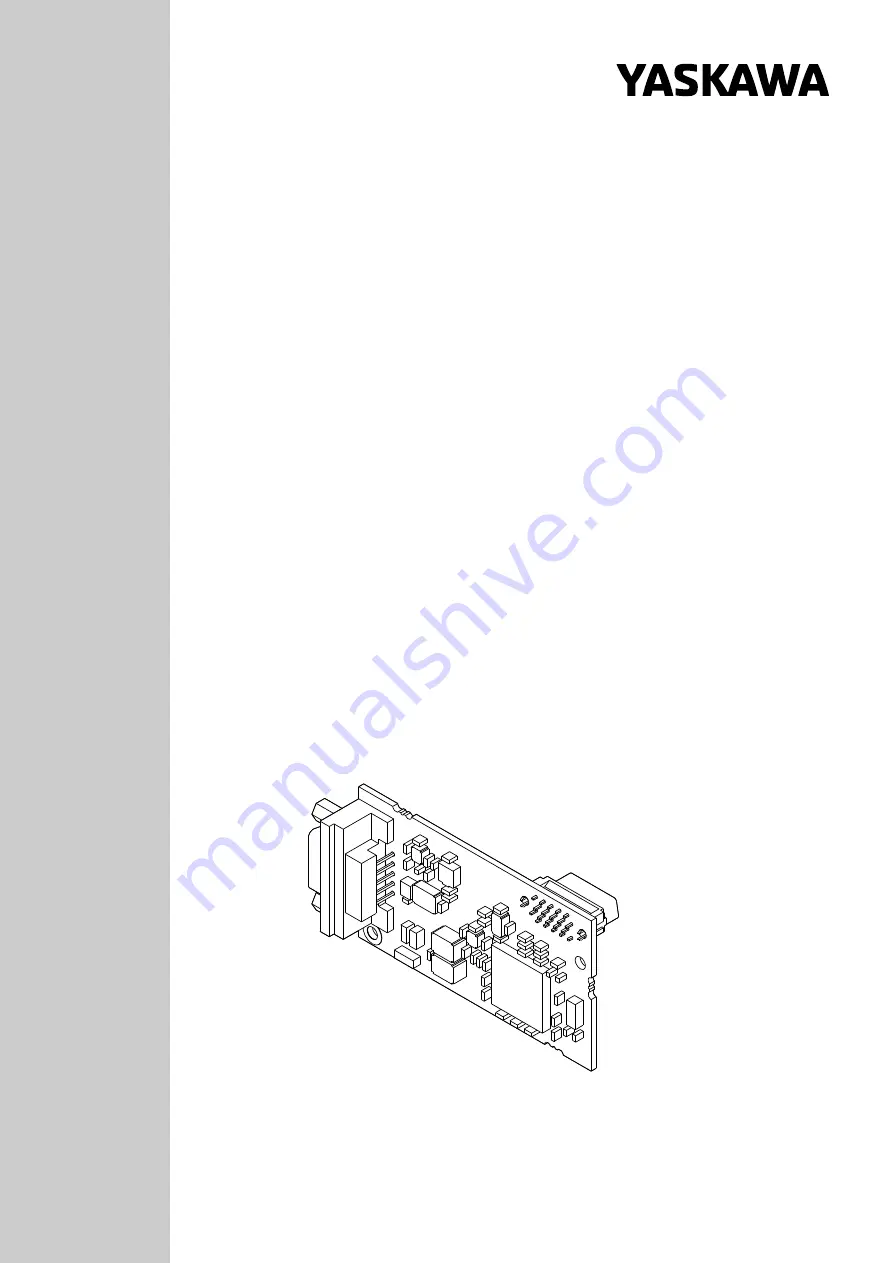
SI-S3
To correctly use the product, read this manual thoroughly and keep it for easy
reference, inspection, and maintenance. Make sure that the end user receives
this manual.


