FOR ASSISTANCE CALL 1-866-523-5218
OWNER’S MANUAL
IMPORTANT:
READ ALL SAFETY
RULES AND INSTRUCTIONS
CAREFULLY BEFORE
OPERATING THIS EQUIPMENT.
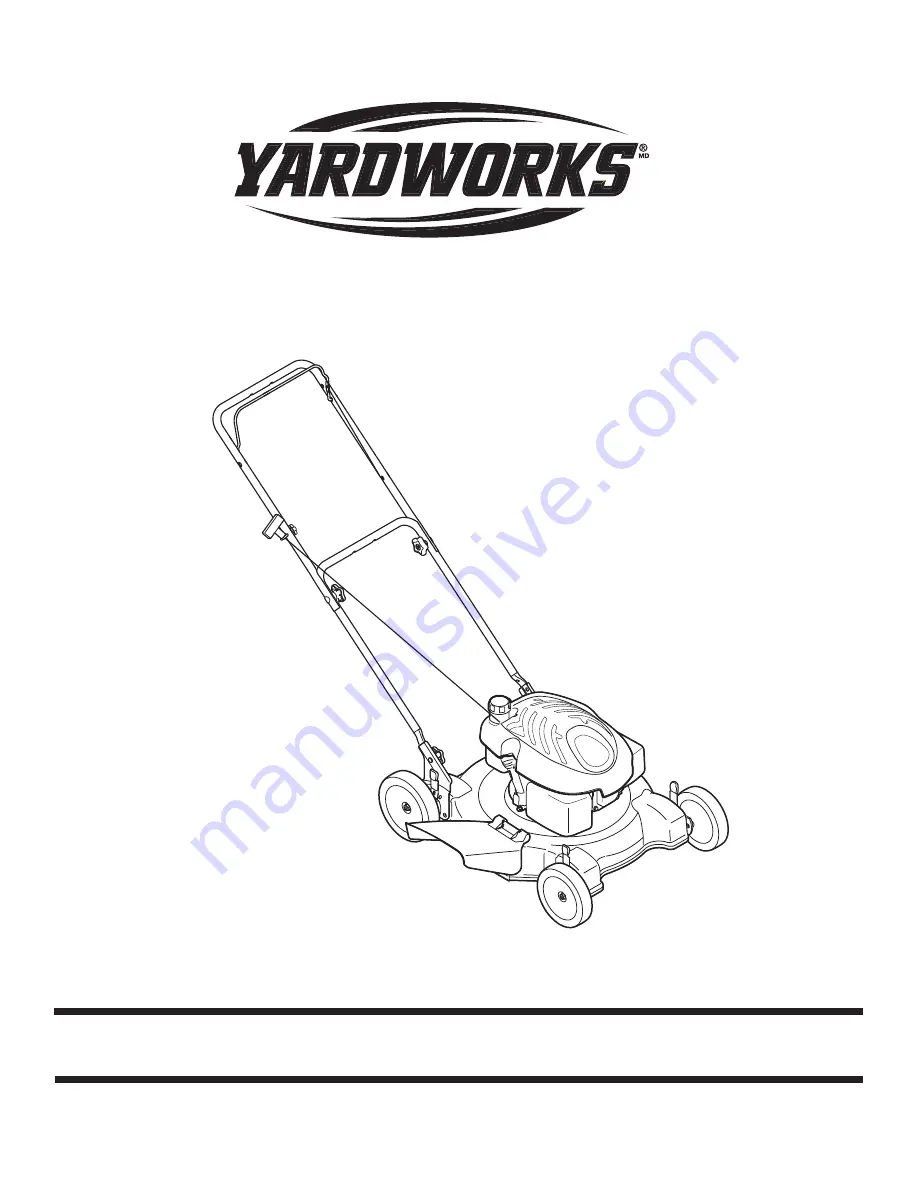
22” Gas-powered Push Mower
Model 60-1616-4
769-03590A
01.14.09
Страница 1: ...OR ASSISTANCE CALL 1 866 523 5218 OWNER S MANUAL IMPORTANT READ ALL SAFETY RULES AND INSTRUCTIONS CAREFULLY BEFORE OPERATING THIS EQUIPMENT 22 Gas powered Push Mower Model 60 1616 4 769 03590A 01 14 0...
Страница 2: ...any questions concerning the controls operation or maintenance of this product please contact Customer Support at 1 866 523 5218 Have the model number and serial number of the product ready when you...
Страница 3: ...and you could slip resulting in serious injury Operate RIDING mowers up and down slopes never across the face of slopes Operate WALK BEHIND mowers across the face of slopes never up and down slopes Si...
Страница 4: ...a fall caused by slipping or tripping Do not hold on to the mower if you are falling release the handle immediately 14 Never pull the mower back toward you while you are walking If you must back the m...
Страница 5: ...them 1 Keep children out of the mowing area and under the watchful care of a responsible adult other than the operator 2 Be alert and turn mower off if a child enters the area 3 Before and while movin...
Страница 6: ...9 Grass catcher components discharge cover and trail shield are subject to wear and damage which could expose moving parts or allow objects to be thrown For safety protection frequently check compone...
Страница 7: ...hands and feet away from rotating parts DANGER THROWN DEBRIS Remove objects that can be thrown by the blade in any direction Wear safety glasses DANGER SLOPES Use extra caution on slopes Do not mow sl...
Страница 8: ...bs at the ends of the lower handle shown in Figure 3 For convenience of operating you may adjust the handle height as follows a Remove the knobs shown in Figure 3 and remove the lower handle b Positio...
Страница 9: ...al mulching baffle install it as shown in Figure 7 a Lift up and hold the side discharge chute deflector and insert bottom lip of the mulching baffle inside the chute opening b Push the hooks on the t...
Страница 10: ...k plug If unit is equipped with a rubber boot over the end of the spark plug wire make certain the metal loop on the end of the spark plug wire inside the rubber boot is fastened securely over the met...
Страница 11: ...Using Your Lawn Mower Be sure the lawn is clear of stones sticks wire or other objects which could damage the lawn mower or the engine Such objects could be accidently thrown by the mower in any dire...
Страница 12: ...nce and flooding usually indicates that the air cleaner should be serviced 4 The spark plug should be cleaned and the gap reset once a season Spark plug replacement is recom mended at the start of eac...
Страница 13: ...cate the engine crankshaft and the inner surface of the blade adapter with light oil 9 Install the blade adapter on the crankshaft with the star away from the engine See Figure 11 Place the blade with...
Страница 14: ...rankcase with proper oil 2 Refer to the engine manual packed with your unit 3 Remove blower housing and clean 4 Refer to engine manual 1 Engine oil level low 2 Dirty air filter 3 Air flow restricted 4...
Страница 15: ...ed twenty 120 days from the date of purchase YARDWORKS CANADA will replace the defective battery for the original purchaser for a cost of one half of the current retail price of the battery in effect...
Страница 16: ...16 10 36 39 13 12 38 2 19 17 3 14 17 26 9 7 8 32 6 29 31 30 29 6 25 14 24 14 32 14 7 37 4 5 18 1 23 35 22 20 21 15 34 33 28 11 40 40 42 41 44 43 45 OHV 46 48 49 47 50 51...
Страница 17: ...7 x 1 8 Spoke Bar Gris 734 2004A Wheel Ass y 8 x 2 125 Idle Ball Brg Ensemble de roue 8 0 x 2 125 roulement billes 734 04176 Wheel Asse y 7 x 2 125 BB Zag Ensemble de rou 7 x 2 125 roulement billes 2...
Страница 18: ...vice provider Repairs or adjustments to correct starting difficulties due to any of the following failure to follow proper maintenance procedures rotary mower blade striking an object contaminants in...
Страница 19: ...19 NOTES For parts and or accessories refer to customer support on page 2 Adressez vous au Service apr s vente la page 2 pour ce qui concerne les pi ces et ou accessoires...
Страница 20: ...20 NOTES For parts and or accessories refer to customer support on page 2 Adressez vous au Service apr s vente la page 2 pour ce qui concerne les pi ces et ou accessoires...
Страница 21: ...s par quiconque autre que la station technique agr e par MTD Aux r parations ou ajustements ayant pour but de corriger des difficult s de d marrage dues au non respect des proc dures d entretien recom...
Страница 22: ...RDWORKS CANADA s engage l expiration de la p riode de quatre vingt dix 90 jours et avant la fin d une p riode de cent vingt 120 jours compter de la date d achat remplacer la batterie d fectueuse l ach...
Страница 23: ...surchauffe 1 Faites le plein d huile du carter 2 Consultez la notice d utilisation du moteur 3 D montez l habitacle du ventilateur et nettoyez le 4 Consultez la notice d utilisation du moteur 1 Nivea...
Страница 24: ...n adaptateur sur la tondeuse lubrifiez le vilebrequin et la surface int rieure de l adaptateur avec une huile l g re 9 Placez l adaptateur de la lame sur le vilebrequin l toile l oppos du moteur Voir...
Страница 25: ...retien du moteur 2 Utilisez l huile moteur recommand e dans la notice d utilisation du moteur fournie avec la tondeuse Lisez attentivement les instructions et suivez les 3 Dans des conditions normales...
Страница 26: ...fil de la bougie cherchez soigneuse ment tout signe de d g t la tondeuse et r parez la avant de la remettre en marche et de vous en servir Des vibrations impor tantes de la tondeuse indiquent des d g...
Страница 27: ...tallique au bout du fil de la bougie dans la gaine en caoutchouc est bien fix e sur l embout m tallique de la bougie Mise en marche du moteur 1 Amorcez le moteur ou utilisez le volet de d part si ins...
Страница 28: ...tondeuse est quip e d un d flecteur de d chiquetage en option installez le comme la Figure 7 a Relevez le d flecteur de la goulotte d jection lat rale et enfoncez le rebord inf rieur du d flecteur de...
Страница 29: ...sur les extr mit s du guidon inf rieur comme la Figure 3 Il est possible d ajuster la hauteur du guidon de la fa on suivante a Enlevez les boutons repr sent s la Figure 3 et d montez le guidon inf ri...
Страница 30: ...nts ou autres spectateurs sont proximit DANGER AMPUTATION DES MAINS PIEDS N approchez jamais les mains ni les pieds des pi ces en mouvement DANGER OBJETS PROJET S Enlevez tous les objets qui pourraien...
Страница 31: ...les d g ts ventuels avant de remettre la machine en marche 8 N essayez jamais d ajuster une roue ou de changer la hauteur de coupe pendant que la moteur tourne 9 Les l ments du sac herbe et le clapet...
Страница 32: ...clinom tre 3 Ne tondez pas de l herbe mouill e La traction r duite peut provoquer un d rapage Enfant Un accident grave risque de se produire si le conducteur n est pas toujours vigilant en pr sence d...
Страница 33: ...e guidon 14 Ne tirez jamais la tondeuse vers vous en marchant S il faut faire reculer la tondeuse pr s d un mur d un autre obstacle regardez d abord par terre et derri re vous puis proc dez comme suit...
Страница 34: ...l i e z s u r l e p o i n t i l l q u i r e p r s e n t e u n e d c l i v i t d e 1 5 Ne tondez pas sur des pentes sup rieures 15 soit une d clivit de 2 1 2 pi par 10 pi Un tracteur si ge risque en ef...
Страница 35: ...z entrer le num ro de s rie afin que l appel soit trait Le fabricant du moteur est responsable de tout aspect li celui ci y compris la performance la puissance nominale les caract ristiques la garanti...
Страница 36: ...AIDE COMPOSEZ LE 1 866 523 5218 GUIDE D UTILISATION IMPORTANT LISEZ TOUTES LES R GLES DE S CURIT ET TOUTES LES DIRECTIVES ATTENTIVEMENT AVANT D UTILISER CET OUTIL Tondeuse essence de 21 po 60 1616 4 7...