Periodic maintenance and adjustment
63
NOTICE
ECS00940
●
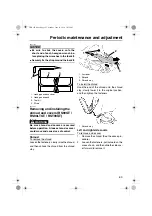
Be sure to slide the covers onto the
short end of each hexagon wrench be-
fore placing the wrenches in the tool kit.
●
Securely tie the strap around the tool kit.
ESU14142
Removing and installing the
shroud and covers (RS90GT /
RS90LTGT / RST90GT)
WARNING
EWS00091
Be sure shroud and covers are secured
before operation. A loose shroud or cover
could move and cause loss of control.
Shroud
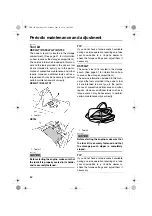
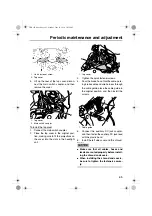
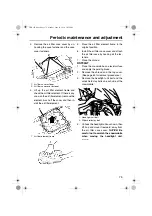
To remove the shroud
Loosen the fasteners, slowly raise the shroud,
and then unhook the shroud from the shroud
stay.
To install the shroud
Hook the end of the shroud onto the shroud
stay, slowly lower it to the original position,
and then tighten the fasteners.
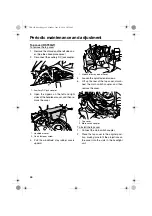
Left and right side covers
To remove a side cover
1.
Remove the shroud. (See the above pro-
cedure.)
2.
Loosen the fasteners, pull outward on the
areas shown, and then slide the side cov-
er forward to remove it.
1. Hexagon wrench cover
2. Hexagon wrench
3. Tool kit
4. Strap
1
2
3
4
1. Fastener
2. Shroud
3. Shroud stay
1. Shroud stay
3
2
1
U8JA11E0.book Page 63 Monday, June 14, 2010 10:22 AM
Содержание RS Venture RST90A
Страница 136: ...Consumer information 130 ESU12510 YAMAHA EXTENDED SERVICE Y E S U8JA11E0 book Page 130 Monday June 14 2010 10 22 AM ...
Страница 139: ...U8JA11E0 book Page 3 Monday June 14 2010 10 22 AM ...
Страница 140: ...YAMAHA MOTOR CO LTD PRINTED ON RECYCLED PAPER PRINTED IN JAPAN 2010 06 0 7 1 CR ESU12520 DIC183 ...


