14
Chapter 3: Basic Mixing Tutorial
ProMix 01 Getting Started Guide
Setting the Input Level
Presuming that ProMix 01 is powered ON and your music source is
running, let’s optimize the input signal level for best performance.
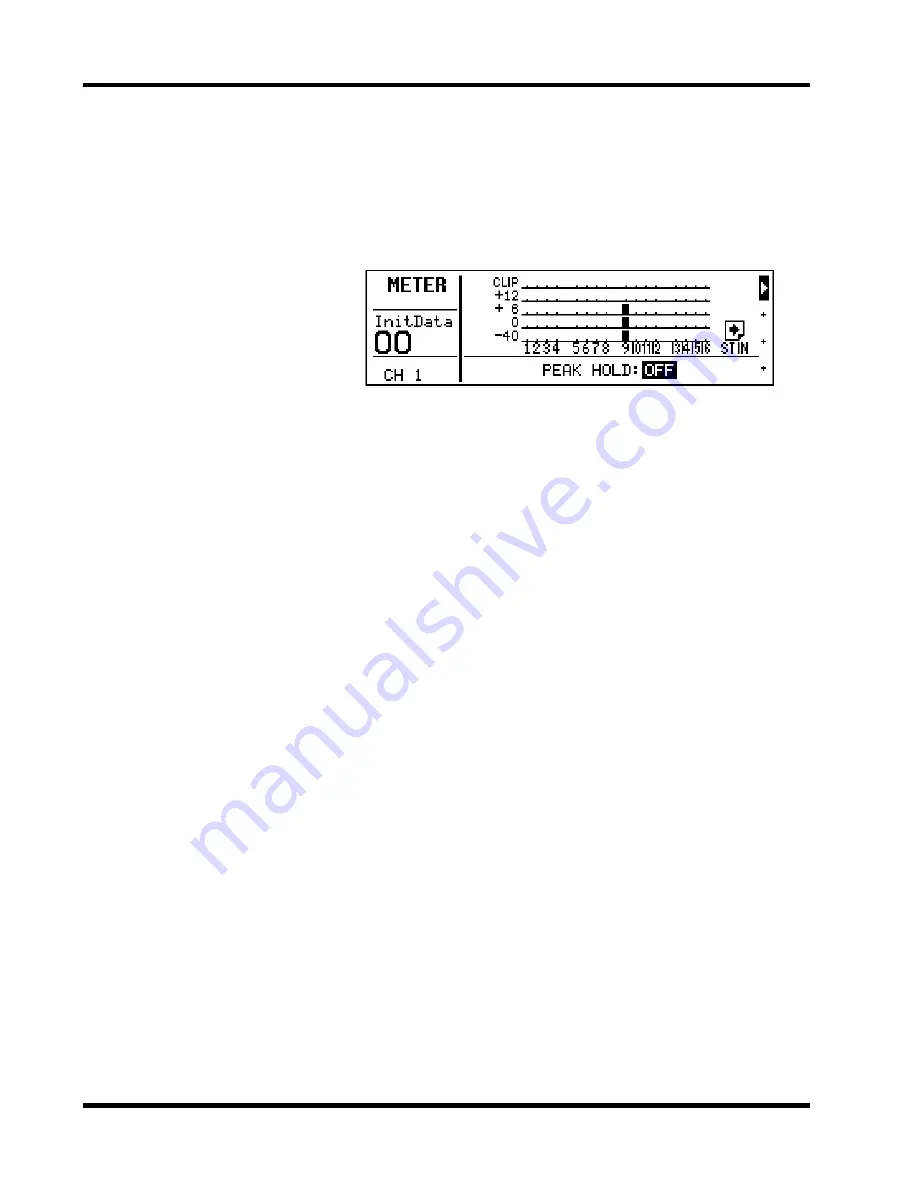
1. Press [METER].
The METER LCD function appears showing channel 9’s signal level.
2. Turn the MONITOR OUT LEVEL control up a little. If you’re
using headphones, turn up the PHONES LEVEL control instead.
3. Press channel 9’s [SEL] button.
You are now listening to input channel 9.
4. If the sound is distorted and the level is going up to CLIP, press
channel 9’s PAD switch to attenuate the input signal by 20dB.
5. Use channel 9’s GAIN control to optimize the signal level.
Ideally the level should be set relatively high and it's OK for it to reach
CLIP occasionally. If CLIP is reached often, however, back off the
GAIN control a little, otherwise signal distortion may occur. The
GAIN control should be set with some care, because if it is set too low,
the S/N performance will suffer, and if it is set too high, unpleasant
signal clipping and distortion may occur.
6. You might find the Peak Hold function useful at this point. To
turn it ON, press [ENTER]. The peak level is indicated by an
empty square box. To reset it, press [ENTER] twice.
Peak Hold is extremely useful for level checking before recording. You
can leave a mix to play through unattended while Peak Hold watches
out for signal peaks. If any levels reach CLIP, back off the relevant
GAIN control and run through the mix again.
Typically, you’ll be using more than just one input channel, so you’ll
need to set the input signal level for each channel individually. Since
it’s relatively easy to set them at this point, take time and care. If you
have to readjust them later in the mixing process, you may need to
readjust faders, effects sends, and other levels, too.
ꎹ


