59
Chapter 11 Advanced Sound Shaping Controls
47
Creating your own original Scenes — and saving
them
The exciting and powerful Scene feature lets you create and use two different Voices within a single Pattern.
Most importantly, it lets you instantly switch between them or gradually “morph” from one to the other — all
in real time.
You tried out some preset Scenes in Tip 23, and heard just how effective, dynamic, and ultimately hip the
function can be. Now, it’s time for you to create a Scene or two of your own.
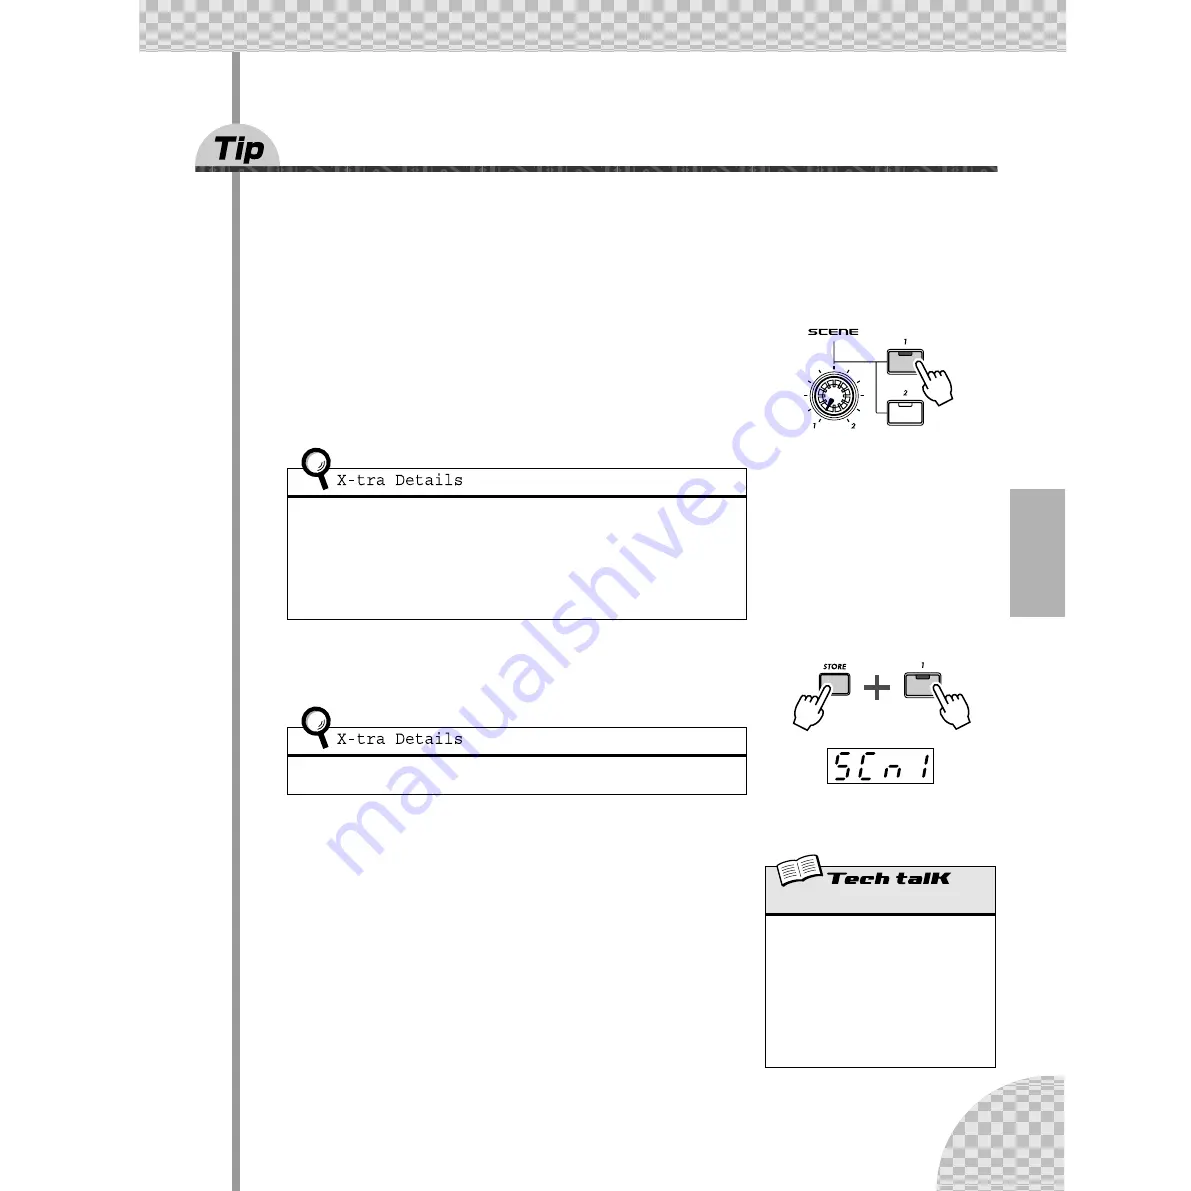
1 Press SCENE button [1]. This is the Scene you’ll be
working on first.
2 Work the controls and get the sound you want for
Scene 1. Any and all of the Synth knobs can be used.
3 While holding down [STORE], press SCENE button [1].
Scene 1 has just been stored. Now let’s go on to Scene 2.
4 Do the same operation for Scene 2 — repeating Steps
1 - 3 above with SCENE button [2] this time.
• Only the Voice-related panel knobs can be used for recording to the Scenes; button switch
settings (such as LFO Detail and Key Assign) are ignored.
• Octave cannot be changed for the Scenes. In other words, both Scenes will always be
kept at the same octave setting.
• Remember that you’ll need to store your first Scene before you can create the second
Scene. Switching or morphing to a new scene automatically and irrevocably erases any
changes you’ve made.
Make sure keep holding [STORE] until you’ve pressed SCENE button [1] or [2]. Otherwise,
the AN200 will switch to the Store Pattern operation (page 79).
Only button [1] is lit.
Indicates new settings have
been stored to Scene 1.
Scene Recording
Allows you to program two different synth
sounds as Scenes, and use the SCENE con-
trols to switch or crossfade between them.
Press SCENE [1] to select Scene 1, and
change the sound as desired. Store Scene 1
by holding down [STORE] and pressing
SCENE [1]. Repeat the operation for Scene 2,
using SCENE [2]. When finished, store the
Pattern (page 79).


